Tiny Dragon Egg Box (sturdier)
 par fritz_w


Fichiers imprimables (7)
-
 stl
stldragonegg-sturdier-top.stl
2 Mo · 16 869 téléchargements
-
 stl
stldragon-sturdier-with-eyes.stl
16.6 Mo · 11 716 téléchargements
-
 stl
stldragon-sturdier.stl
14.9 Mo · 16 749 téléchargements
-
 stl
stldragon-sturdier-eyes.stl
1.8 Mo · 13 036 téléchargements
-
 stl
stldragonegg-sturdier-bottom.stl
1.9 Mo · 17 441 téléchargements
-
 stl
stldragonegg-sturdier-top-supports-v2.stl
2.8 Mo · 8 591 téléchargements
-
 3mf
3mfDragonEggStudier_v2.3mf
10.6 Mo · 7 842 téléchargements
Description
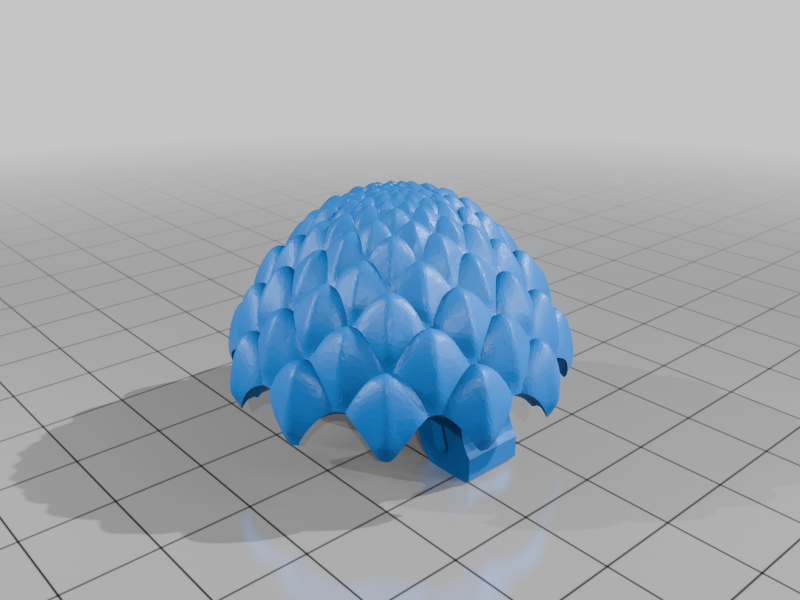
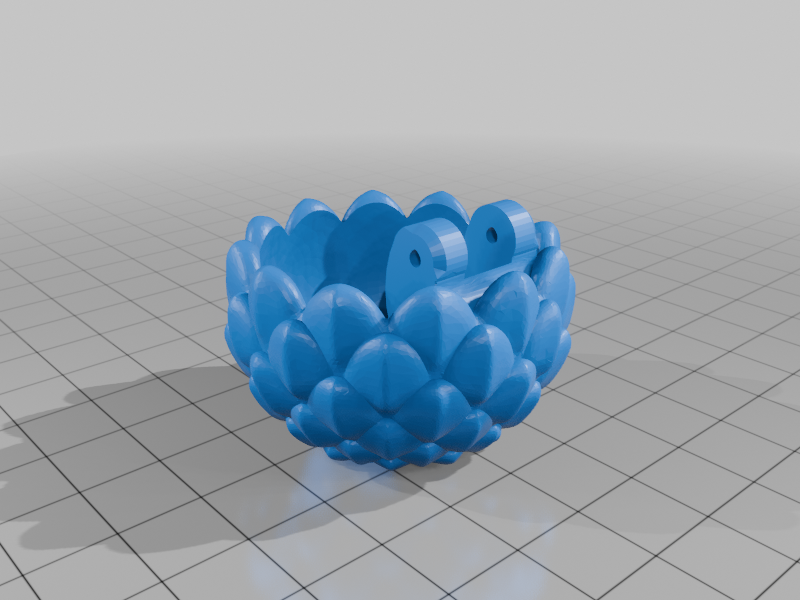
A small box in the shape of a scaled dragon egg with a hinge and latch that snaps shut.
This is a remix of Tiny Dragon Egg Box by GreyFluffs and Dragon ornaments by Syxiaolu94 with some modifications to make them sturdier, so that it survives the first contact with kids. Also I wanted to print it in silk filament, which looks shiny and awesome but has terrible layer adhesion, so the original model broke when trying to close it for the first time after assembly.
The eggs you see on the photos were used as giveaways on a kid's birthday party. Sadly two hinges broke before I could tell the kids to be cautious when closing the lid, but I was able to glue them back together with superglue (CA glue).
Update v2:
- Improved custom supports for the top half. Removed "dragonegg-sturdier-top-with-supports.stl" (see below for instructions).
Printing Settings:
- (the 3mf file contains these settings already for OrcaSlicer 2.2.0)
- Layer height 0.15mm.
- Use the custom supports. Select both top.stl and supports-v2.stl and drag the files into the slicer window. When asked if you want to load it as a "single object with multiple parts" click Yes.
- If you don't want that, paint in your own supports for the top half. The "roof" does not need supports, only the rim of the egg.
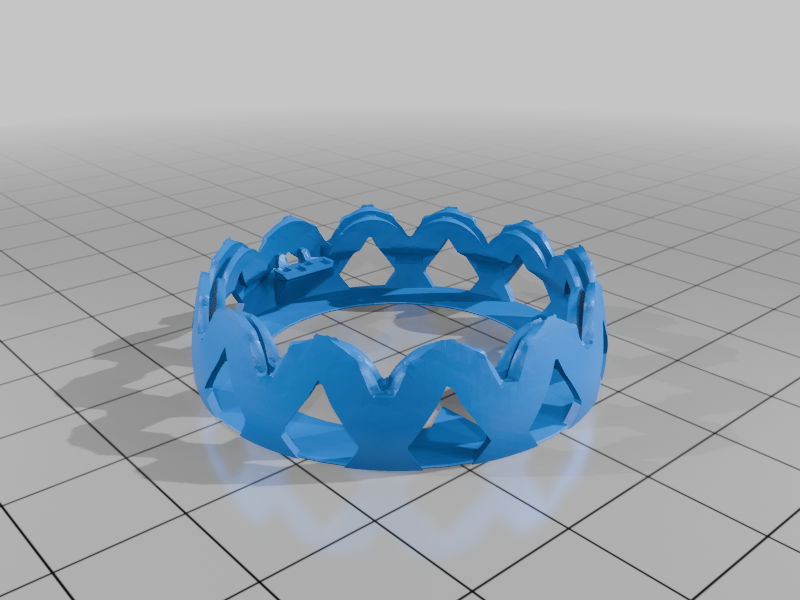
- Disable scarf seams for the "teeth" on the rim of the top half. Otherwise these routinely come loose while printing because they are so small.
- When using rainbow filament, print the bottom first, then the top to preserve the color gradient (see photos or .3mf file).
- When using Silk PLA, increase the nozzle temperature a bit to increase the strength of the hinges. Silk PLA has notoriously bad layer adhesion, and the hinges have a very small cross section.
- Don't use the old file "dragonegg-sturdier-top-with-supports.stl", or at least right click it in the slicer and select "Split → To Parts". Otherwise OrcaSlicer and BambuStudio will bond the supports too firmly to the top egg shell.
- You can print the dragon in solid clear PETG (see photo) using the settings from CNC Kitchen (15 mm/s, 10% cooling, 102% flow, 100% "aligned rectilinear" infill).
- The egg does not work so well due to the more severe overhangs and the irregular geometry (see photo).
Post-Printing and Assembly:
- Be extra careful around the latch when removing supports (see photo). The latch is marked with an arrow on the outside.
- Use a piece of 1.75mm filament for the hinge (ideally tough filament like Silk PLA). You might have to clean up the holes a bit. Flatten the ends of the filament piece with a hot piece of metal to prevent it coming loose.
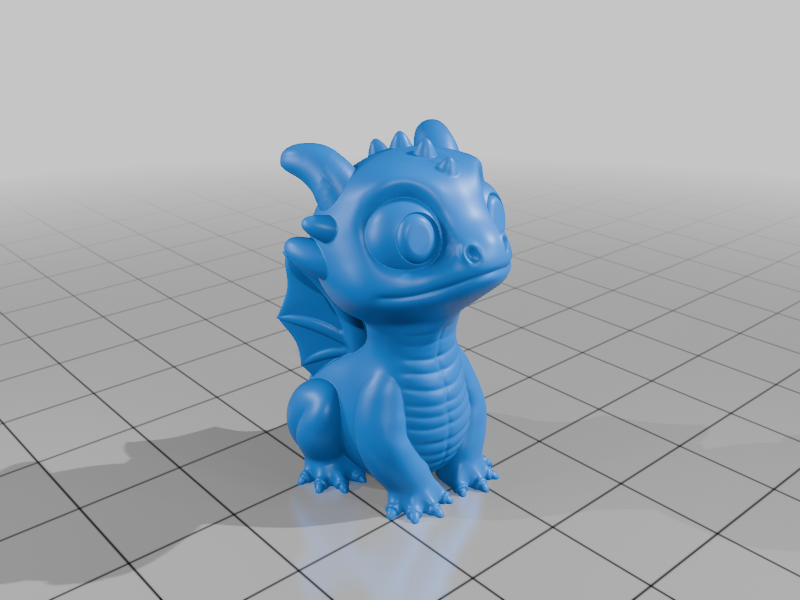
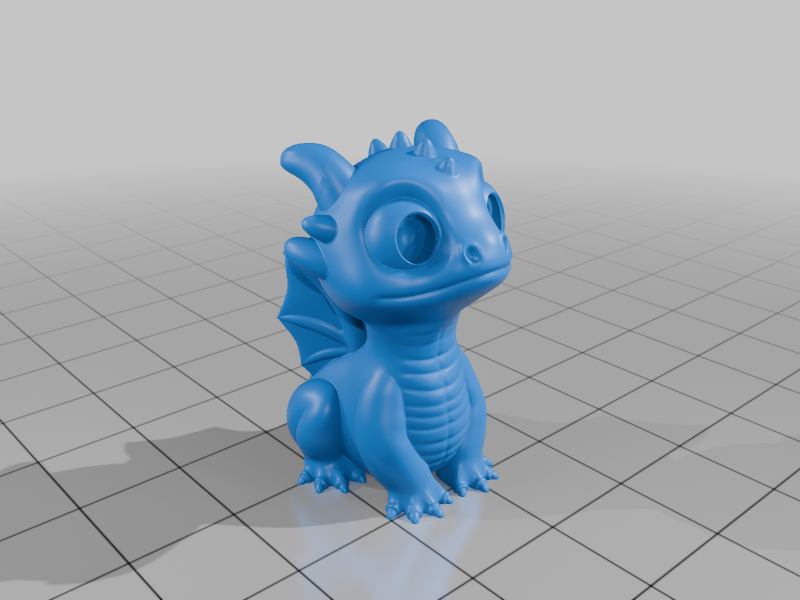
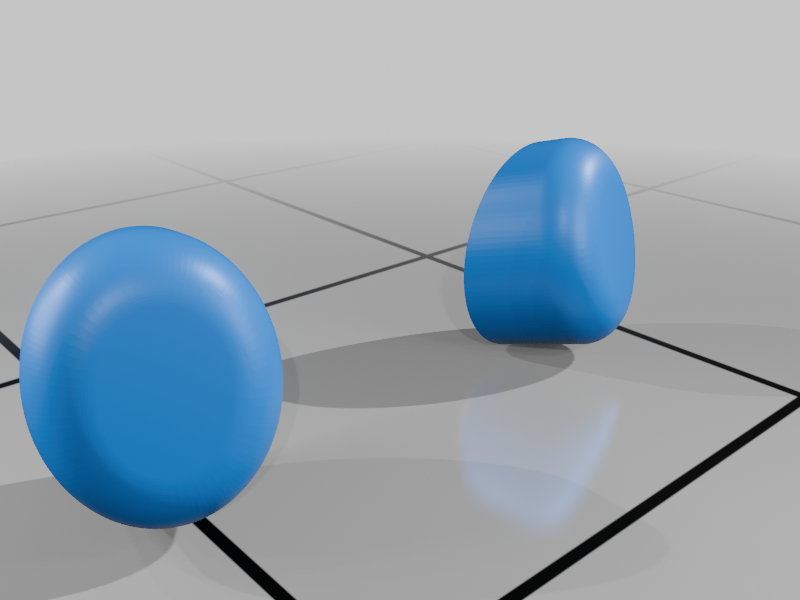
- If you printed the eyes separately, glue them into the sockets. Be careful to get the orientation right: The eyes are thickest on the inside bottom side (nearest the nose), and the round side should face outward.
- Add a small dab of paint for the pupil if you like. I like to print the eyes in black glitter filament with no pupil instead.
Also available on Printables: https://www.printables.com/model/1139243-tiny-dragon-egg-box-sturdier
Licenses
- The dragon is shared under the Creative Commons - Attribution - Share Alike 4.0 license.
- The egg is shared under the Creative Commons - Attribution - Non-Commercial - Share Alike 4.0 license.