PiGRRL Zero Advance
 von 3dprintspace


Druckbare Dateien (15)
-
 stl
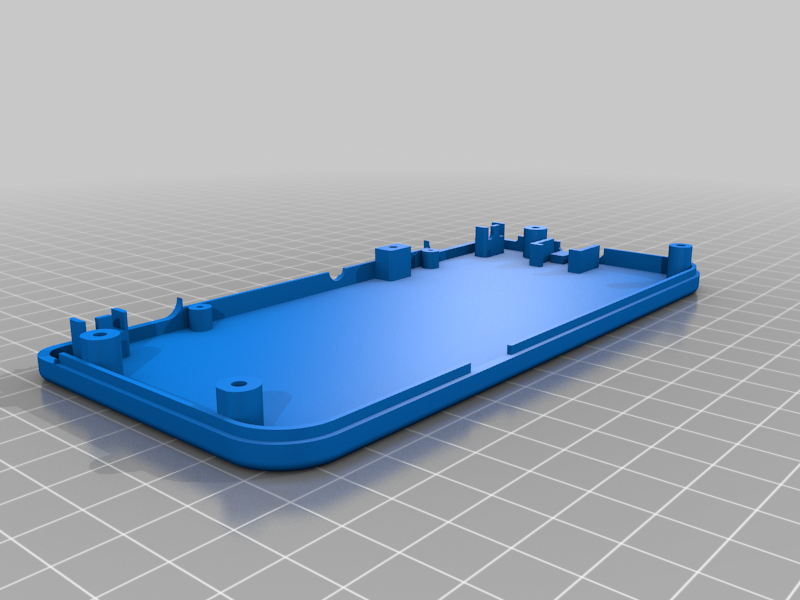
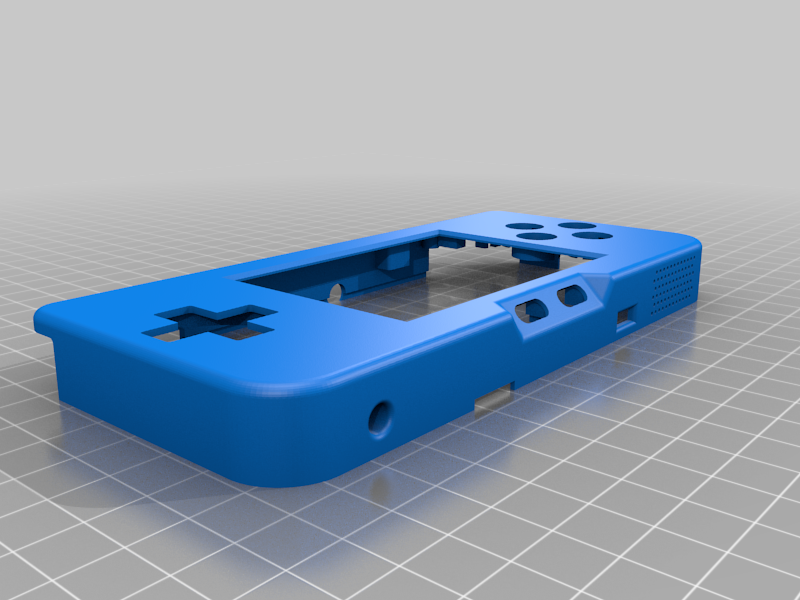
stl1_Front_Case.stl
1.4 Mo · 10 246 Downloads
-
 stl
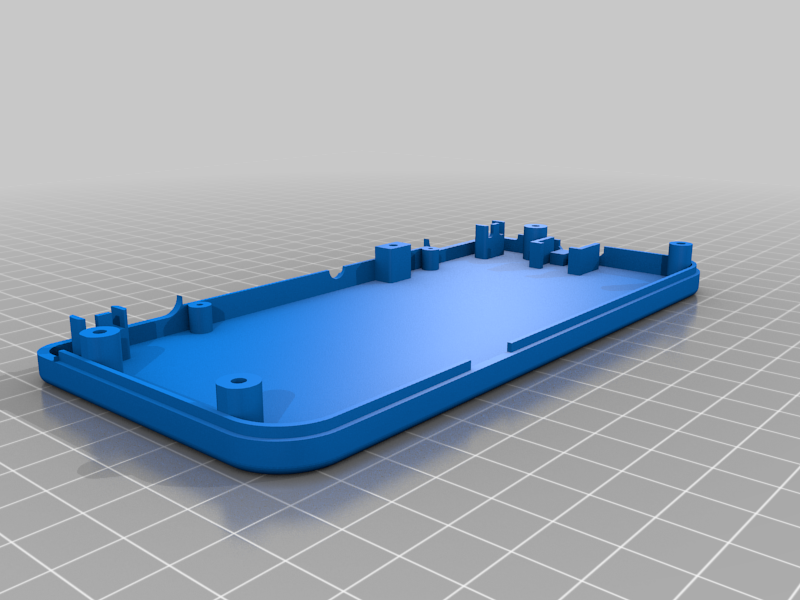
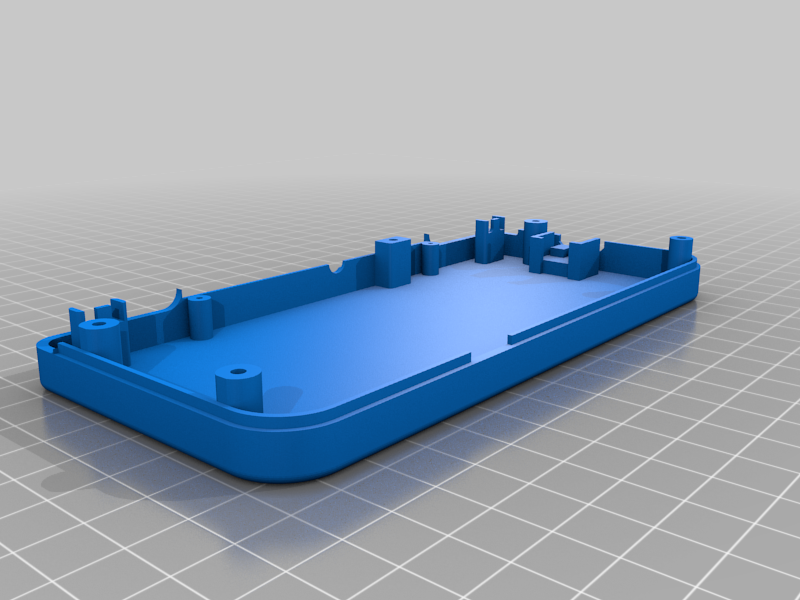
stl2_Back_Case.stl
593 Ko · 10 158 Downloads
-
 stl
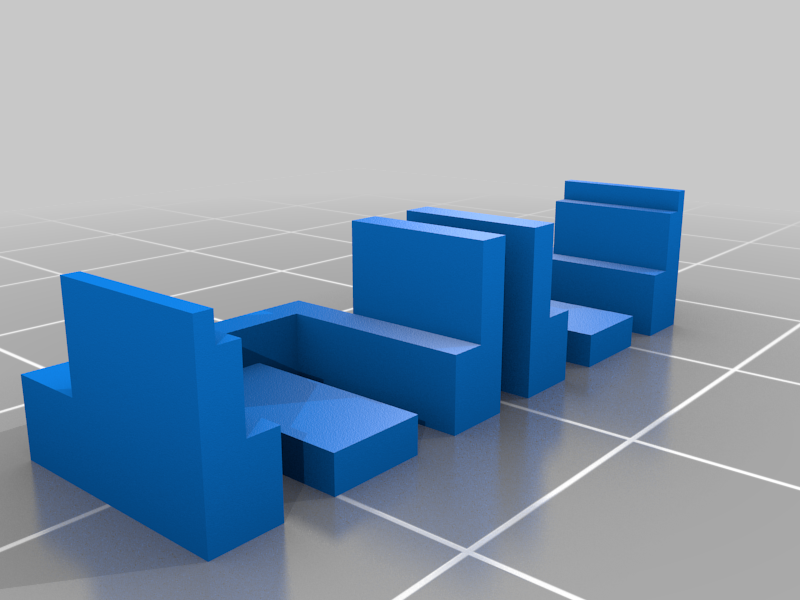
stl3_Start_Select_Holder.stl
8 Ko · 10 180 Downloads
-
 stl
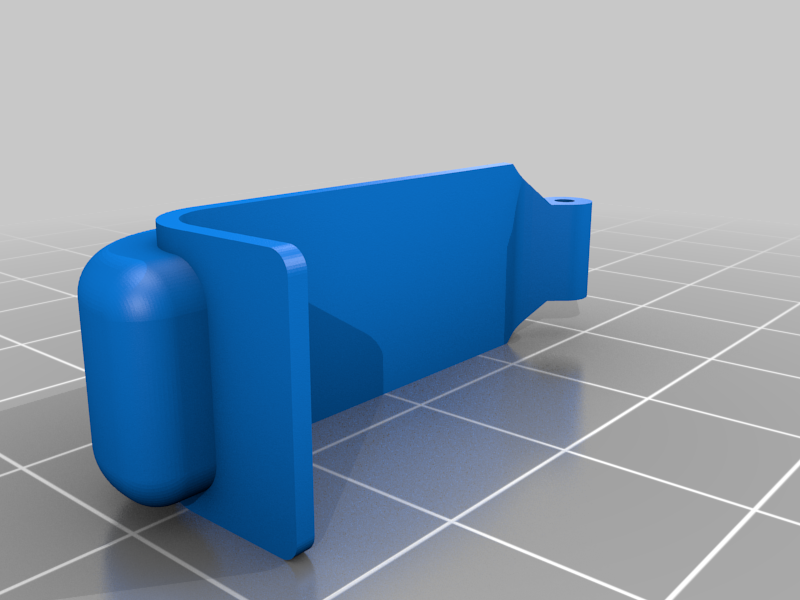
stl4_Left_Shoulder.stl
362 Ko · 10 172 Downloads
-
 stl
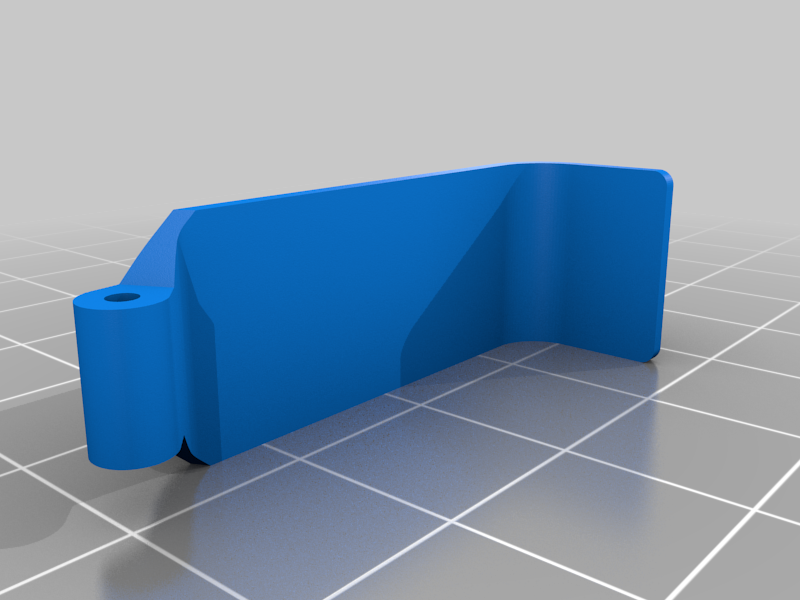
stl5_Right_Shoulder.stl
380 Ko · 10 179 Downloads
-
 stl
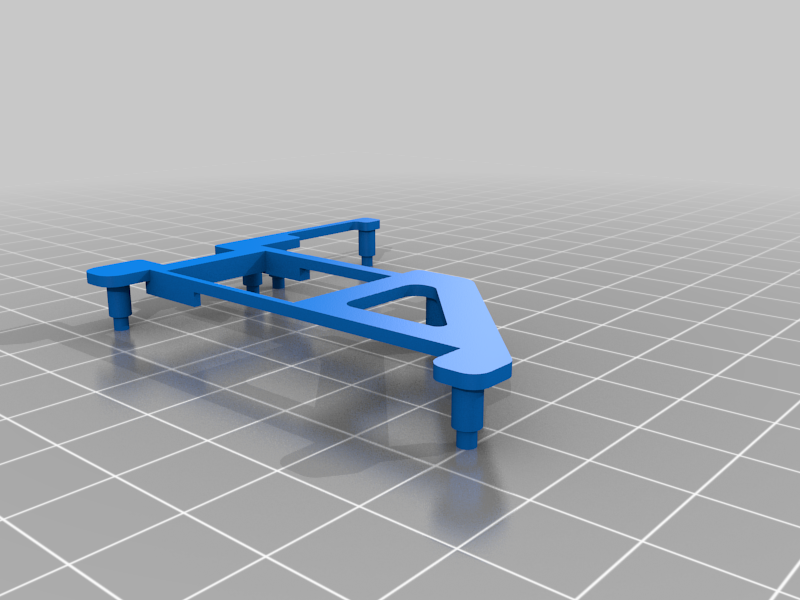
stl6_Internal_Frame_Pi_Zero_Bottom.stl
132 Ko · 10 138 Downloads
-
 stl
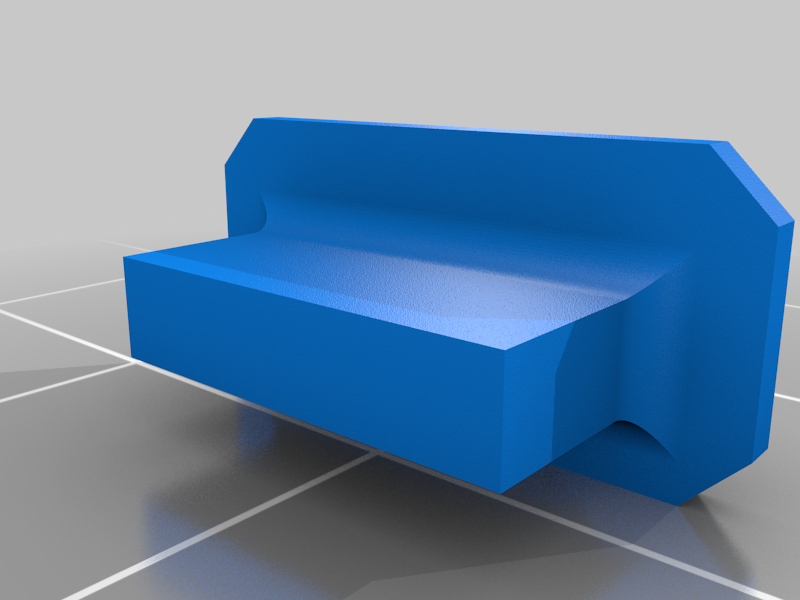
stl7_Select_Button.stl
389 Ko · 10 163 Downloads
-
 stl
stl8_Start_Button.stl
389 Ko · 10 157 Downloads
-
 stl
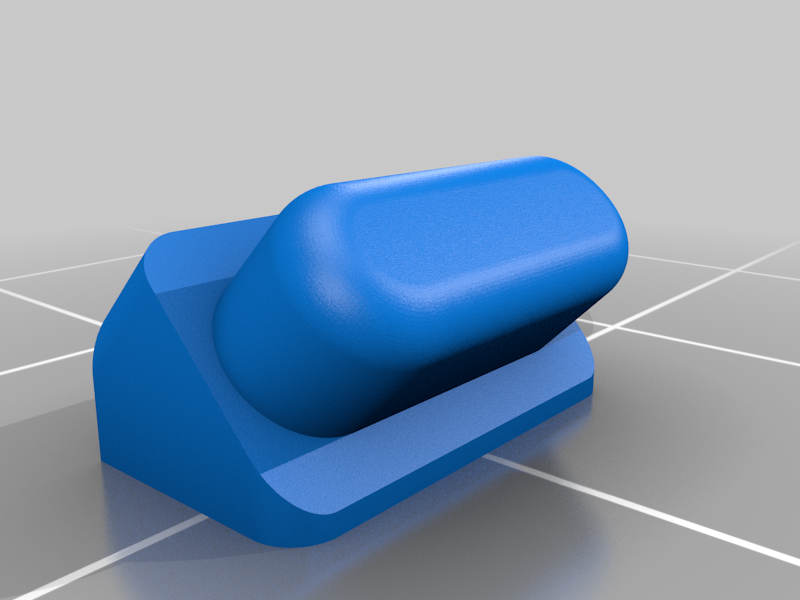
stl9_Power_Button.stl
504 Ko · 10 164 Downloads
-
 stl
stl10_USB_Plug.stl
44 Ko · 10 118 Downloads
-
 stl
stlExtra_Back_Case_1mm_Deeper.stl
605 Ko · 10 101 Downloads
-
 stl
stlExtra_Back_Case_2mm_Deeper.stl
606 Ko · 10 110 Downloads
-
 stl
stlExtra_Back_Case_4mm_Deeper.stl
632 Ko · 8 854 Downloads
-
 stl
stlExtra_Front_Case_No_HDMI.stl
1.3 Mo · 9 757 Downloads
-
 stl
stlExtra_Dpad_Case_Spacer.stl
49 Ko · 9 467 Downloads
Beschreibung
The PiGRRL Zero Advance is a design that has been over a year in the making, ever since my modifications to the original Adafruit PiGRRL Zero project in the creation of the Plus version, this design incorporates all of the ideas, suggestions and modifications that I and several others have come up with in the last couple years. I'm hoping it will be one of the easiest/most comprehensive designs in the DIY space right now.
Detailed Instructions for How to Build and Bill of Materials- Included in PDF
Introduction Video - https://youtu.be/rkm8HuDEK_c
Inside the Prototype Design - https://youtu.be/HpMabBAChXc
There were some goals that I wanted to accomplish as part of this new project:
- Lower the entry level for a DIY project and making it even easier to start and build.
- Cut down the build time, and reduce the chances for error during fabrication.
- Incorporate all the design suggestions and ideas that have been made since the first project.
- Make the design slimmer, cleaner and just generally look more professional.
LARGER SCREEN
The bar has been raised in screen real estate. The original Adafruit PiGRRL Zero was a 2.2" screen, my original Plus design went to a 3.2" screen and this new design has a 3.5" screen. The screen is direct from Adafruit, so you know it's going to be a quality product. 3.5" PiTFT screens however were well known to be a problem with Retropie that was solved thanks to juj for FBCP-ili9341!
THINNER CASE DESIGN
This was a huge goal for the project and mission accomplished! I was effectively able to reduce the case size down from 1.07" to approximately 0.80" thin. This is approximately a 25% reduction in the case size changing this design from a hobbyist project to a legitmate device to throw in your back pocket or backpack.
SPEAKER, HEADPHONE JACK & HDMI OUT
The original project had a speaker but ever since I added audio, I always wanted a headphone jack. Adafruit recently released a I2S Stereo Decoder that allowed the addition of a headphone jack to the project! Also included is a mini-HDMI out connection which allows you to put all of your gaming up on the big screen!
SNES BUTTONS
3D printed buttons are fun but actual molded buttons used in the original controllers brings back that sense of nostalgia and frankly provides a much better gaming experience. These buttons work best from an original SNES or Famicon controller, but modern molded buttons will work as well.
CUSTOMIZED SOFTWARE
Some of the biggest hurdles to this design was getting the 3.5" screen to work with Retropie with stutter or tearing. Also included some custom coding to allow for a low battery icon to show up on the screen, as well as many other minor adjustments that make the image provided the best and easiest way to get your build going. Obviously I'm here for the hobby and fun of building these projects so you're on your own for game files or anything beyond the Retropie build.
ALL THE DETAILS
Tons of details were thought through on this design. How about a toggle for the power button? Got that. LED low battery indicator/charging indicator? Yep. Threaded inserts for the case so you can open and close repeatedly without damage? Included that too. Custom designed bumpers to emulate the original SNES controller? Yes sir. There are several other minor details when creating this from scratch, its hard to go through them all here.