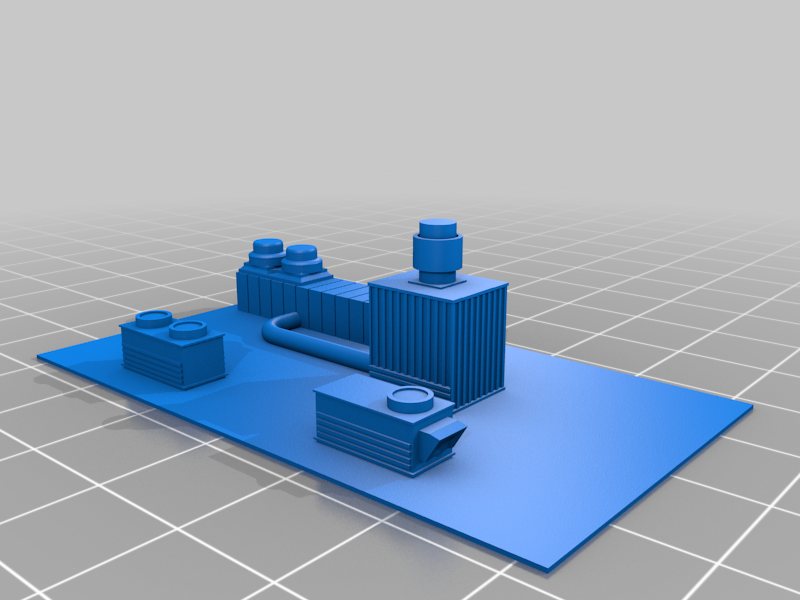
CSGO: Nuke
 von Tiizan


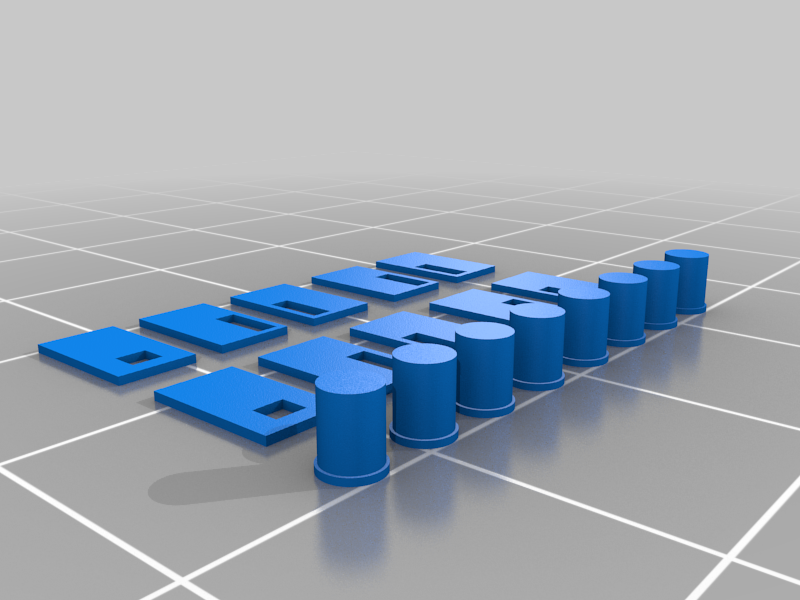
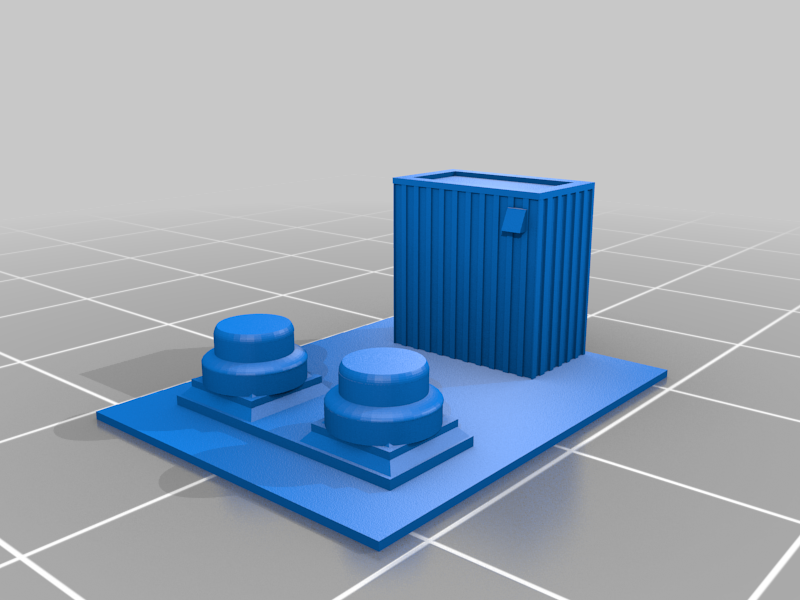
Druckbare Dateien (23)
-
 stl
stlct_building.stl
59 Ko · 665 Downloads
-
 stl
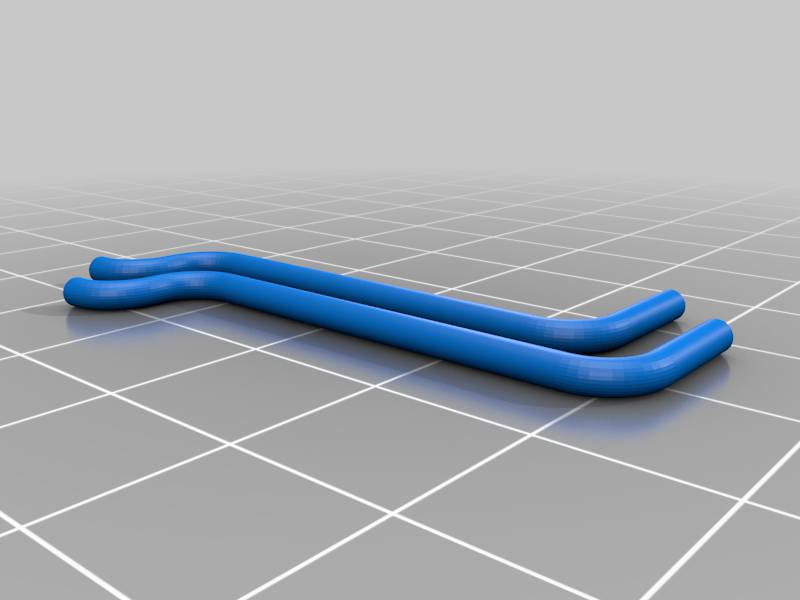
stldoorstrash.stl
219 Ko · 649 Downloads
-
 stl
stllobby_top_roof.stl
235 Ko · 654 Downloads
-
 stl
stlheaven.stl
262 Ko · 652 Downloads
-
 stl
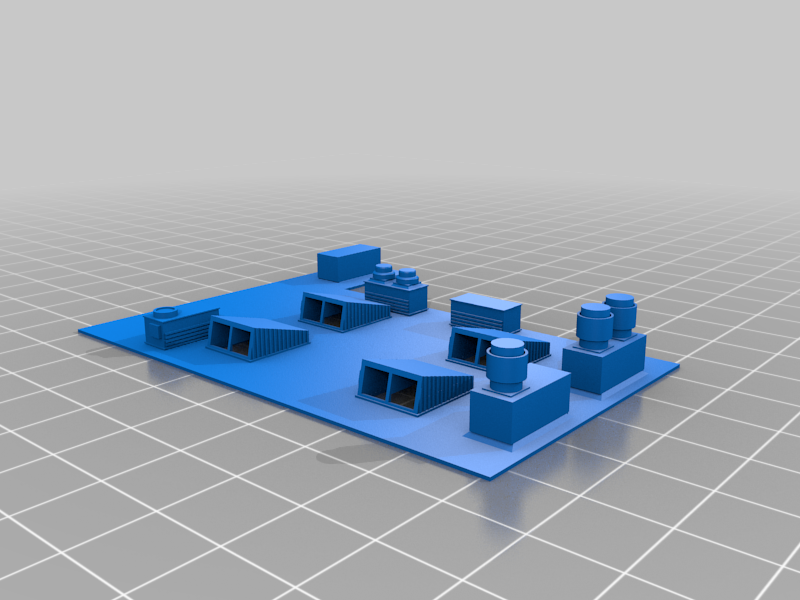
stlgarage_main_roof.stl
480 Ko · 671 Downloads
-
 stl
stlgarage_roof1.stl
102 Ko · 650 Downloads
-
 stl
stlgarage_roof2.stl
102 Ko · 647 Downloads
-
 stl
stllobby_roof_pipes.stl
341 Ko · 654 Downloads
-
 stl
stlmain_roof_pipes.stl
391 Ko · 650 Downloads
-
 stl
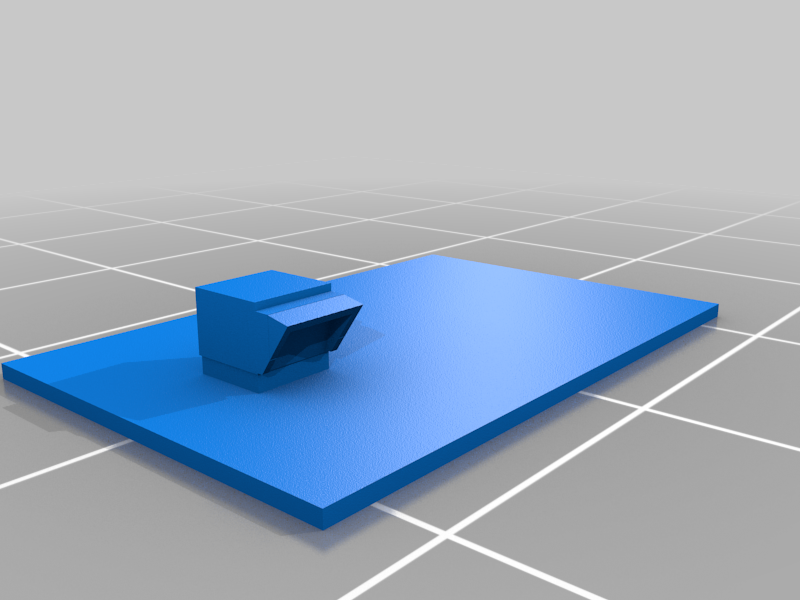
stlmini_roof.stl
6 Ko · 649 Downloads
-
 stl
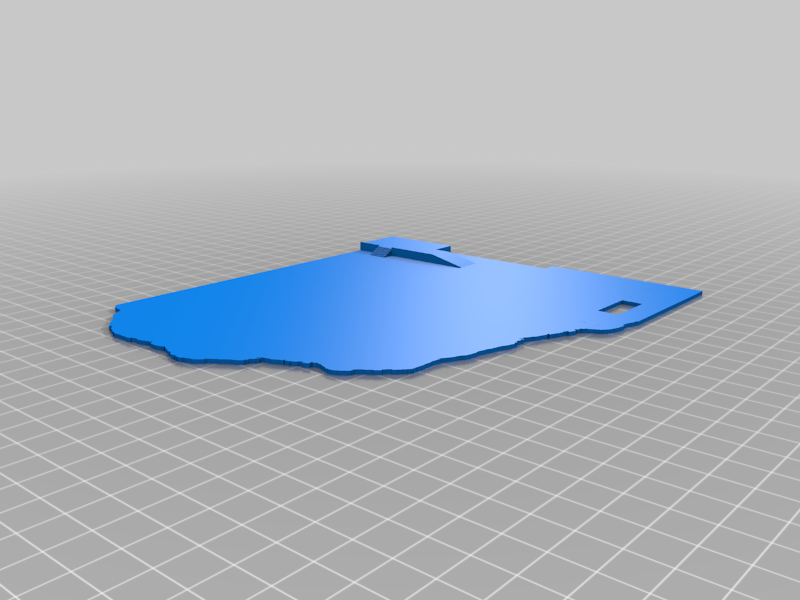
stlground_surface_optional.stl
660 Ko · 653 Downloads
-
 stl
stlgarage.stl
396 Ko · 649 Downloads
-
 stl
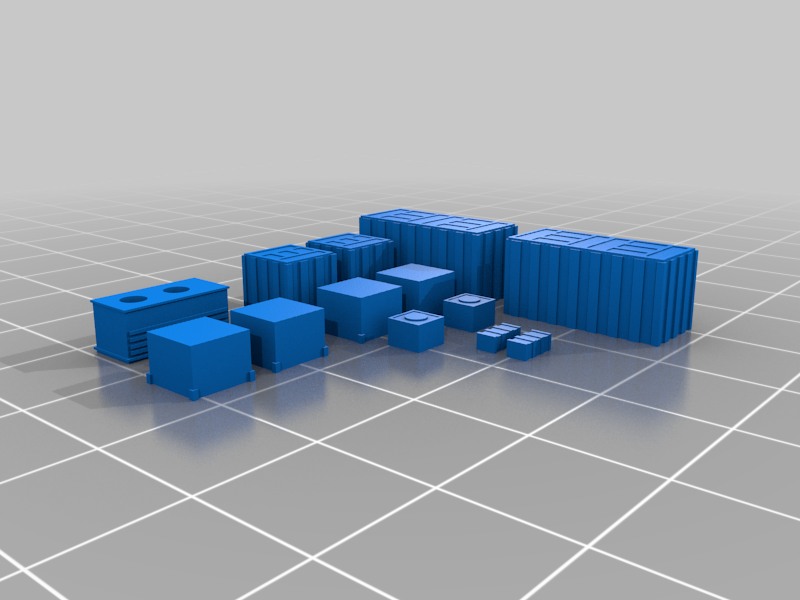
stlboxes.stl
187 Ko · 653 Downloads
-
 stl
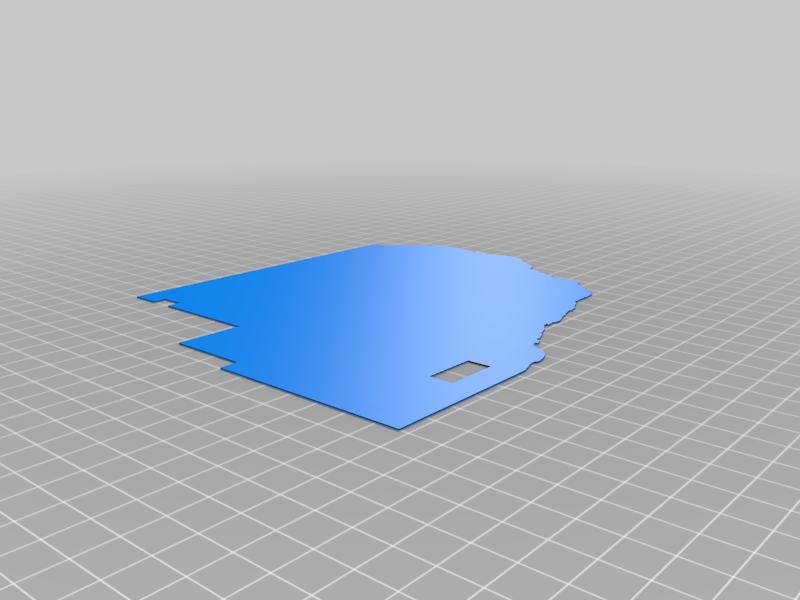
stlground.stl
454 Ko · 651 Downloads
-
 stl
stlmain_building_roof.stl
620 Ko · 677 Downloads
-
 stl
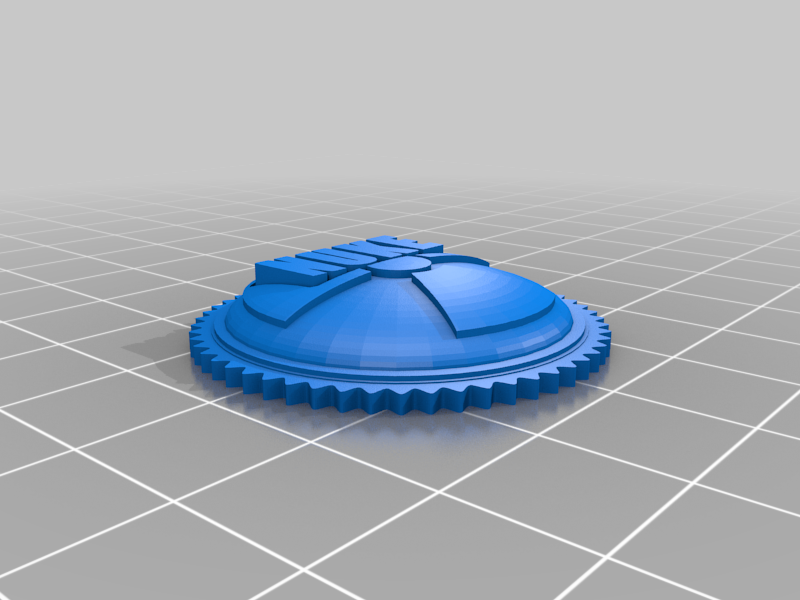
stllogo.stl
548 Ko · 664 Downloads
-
 stl
stllong_roof.stl
153 Ko · 645 Downloads
-
 stl
stlextras.stl
522 Ko · 653 Downloads
-
 stl
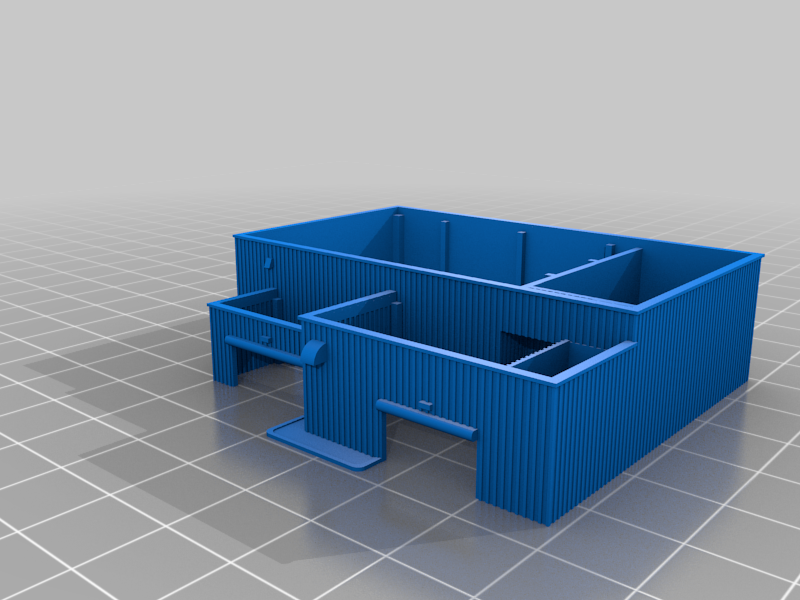
stlmain_building.stl
1.2 Mo · 659 Downloads
-
 stl
stllobby_roof.stl
394 Ko · 639 Downloads
-
 stl
stlhuge_building.stl
537 Ko · 682 Downloads
-
 stl
stlmarshmallow.stl
1.9 Mo · 673 Downloads
-
 stl
stlhuge_building_noLogo.stl
546 Ko · 667 Downloads
Beschreibung
You can check my 3D logo projects here:
IG: https://www.instagram.com/the_tiizan/
Twitter: https://twitter.com/Tiizan1
CS2 Mirage B site: https://www.thingiverse.com/thing:5552655
CS2 Dust2 A site: https://www.thingiverse.com/thing:6970925
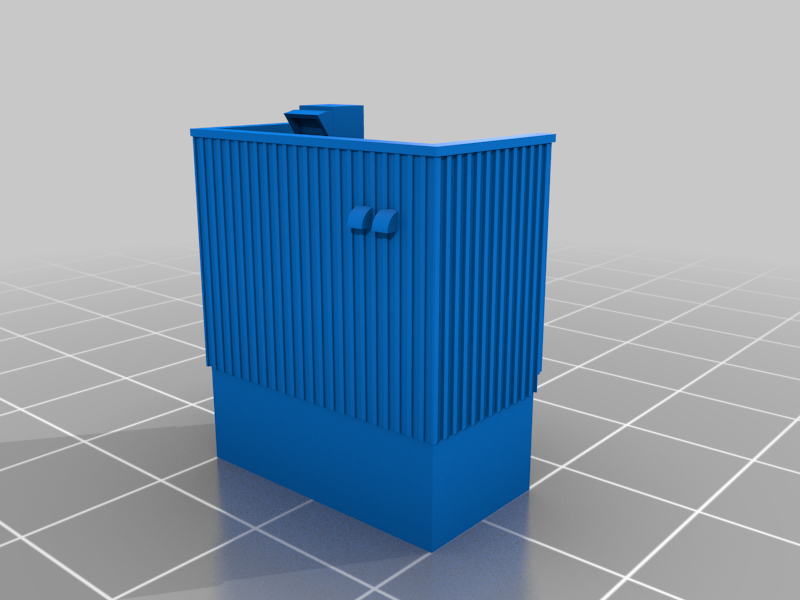
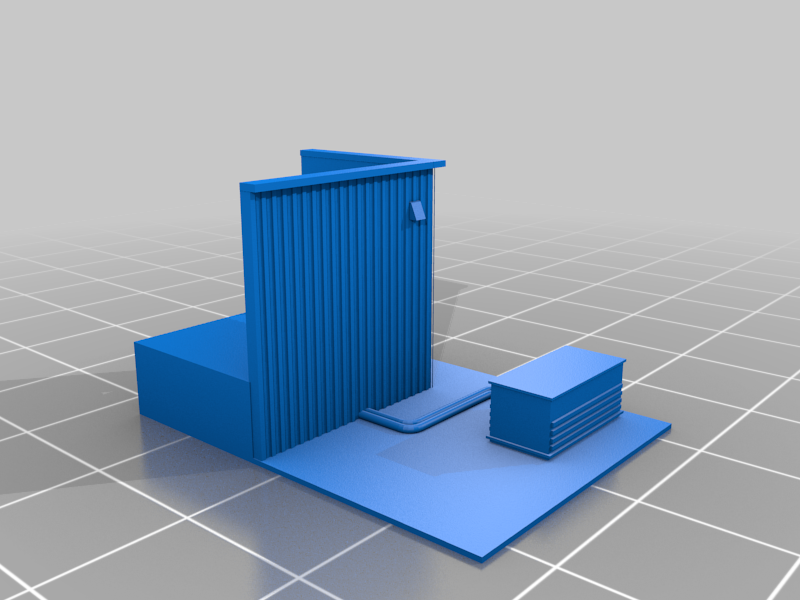
CSGO Nuke by Tiizan
This is simplified version of my original Nuke and is NOT tested. Original has more parts and some walls and little roof parts are printed separately.
There might be some mistakes. Please leave a comment if you find any.
Please read this before printing or you will probably fail. This is some sort of QA:
What do I need to print this?
Advanced skills makes everything easier but are not required.
Huge building and ground are designed for 0,4mm nozzle. You cannot use smaller print plate than 18cmx18cm for the ground part.
Other parts are for 0,25mm nozzle and if you use 0,4mm nozzle you will lose details and some walls might disappear so it’s a risk. You cannot print all parts with 0,4mm nozzle anyway. I can’t say how 0,15mm nozzle works with these models. I recommend not to scale models to avoid problems. Scaling up might be ok but definitely should NOT be scaled down.
White filament is recommend for some walls and other parts if you are going to paint result. Grey suits for ground, roofs and some other parts. Black also suits for ground but might be too dark.
How do I print this?
Don’t print too many parts at once because if one fails, all fail. You don’t really save any time so print all separately.
You should use 1-2mm brim for thin and very small parts to avoid failing. This is very important for main building and garage.
I recommend 0,1mm layer height which is the safest choice. 0,15-0,2mm might also ok but this increases risk to lose details.
Use automatically or manually generated supports. If manually generated, you can save some time but be careful. The main building is probably the hardest for supports.
Fill density 10% for all parts.
Advanced top layer for ground (optional):
This might be hard to understand but lets try:
You can print a separate top layer for ground. It has lines in “tarmac” and lighter color for indoors. You need at least white and grey/black filament and 0,25mm nozzle.
Height of the part is only 0,4mm (4 x 0,1mm layers) and should be glued to ground part. It has to be printed upside down. Stl files part is already turned.
Settings (for Prusa slicer):
- First layer: 0,1mm (important)
- Perimeters: 1
- Bridging angle: 60 degrees (this fills line holes optimally)
- Bottom fill pattern: Hilbert curve (this is up to you to choose but this was my choise)
- No brim or skirt.
Layers:
- Tarmac line holes are 0,2mm deep so first two layers are just imitating tarmac. You can try different combos like grey + black to make first layer grey darker (this was my choise).
- Third layers white starts to fill line holes and also indoor locations. Second layer has some rectangle holes which are filled with third layer.
- Fourth just finishes whole thing.
Other printing tips:
Huge building takes long to print so to save time use different layer heights if you want so keep it smooth as possible. You can also save some time if you generate supports manually but make sure all needed supports exists. Use 2-3mm brim.
You can iron some parts which makes those smoother but it takes more time.