Wordclock


Druckbare Dateien (7)
-
 stl
stlwordclock_frame.stl
2.5 Mo · 146 Downloads
-
 stl
stlwordclock_frame_diffusor.stl
14.7 Mo · 146 Downloads
-
 stl
stlwordclock_frame_diffusor_support.stl
14.8 Mo · 149 Downloads
-
 stl
stlwordclock_inlet.stl
455 Ko · 146 Downloads
-
 stl
stlwordclock_inlet_support.stl
2.3 Mo · 144 Downloads
-
 stl
stlwordclock_back_cover_V2.stl
578 Ko · 157 Downloads
-
 stl
stlwordclock_back_cover_V2_support.stl
325 Ko · 145 Downloads
Beschreibung
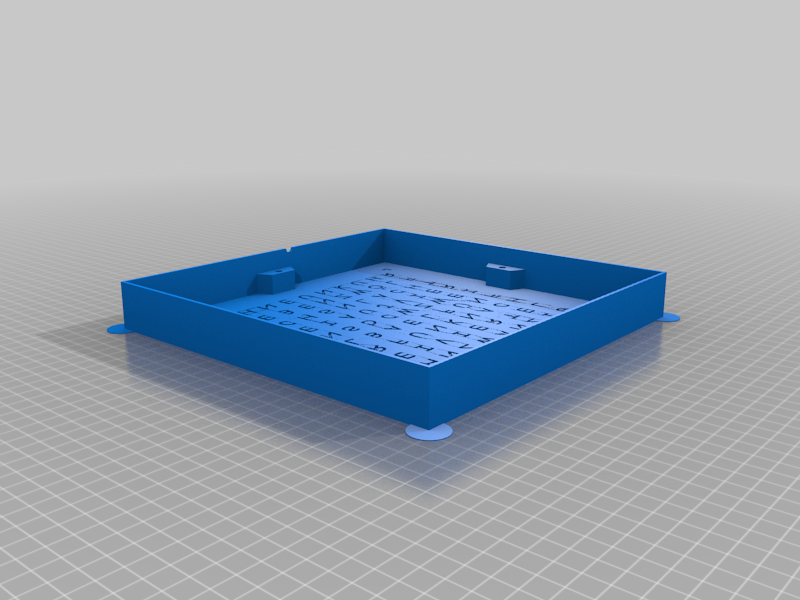
Inspired by thing 4693081, I created a parametric version of a wordclock. Initially it was designed to fit for an IKEA Ribba frame of size 23x23, because I already have some of them at home. But it is possible to adapt to other frame sizes. Also the text and the font can be changed easily.
The distance between each letter is chosen so that it is suitable for 60 LED/m WS2812 stripes.
To print all parts, you need to export the frame, the inlay and the back cover as STLs from OpenSCAD.
Each part can be printed without using support. But because of the large size of the frame or back cover, the edges tend to warp. To reduce thiseffect, you can enable support around these edges.
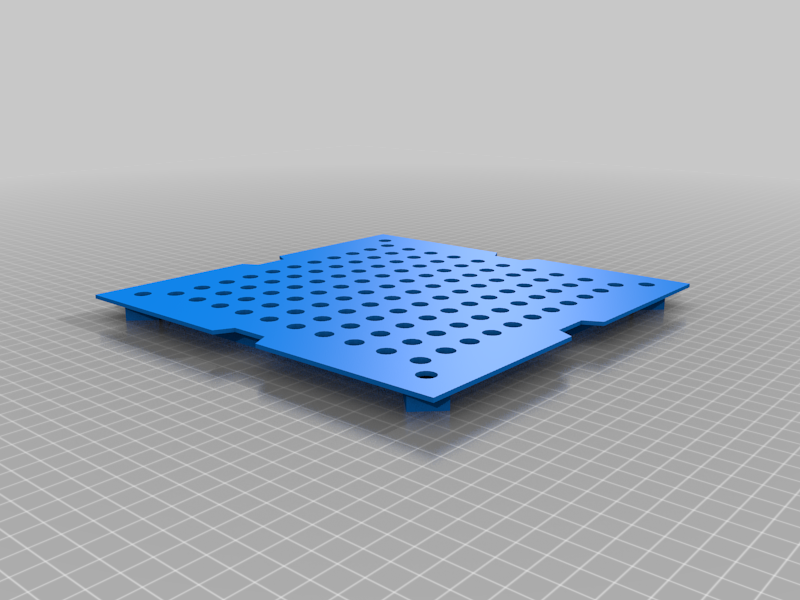
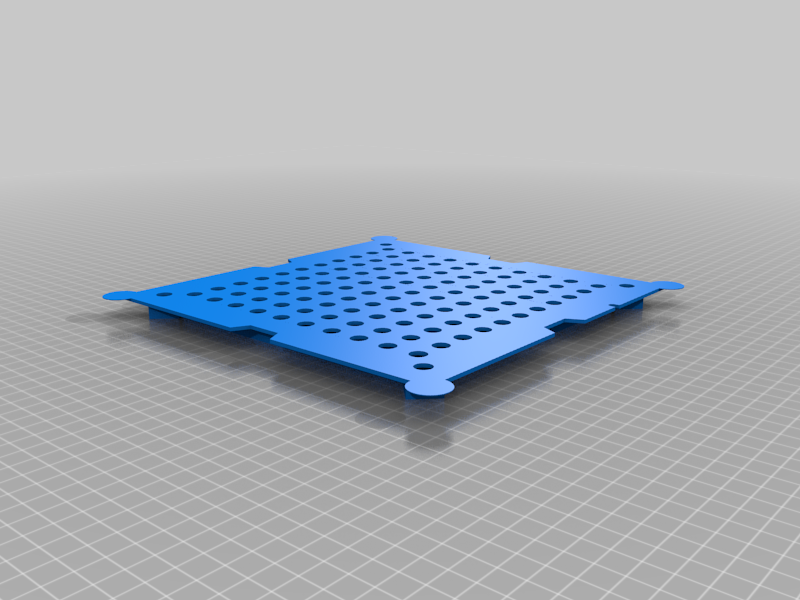
If you want to print the frame with a diffusor, you can set parameter 'generate_diffusor' to true. I recommend to use white PLA for the diffusor and then change to black PLA.
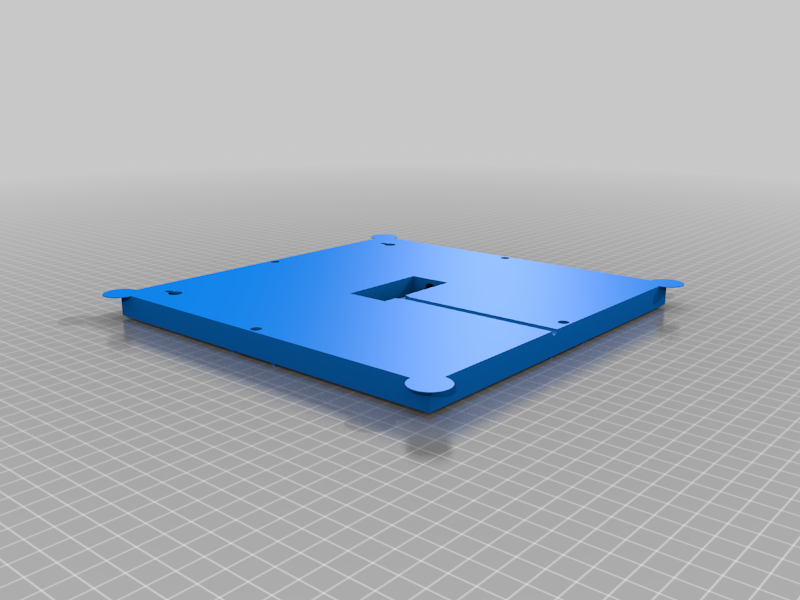
To connect the back cover to the frame, I used M3 inserts in the frame. The holes for these inserts can be adapted to your needs.
Electronics
The used LED stripes are of type WS2812 with 60 LEDs/m.
The controller board is an ESP-12F module with ESP8266.
As a real time clock a DS3231 module is used.
Optional, a light sensor can be also used. I use the module BH1750.
Software
To build the software VisualStudio Code with PlatformIO can be used. Extract the archive 'wordclock_sw.7z' to a folder and open it with VS Code, build it and flash it to the ESP8266. To flash the device, upload the filesystem image 'littlefs.bin' and the application image 'wordclock.bin'.
Connecting to wifi network
After boot, the ESP starts an AP. Connect to this AP and enter your wifi credentials. After reboot, wordclock will connect to your wifi network and shows its IP address.
Enter this IP address into the address bar of your internet browser. This will load the config page of the wordclock.
This project is also available on github, where it is primarily maintained.