
DEEJ volume control case
 por Optagon


Archivos imprimibles (11)
-
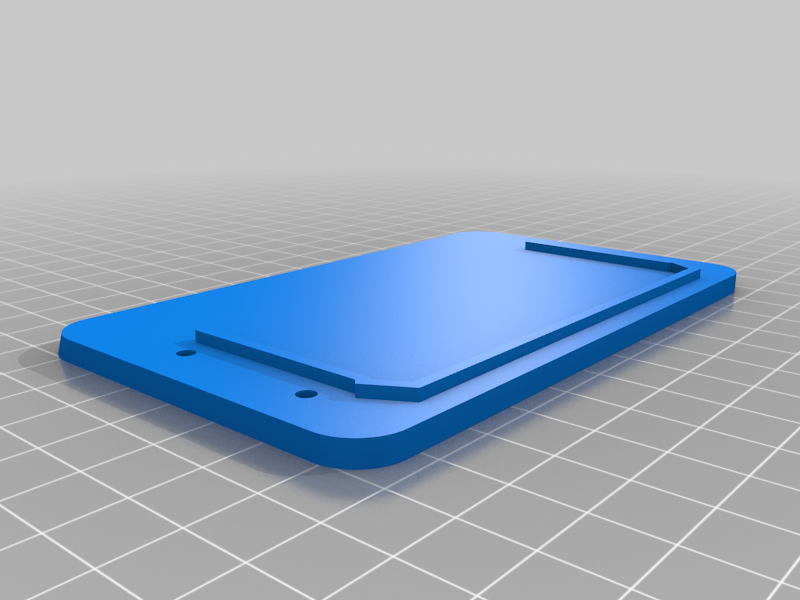 stl
stlBottom.stl
83 Ko · 752 descargas
-
 stl
stlCaseBody.stl
118 Ko · 915 descargas
-
stl
Lid.stl
618 Ko · 908 descargas
-
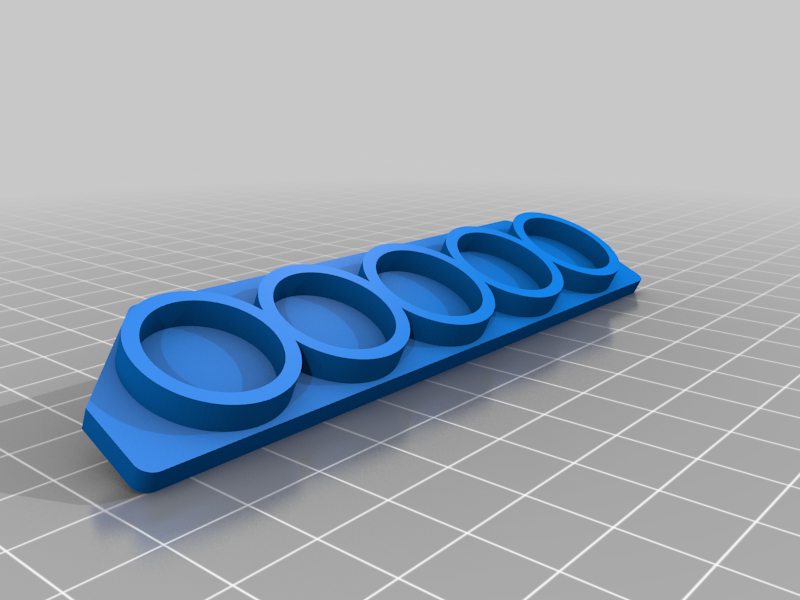 stl
stlPotentiometerTray.stl
171 Ko · 715 descargas
-
 stl
stlLogo_Xbox.stl
61 Ko · 713 descargas
-
 stl
stlLogo_Spotify.stl
95 Ko · 727 descargas
-
 stl
stlLogo_Youtube.stl
47 Ko · 711 descargas
-
 stl
stlLogo_Steam.stl
91 Ko · 699 descargas
-
stl
Logo_Mario.stl
86 Ko · 720 descargas
-
 stl
stlLogo_Discord.stl
82 Ko · 722 descargas
-
 stl
stlLogo_Master.stl
87 Ko · 730 descargas
Descripción
Image album with with build photos and tips https://imgur.com/a/8WKr8W9
For assembly instructions keep reading.
Project Github
Info regarding the Deej volume control project and arduino code can be found on the official GitHub page
All I did was include some basic neopixel code in the provided arduino file from the GitHub,
Non-Printed parts used
5x 10k ohm linear potentiometers
5x Rubber knobs that fits 18-tooth 6mm shafts
8x12mm m3 screws (Optionally exchange 2 of them for longer screws)
Links are to shops where I bought my parts -- it's just to help you identify what I used!
Arduino Nano (Electrokit)
Potentiometers (Electrokit)
Knobs (Electrokit)
Neopixel clones (Aliexpress)
Assembly
1) Fit the wired electronics to the bottom of the lid piece. I used hot glue to keep the leds in place but the potentiometers are attached with a nut on the top.
2) Place the the tray inside the main case and fit the lid with the electronics into the case. While holding it shut, turn it over and drop a nut into each of the four screw hole tunnels and then screw it shut. It helps to hold the nut in place while screwing it shut so the screw can catch the threads. I used two 19mm m3 screws for the longer diagonal channels but that's completely optional.

3) Place four nuts into the hexagonal holes in the bottom piece. They can fall out easily so best thing is to use a small bit of glue to hold them in place, just don't get glue inside the threads! Then screw it shut.