Rubiks Void Cube
 di Lochemage


File stampabili (8)
-
 stl
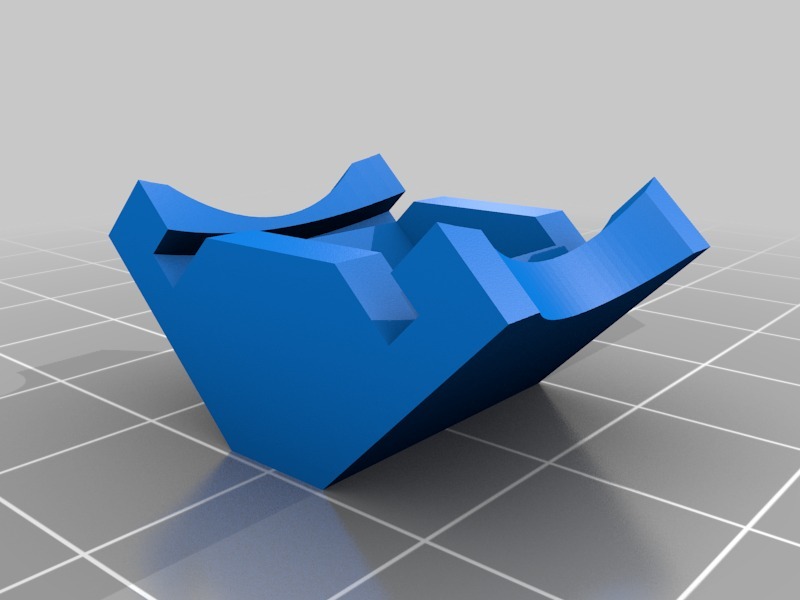
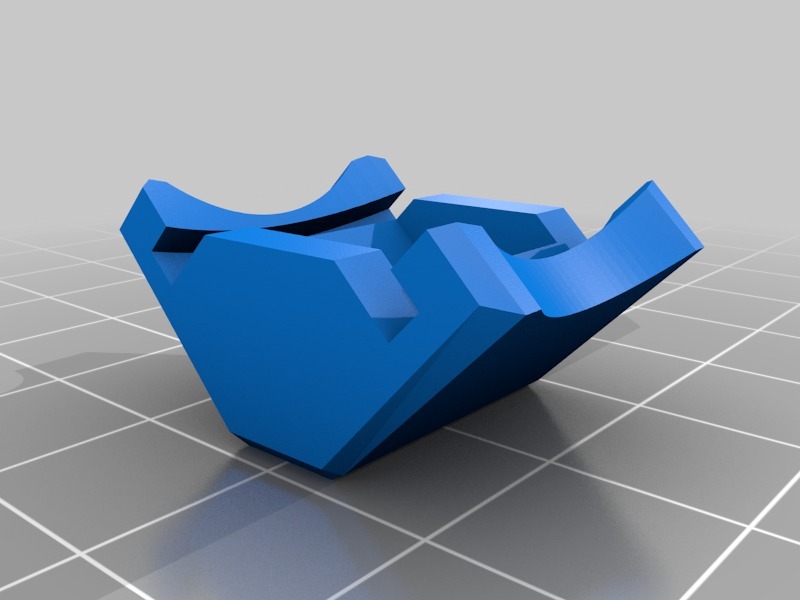
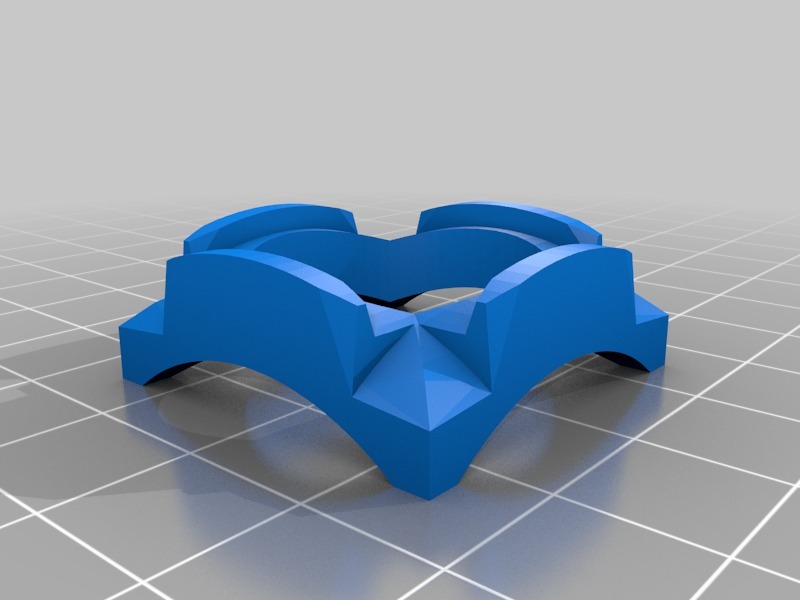
stlcorner_piece.stl
69 Ko · 9 830 download
-
 stl
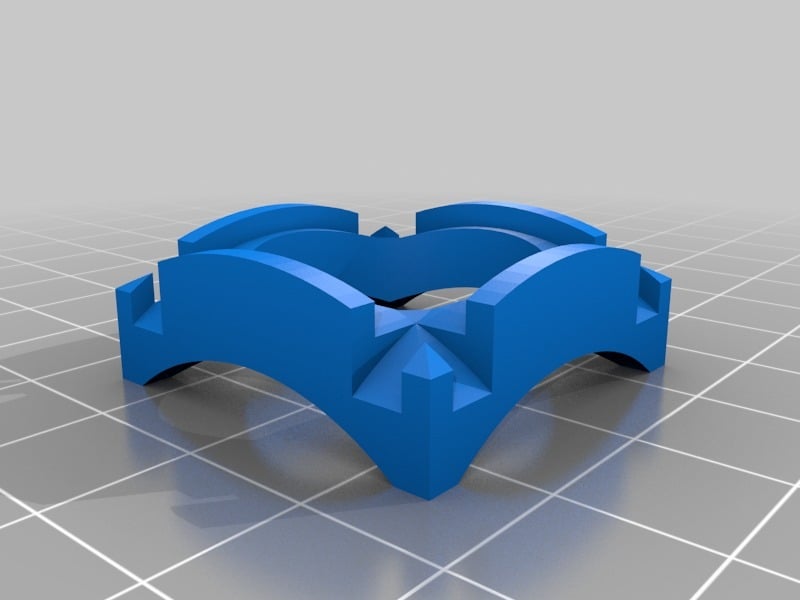
stltrack_ring.stl
266 Ko · 9 701 download
-
 stl
stlinner_edge.stl
83 Ko · 9 665 download
-
 stl
stledge_piece.stl
57 Ko · 9 598 download
-
 stl
stledge_piece_v2.stl
35 Ko · 9 981 download
-
 stl
stlinner_edge_v2.stl
23 Ko · 9 991 download
-
 stl
stlcorner_piece_v2.stl
28 Ko · 9 818 download
-
 stl
stltrack_ring_v2.stl
58 Ko · 9 915 download
Descrizione
Update 10/03/2013:
Turns out I didn't actually need to print the inner track ring with support, I thought the overhang would have been too steep but it turned out it wasn't!
Update 09/26/2013:
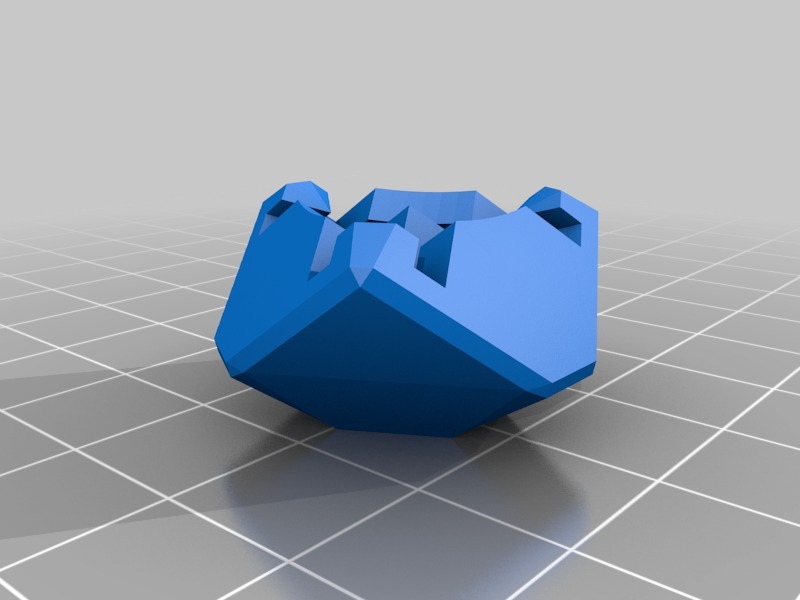
I've cleaned up the existing models and added a few beveled edges that should make it easier to maneuver. However, it didn't improve it as much as I would have liked, there is an improvement but not much. I've uploaded all the updated pieces with a '_v2' postfix.
Update 09/25/2013:
I'm in the process of updating some new, improved, models that have been cleaned up and rounded to make them move much easier. Once I print them out and am satisfied with them, I will upload them here as a version 2.
This is a replica of the Rubiks Void cube. It moves exactly like a normal Rubiks cube, except it has no core. The lack of the core is actually a benefit for us, though, since that means there are no springs or other vitamins to deal with. The entire cube, minus coloring the sides, are plastic parts that can be printed!
All of the parts were modeled with printing in mind. The 'grain' of the layers factor into how the pieces move together to maximize its smoothness and practical strength. The final cube is a bit rougher to move, as to be expected since pieces aren't all perfectly smooth, but it still moves well. I suspect a dip in acetone or a proper sanding will make the cube move even smoother.
Once printed and assembled, all you need is to slap some colored stickers or paint on it and you have a fully functional void cube!
I hope you enjoy!