Electronics Terminal Block


File stampabili (16)
-
 obj
objTerminal_Block_1_pole_top.obj
34 Ko · 933 download
-
 obj
objTerminal_Block_1_pole_bottom.obj
32 Ko · 924 download
-
 obj
objTerminal_Block_2_pole_bottom.obj
45 Ko · 935 download
-
 obj
objTerminal_Block_8_pole_bottom.obj
107 Ko · 936 download
-
 obj
objTerminal_Block_7_pole_top.obj
103 Ko · 930 download
-
 obj
objTerminal_Block_3_pole_top.obj
56 Ko · 937 download
-
 obj
objTerminal_Block_3_pole_bottom.obj
53 Ko · 925 download
-
 obj
objTerminal_Block_4_pole_bottom.obj
65 Ko · 929 download
-
 obj
objTerminal_Block_5_pole_bottom.obj
76 Ko · 924 download
-
 obj
objTerminal_Block_8_pole_top.obj
96 Ko · 929 download
-
 obj
objTerminal_Block_6_pole_bottom.obj
87 Ko · 923 download
-
 obj
objTerminal_Block_4_pole_top.obj
65 Ko · 925 download
-
 obj
objTerminal_Block_6_pole_top.obj
86 Ko · 933 download
-
 obj
objTerminal_Block_2_pole_top.obj
46 Ko · 935 download
-
 obj
objTerminal_Block_7_pole_bottom.obj
98 Ko · 925 download
-
 obj
objTerminal_Block_5_pole_top.obj
76 Ko · 921 download
Descrizione
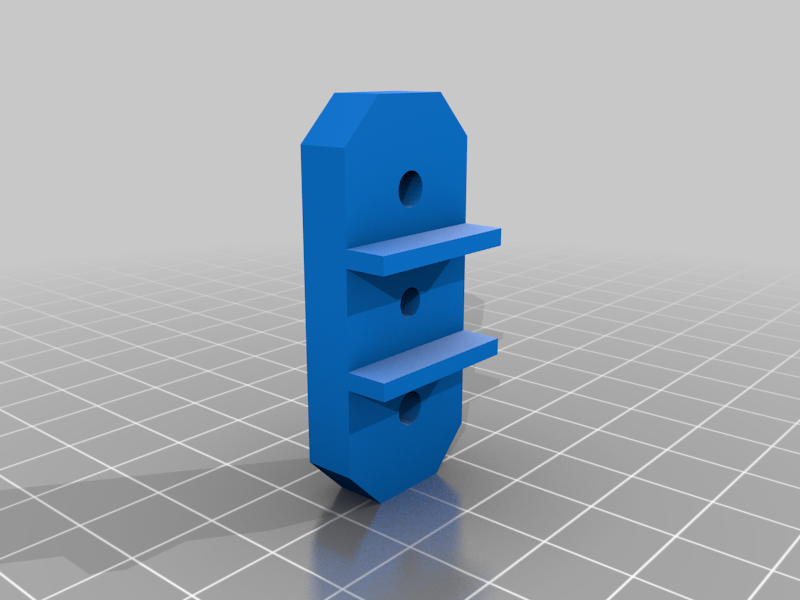
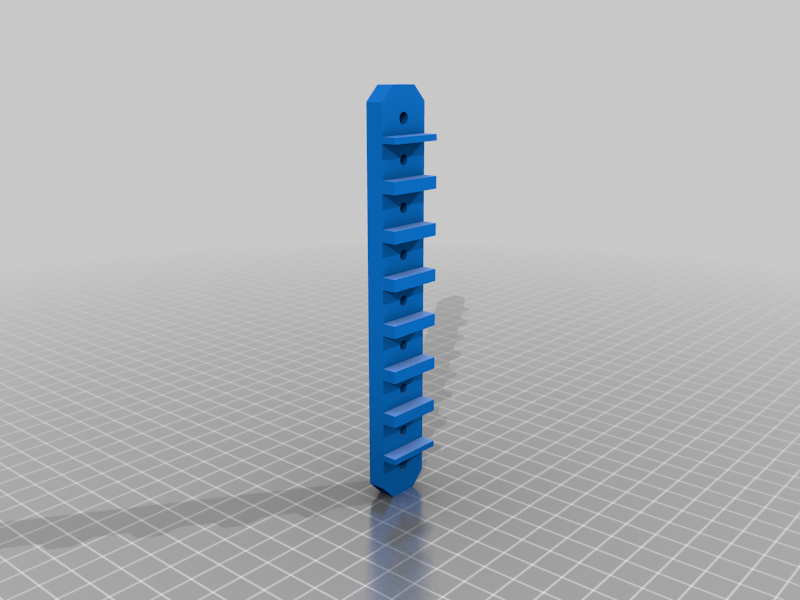
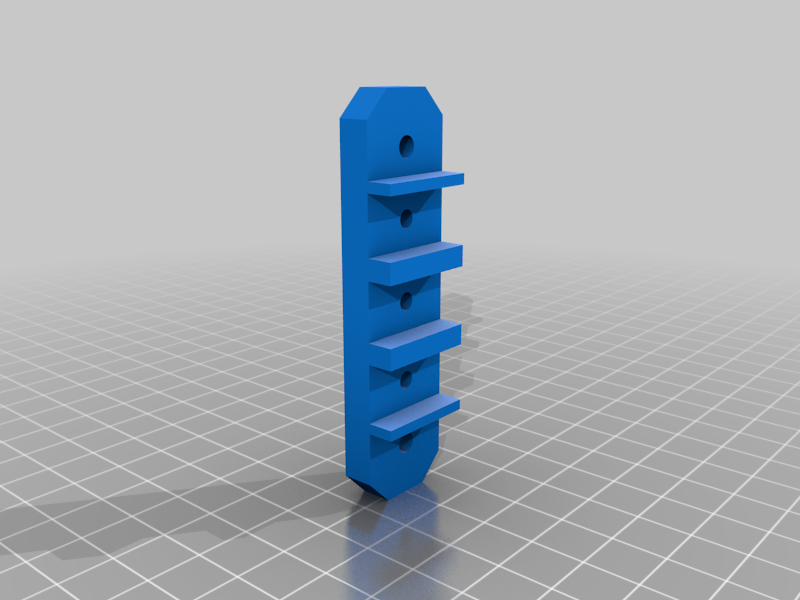
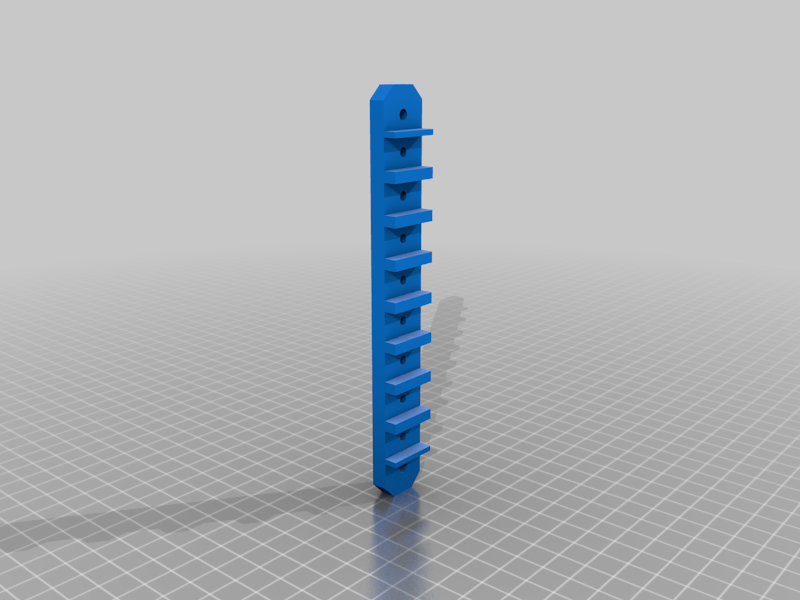
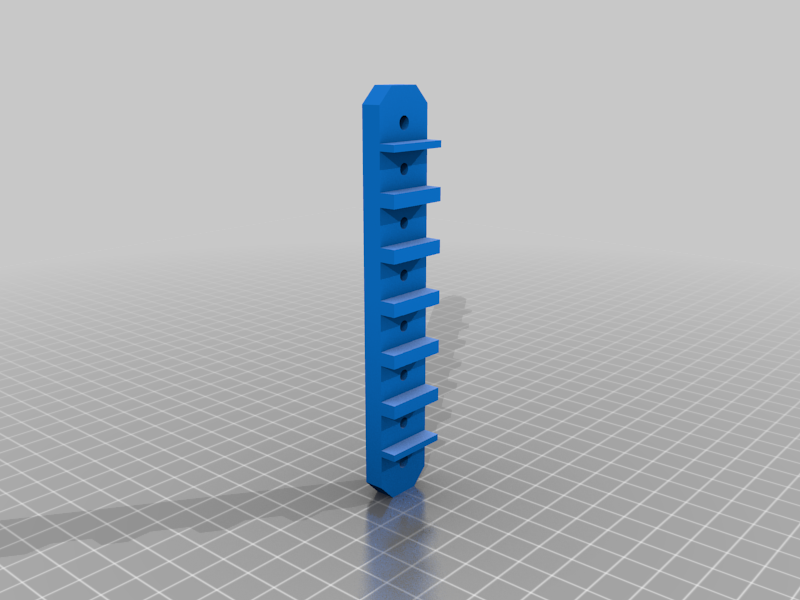
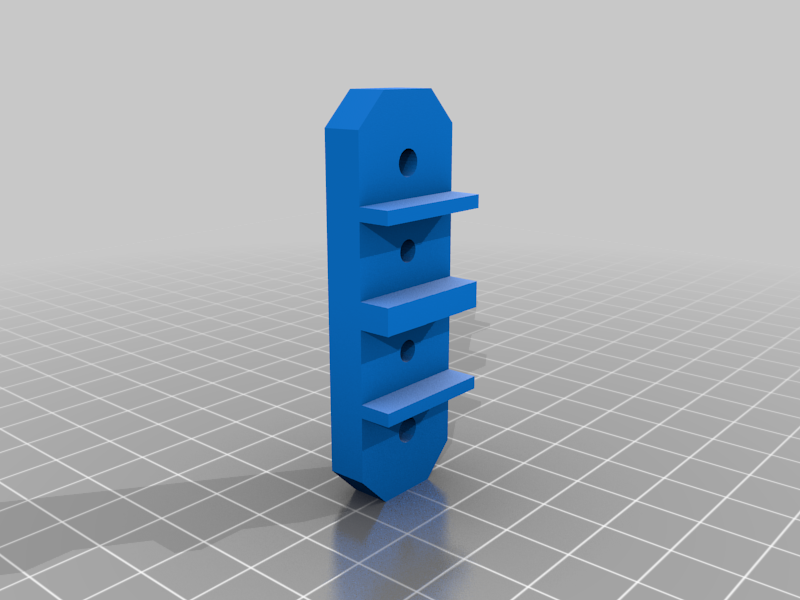
I was looking at ways to better manage my wiring for a new printer build and thought "Hey, some terminal blocks would be darn handy". I found a severe lack of decent ones on here so I decided to throw a snazzy one together right quick.
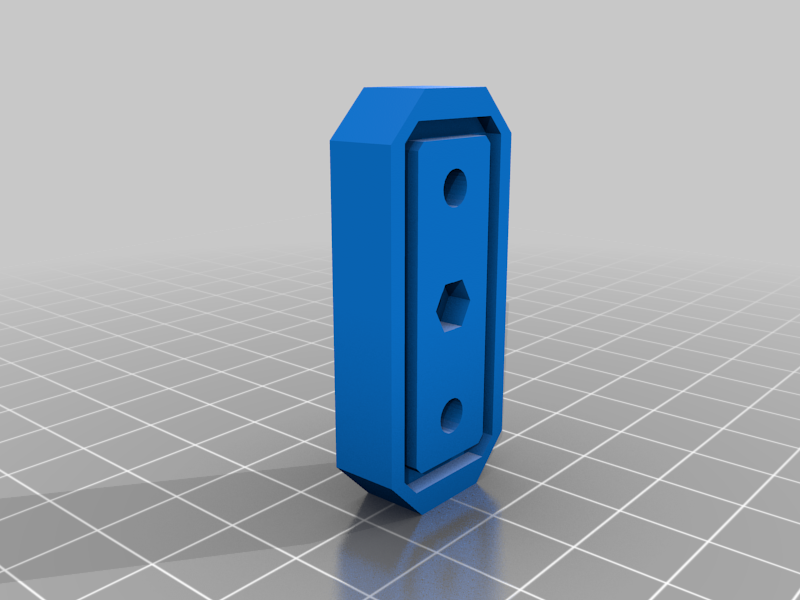
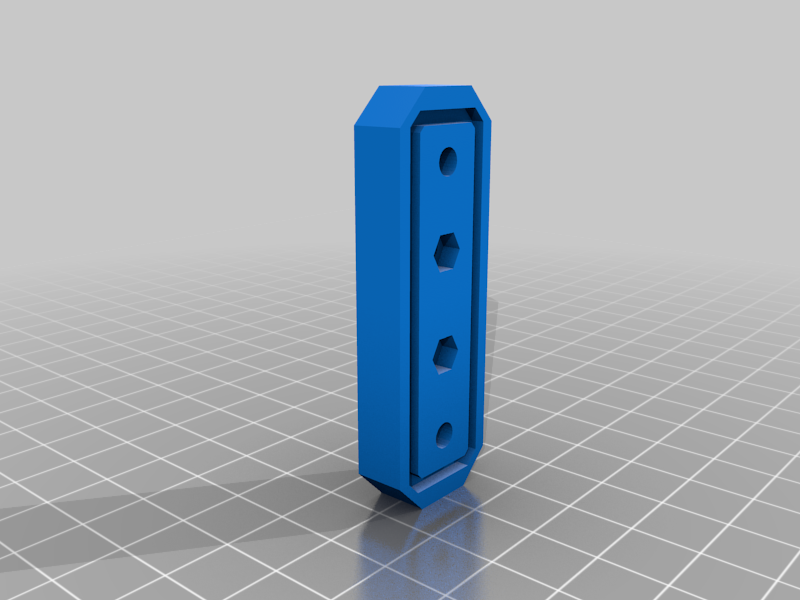
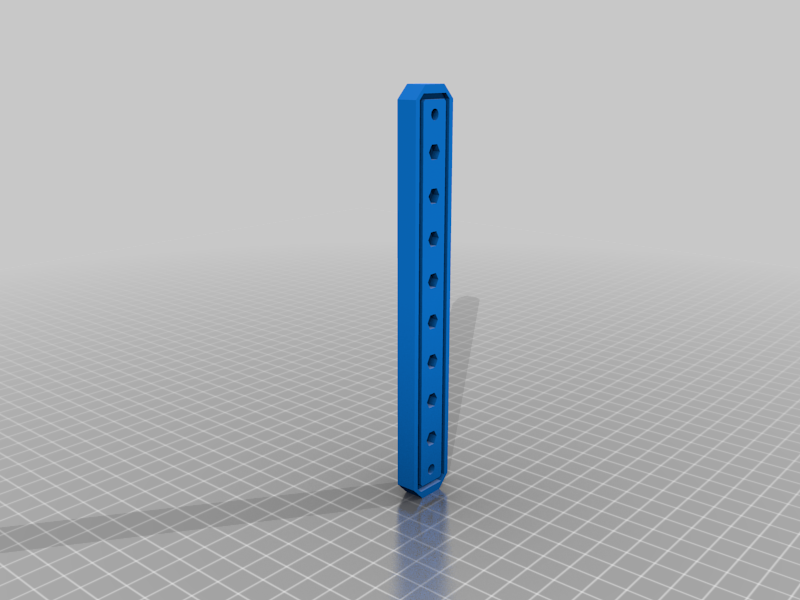
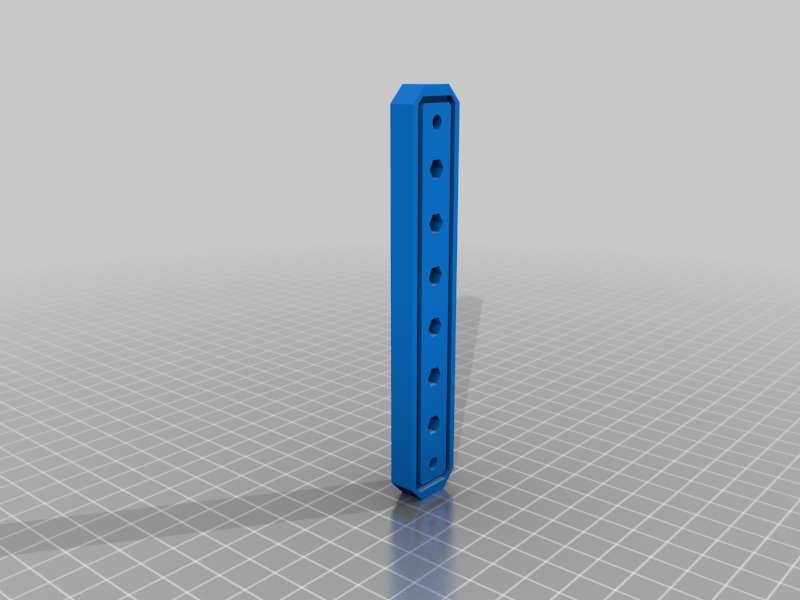
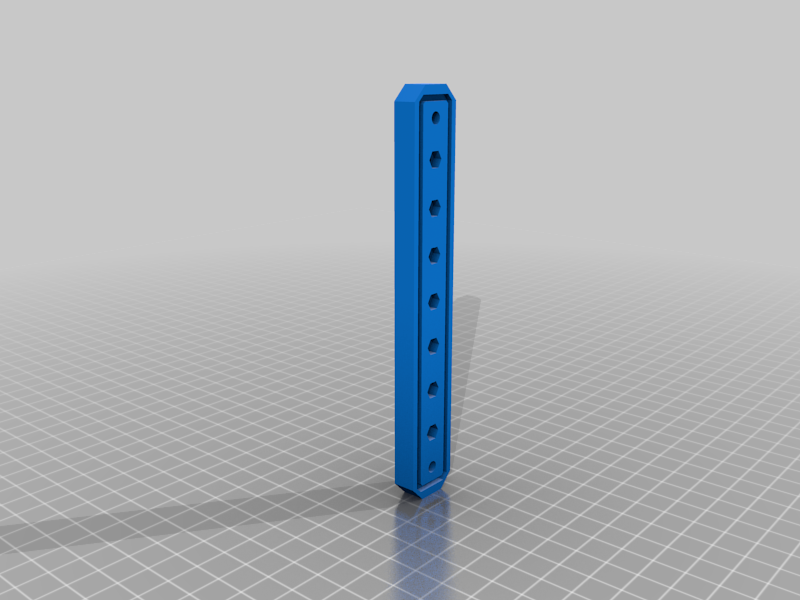
This handy dandy little terminal block comes in two pieces and 8 pre-made sizes. It's designed to work with standard m3 bolts and nuts. all that is required to assemble is a soldering iron and possibly a knife for cleaning up the edges.
Assembly instructions:
Print off both the top and bottom sections
.
Make sure the top can nest into the channels of the bottom.If your printer is over extruding or a little messy there could be a bit of shmoo to clean up with a knife.
Once it is nesting just fine use a soldering iron to press the m3 nuts into the premade slots of the bottom. Attach the top to the bottom and then use the end holes to screw it into whatever you like ( note, I'm not responsible for you screwing it into inappropriate things, or wiring something stupid heavy using these and burning your house/trailer/cat down)
There are options from 1 terminal up to 8 premade. There is also a sketchup file with each version and the building blocks to make your own. I figured 8 was a good ending point as it fit nicely on my current print bed.