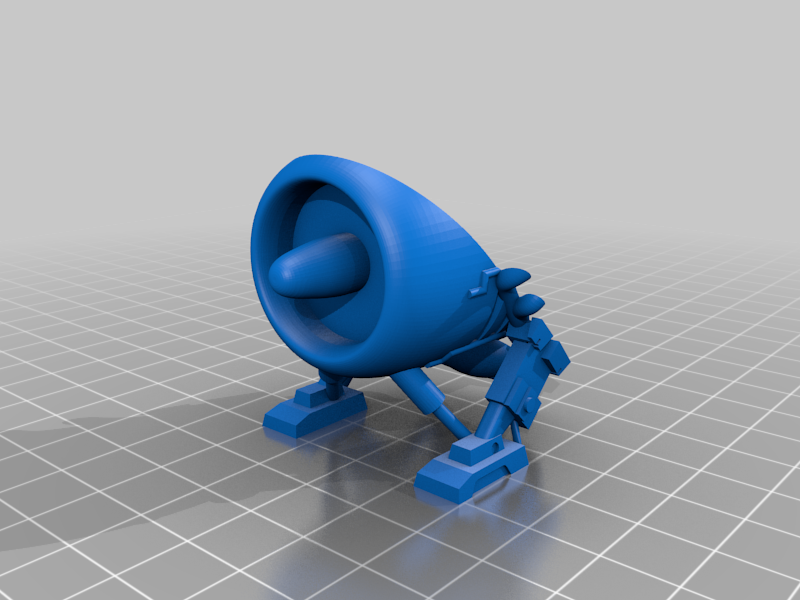
Dexcom Speeder


File stampabili (9)
-
 stl
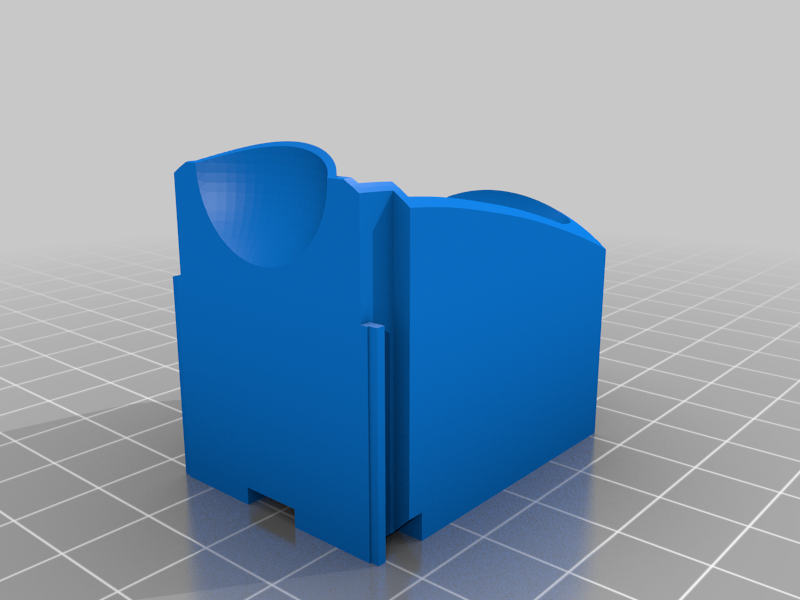
stlSpeeder_Cockpit_v2.0.stl
137 Ko · 238 download
-
 stl
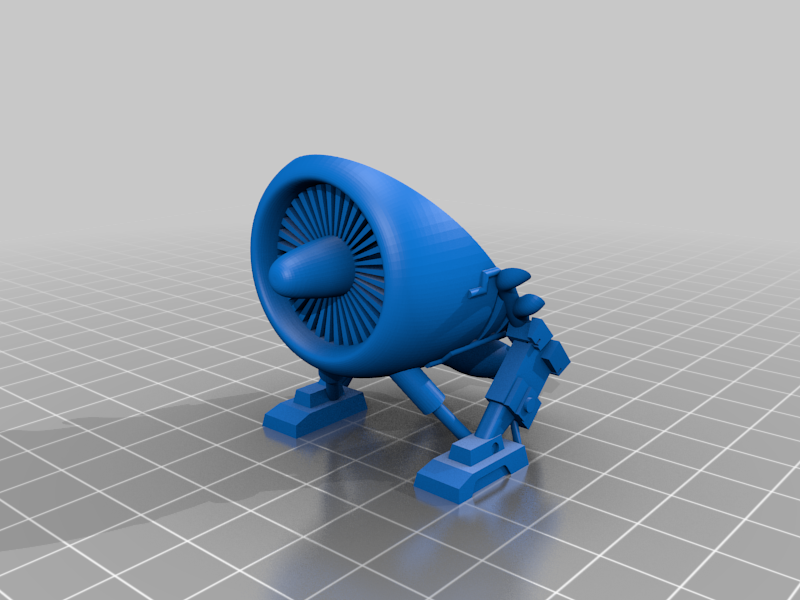
stlSpeeder_Rear_JetLegs_combined_v2.1.stl
1.8 Mo · 235 download
-
 stl
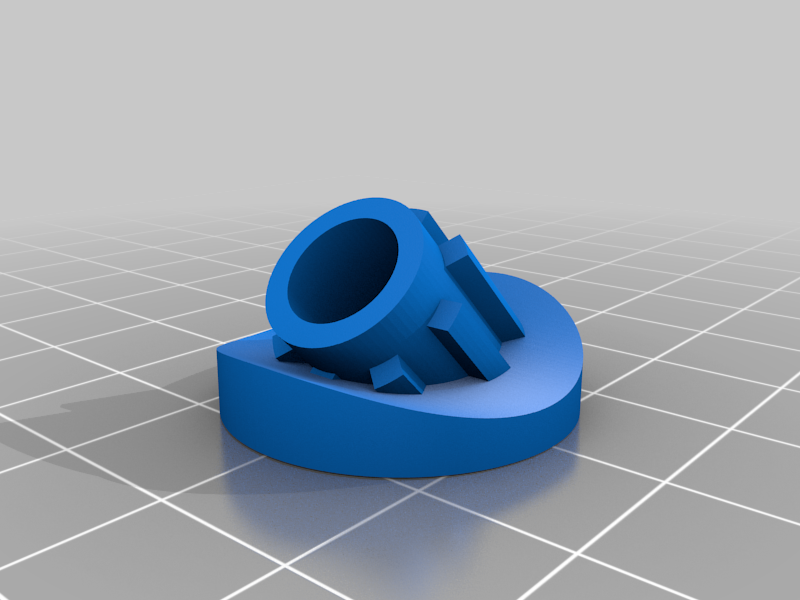
stlSpeeder_Blaster_Top_v2.0.stl
83 Ko · 234 download
-
 stl
stlSpeeder_Blaster_Bottom_v2.0.stl
35 Ko · 235 download
-
 stl
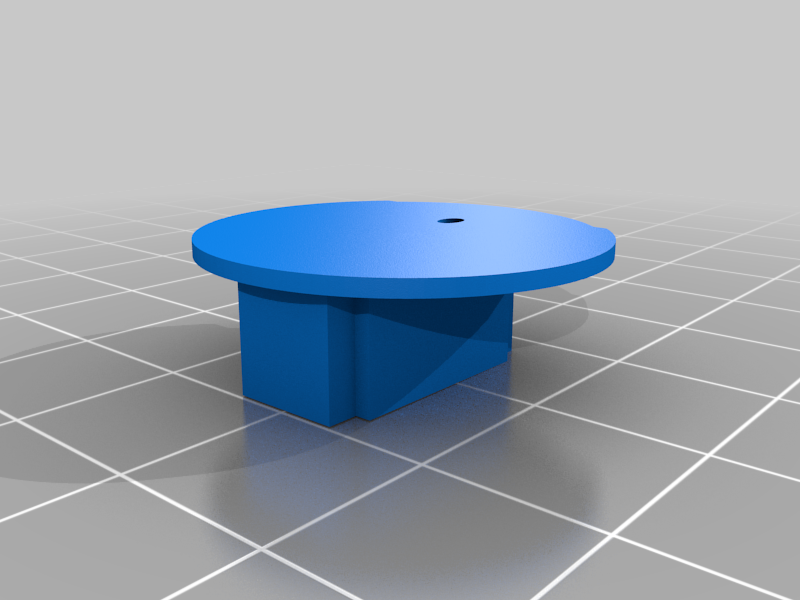
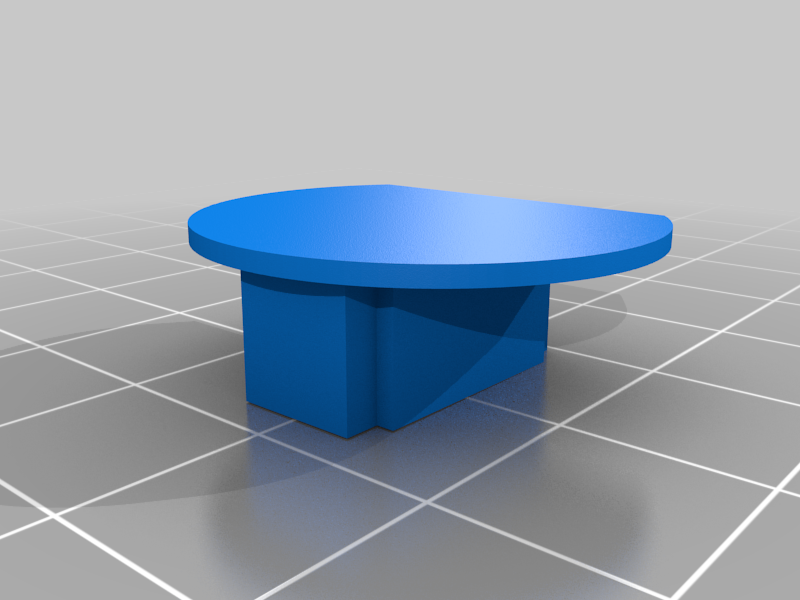
stlSpeeder_Rear_Headrest_Top_v2.0.stl
541 Ko · 233 download
-
 stl
stlSpeeder_Rear_Headrest_Bottom_v2.0.stl
18 Ko · 229 download
-
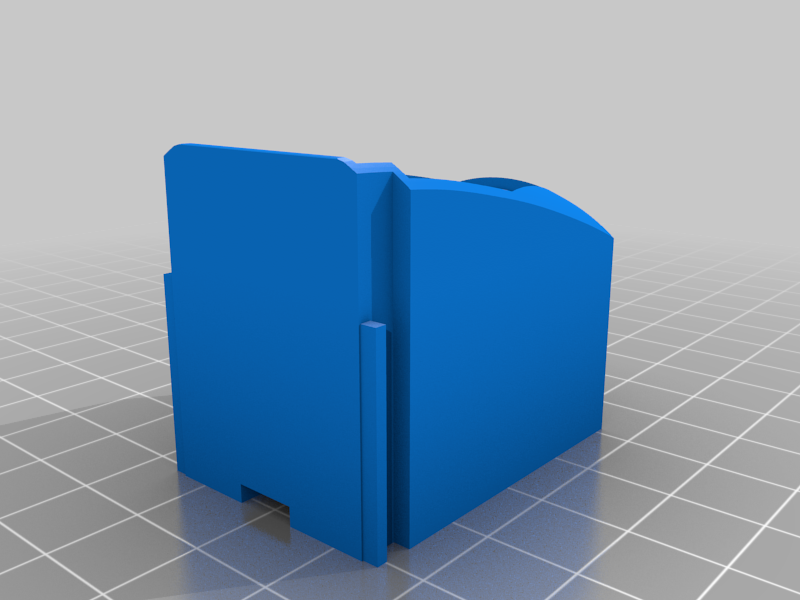 stl
stlSpeeder_Reverse_Cockpit_v2.0.stl
80 Ko · 232 download
-
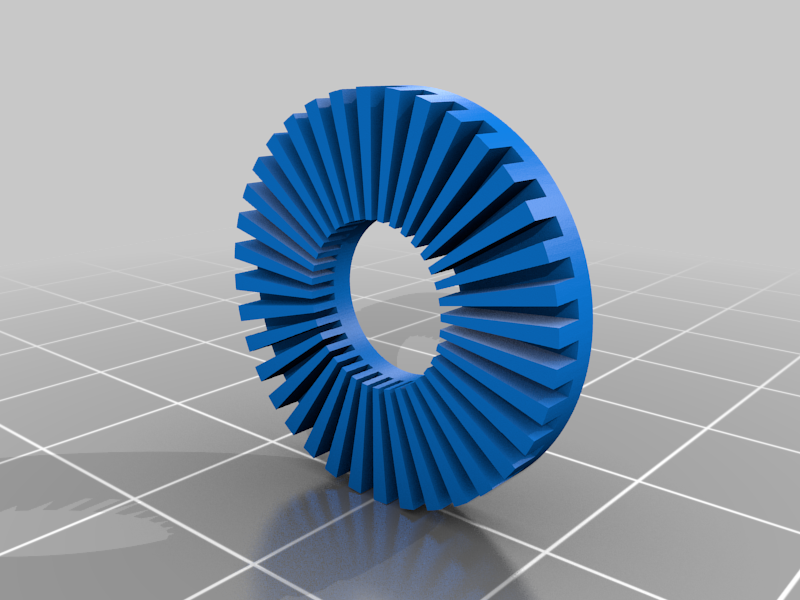 stl
stlSpeeder_Rear_JetTurbine_v2.1.stl
81 Ko · 234 download
-
 stl
stlSpeeder_Rear_JetLegs_v2.1.stl
1.7 Mo · 236 download
Descrizione
Full build instructions on instructables.com. https://www.instructables.com/id/Dexcom-Speeder/
If you build this and your kids have feedback please let me know. dexcom.speeders (at) gmail (dot) com
Printing:
- Regular PLA is fine
- No supports necessary except in the back thruster where tree supports are useful.
- The top of the blaster should be printed in Fine detail 0.16 mm LH, the rest of the parts can even be printed in Standard 2.0 and will look fine. If your slicer has an adaptive layer height option, that is ideal.
The rear jet+legs is available as a single piece, or as two so that you can make the engines fire with red or blue flames by printing in a different colour. (Yes, I know I made turbines and they don't burn. I'm doing my best, ok.)
Update March 2021 v2.0:
- Completely revamped design for _much_ easier cutting and 3D printing, plus a whole new "reverse cockpit" design.Minor update v2.1 - April 2, 2021- Rear Legs separation adjusted to correctly attach to LEGO