
Armillary Sphere
 di christofbaumgartner


File stampabili (13)
-
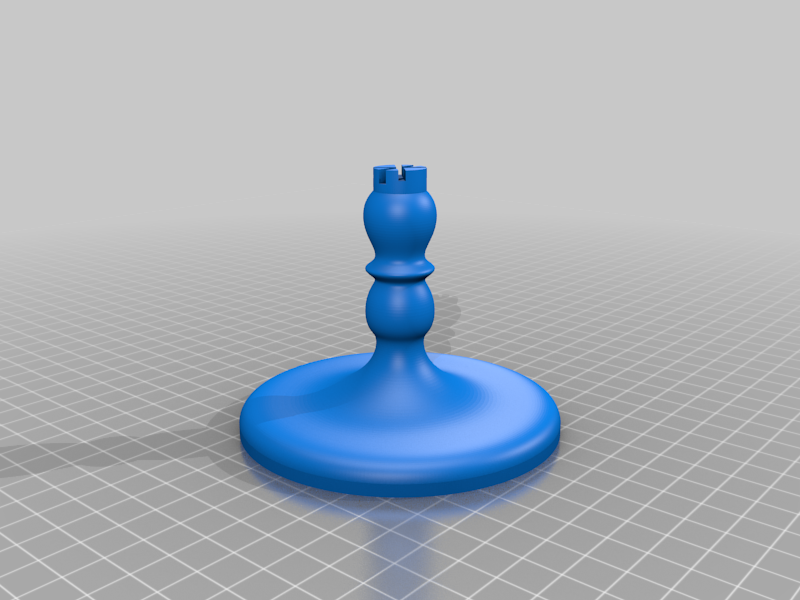 stl
stlFoot_Base.stl
5.2 Mo · 704 download
-
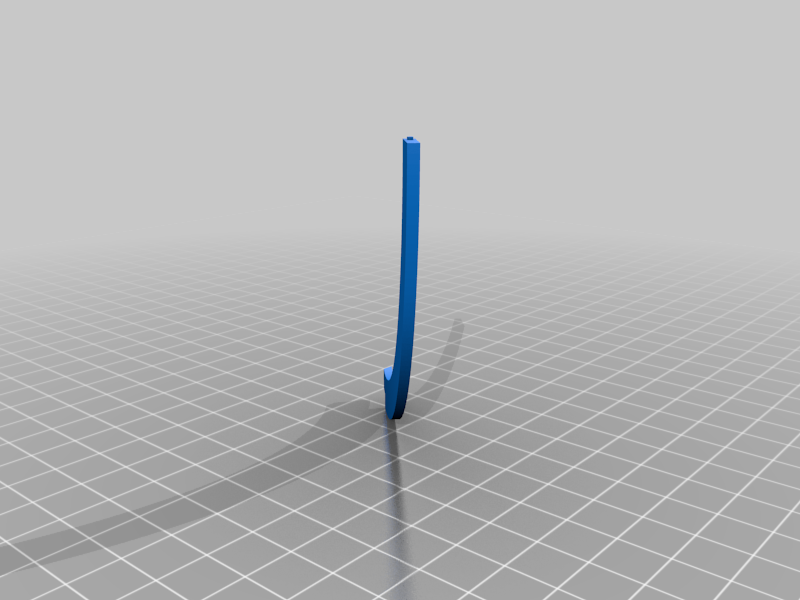 stl
stlFoot_Left_2.stl
33 Ko · 690 download
-
 stl
stlFoot_Right_2.stl
33 Ko · 694 download
-
 stl
stlFoot_Horizon.stl
171 Ko · 698 download
-
 stl
stlEarth_meridian_2.stl
165 Ko · 692 download
-
 stl
stlEarth_half_2.stl
779 Ko · 692 download
-
 stl
stlEarth_Moon_ring_holder_2.stl
194 Ko · 688 download
-
 stl
stlEarth_zodiac_ring.stl
78 Ko · 689 download
-
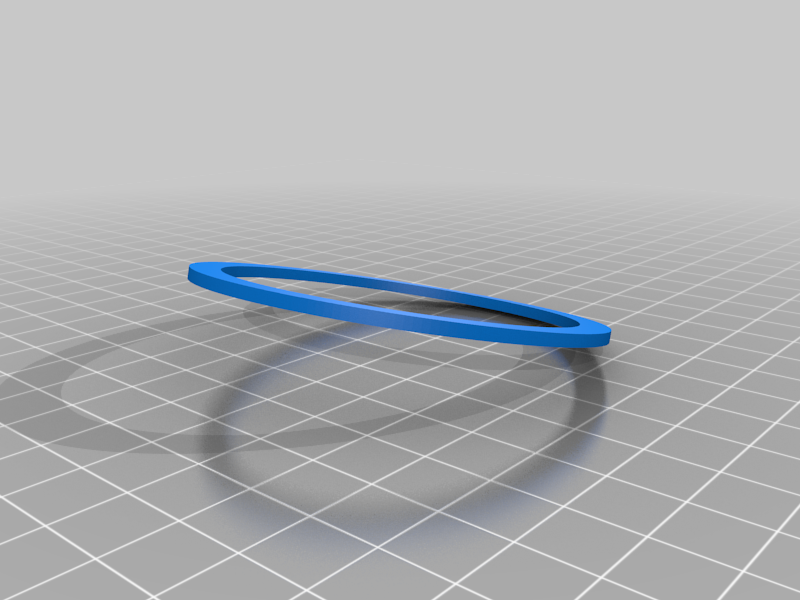 stl
stlEarth_Moon_ring.stl
70 Ko · 682 download
-
 stl
stlSphere_axle_holder_2.stl
482 Ko · 684 download
-
 stl
stlSphere_degree_ring.stl
448 Ko · 681 download
-
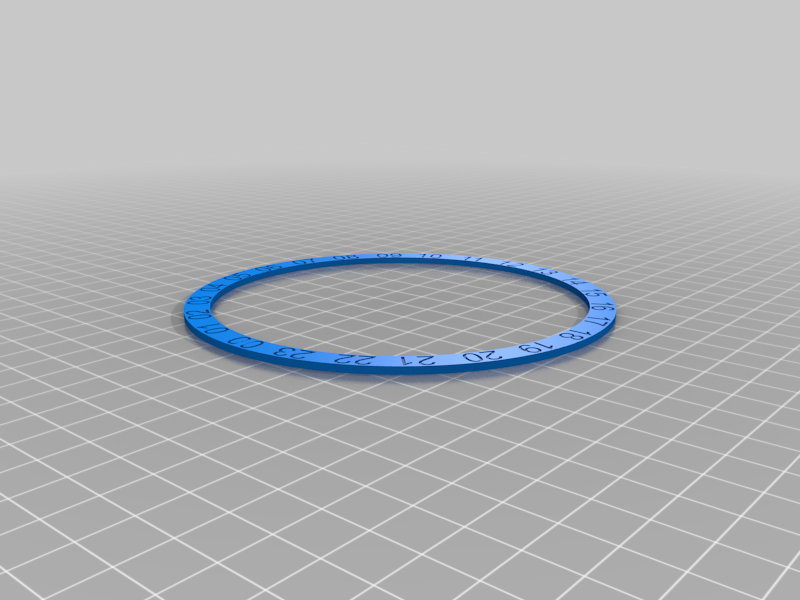 stl
stlSphere_time_ring.stl
828 Ko · 686 download
-
 stl
stlAttachment_Sun.stl
1.2 Mo · 684 download
Descrizione
Parts needed
- 109mm long steel axle with an diameter of 2mm
- 2x 682ZZ ball bearings
- CA glue
General hints
- I designed this model as a one-time build, so it is not optimized and can require some sanding to make all parts move smoothly
- The parts are relatively fine and it can take some skill to align and glue them together
- Parts that need to be printed twice have an _2 at the end of the filename
- Printing is quite easy for the most part. The only challenging parts are the earth_meridans that are complex, thin and need supports.
Assembly
Foot/Holder
For the base you need:
- Foot_base
- 2x Foot_Left
- 2x Foot_Right
- Foot_Horizon
The 4 foots can be sticked and glued in the base. After this the horizon can be applied on top. There are small pins that help you allign the horizon correcly.
Earth
This is the central and rotating part. For this you need
- 2x Earth_half
- 2x Earth_meridian
- Earth_zodiac_ring
- Earth_moon_ring and 2x Earth_moon_holder (OPTIONAL: This describes the position of the moon. However it it a little bit challenging to move as it is just layed in the center ring and not really fixed)
Glue the earth halves together.
Glue the first meridian half globe on the zodiac ring and let it dry. OPTIONAL: Add the moon ring in the center. Then glue in the second meridian half globe on the other side of the zodiac ring rotated by 180 degrees so that the holes of the meridians are opposite to each other. Then stick the steal axle through the first meridian hole, then the earth, the the second meridian hole.
Sphere
This connects the rotating earth with the base and lets you adjust the latitude of your position. For this you need:
- 2x Sphere_axle_holder
- Sphere_degree_ring
- Sphere_time_ring
Put the ball bearings into the axle holders. Then slide the holders on the earth_axle, you prepared in the last step. Then you combine it with the degree ring and the time ring. Look at the images for reference.
Final touches
Finally you can sit the complete assembly in the foot holder from the first step and clip the attachment_sun on the zodiac ring