Knuckles - Classic
 di reddadsteve


File stampabili (24)
-
 stl
stlshirt_white_prt.stl
65 Ko · 373 download
-
 stl
stlshoe_front_left_prt.stl
93 Ko · 361 download
-
 stl
stleye_white_right_prt.stl
135 Ko · 355 download
-
 stl
stleye_black_left_prt.stl
30 Ko · 353 download
-
 stl
stlshoe_back_left_prt.stl
105 Ko · 353 download
-
 stl
stleye_black_right_prt.stl
30 Ko · 355 download
-
 stl
stlshoe_front_right_prt.stl
93 Ko · 355 download
-
 stl
stlnose_prt.stl
80 Ko · 356 download
-
 stl
stleye_white_left_prt.stl
135 Ko · 354 download
-
 stl
stlshoe_back_right_prt.stl
105 Ko · 353 download
-
 stl
stlbuckle_left_prt.stl
307 Ko · 351 download
-
 stl
stlbuckle_right_prt.stl
307 Ko · 354 download
-
 stl
stltail_prt.stl
227 Ko · 361 download
-
 stl
stlsole_right_prt.stl
303 Ko · 350 download
-
 stl
stlsole_left_prt.stl
303 Ko · 350 download
-
 stl
stlshoe_yellow_left_prt.stl
487 Ko · 353 download
-
 stl
stlshoe_yellow_right_prt.stl
488 Ko · 354 download
-
 stl
stlglove_right_prt.stl
1.3 Mo · 389 download
-
 stl
stlface__prt.stl
1.1 Mo · 357 download
-
 stl
stlbody_prt.stl
1.4 Mo · 363 download
-
 stl
stlglove_left_prt.stl
1.3 Mo · 361 download
-
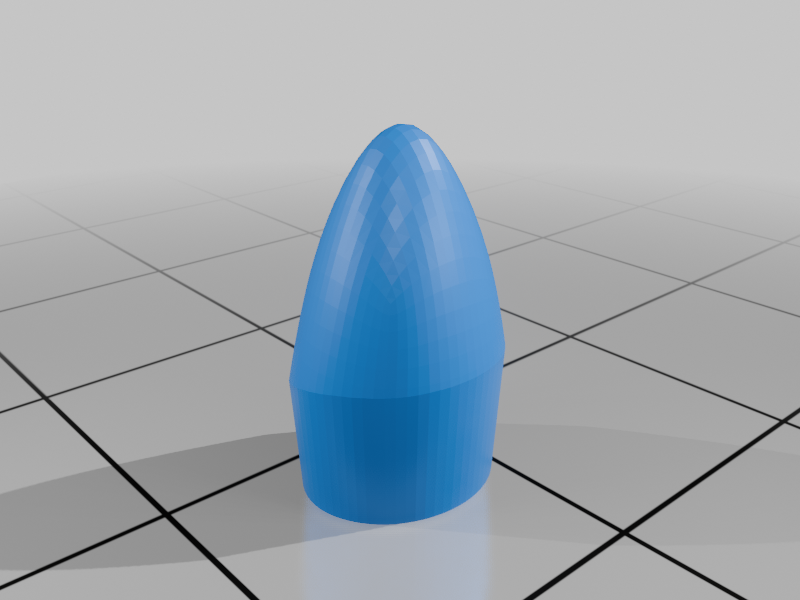
 stl
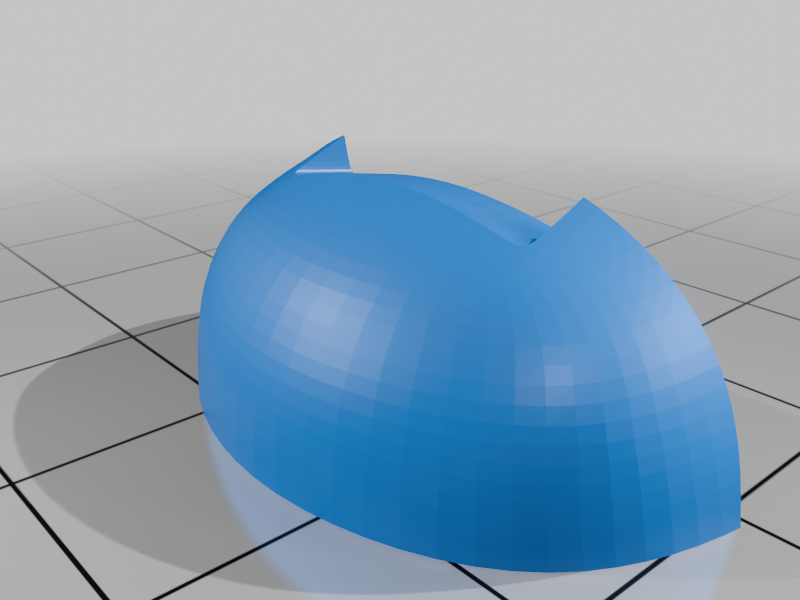
stlhead_prt.stl
2.4 Mo · 399 download
-
 stl
stlcuffs_left_prt.stl
5.6 Mo · 355 download
-
 stl
stlcuffs_right_prt.stl
5.6 Mo · 349 download
Descrizione
Knuckles, a character from Sega's Sonic the Hedgehog video game franchise, created by Naoto Ohshima and Yuji Naka.
Knuckles is a red anthropomorphic short-beaked echidna who is Sonic's secondary best friend and former rival. Determined and serious, but sometimes gullible, he fights his enemies using brute force and strength.
Only one piece requires support, head. See notes on how I set up my slicer supports for this part. If you have the proper filament colors, no painting is needed.
The assembled model is 176mm tall and is in proportion to my other characters from the Sonic series.
Note: This is the classic version of Knuckles.
Enjoy!
...........................................................................................................
Special shoutout to maker Benoît Lussier for providing QA printing and quality feedback.
Special thanks to Jason McMillan (makerworld ID Gatekeeper) for creating the Bambu Print Profile on Makerworld.
...........................................................................................................
Print Instructions:
Supports: No (except for one piece, head)
Resolution: .2mm (see below for printing tips suggested optional exceptions)
Infill: 15%
Notes:**
Refer to the notes below for a few helpful printing and assembly instructions.
...........................................................................................................
Building the model
Colors
Black: (Paramount3D PLA - Black)
eye_black_right
eye_black_left
nose
..
Skin: (Paramount3D PLA - Universal Beige)
face
..
Yellow: (Devil Designs PLA - Bright Yellow)
shoe_yellow_right
shoe_yellow_left
..
Gray: (Parmount3d PLA - Prototype Gray)
buckle_right
buckle_left
sole_left
sole_right
..
Red: (Hatchbox PLA - True Red)
shoe_front_left
shoe_back_left
shoe_front_right
shoe_back_right
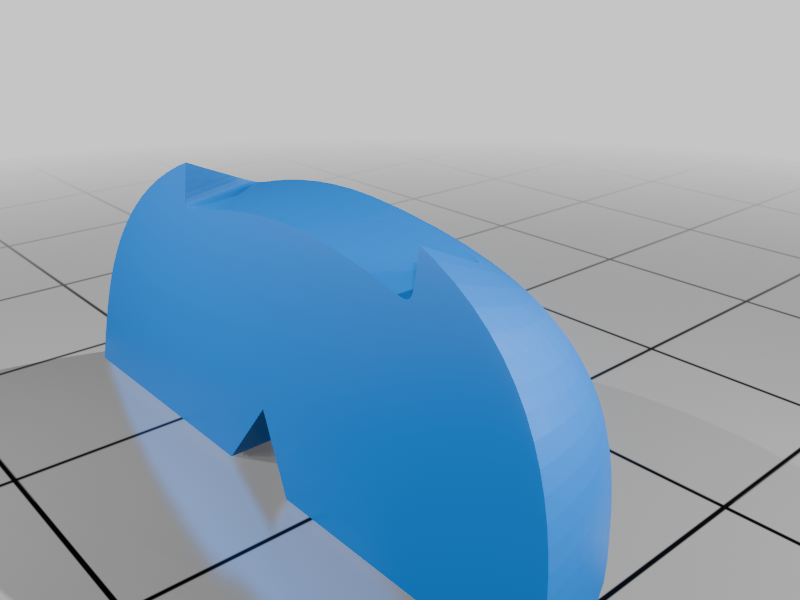
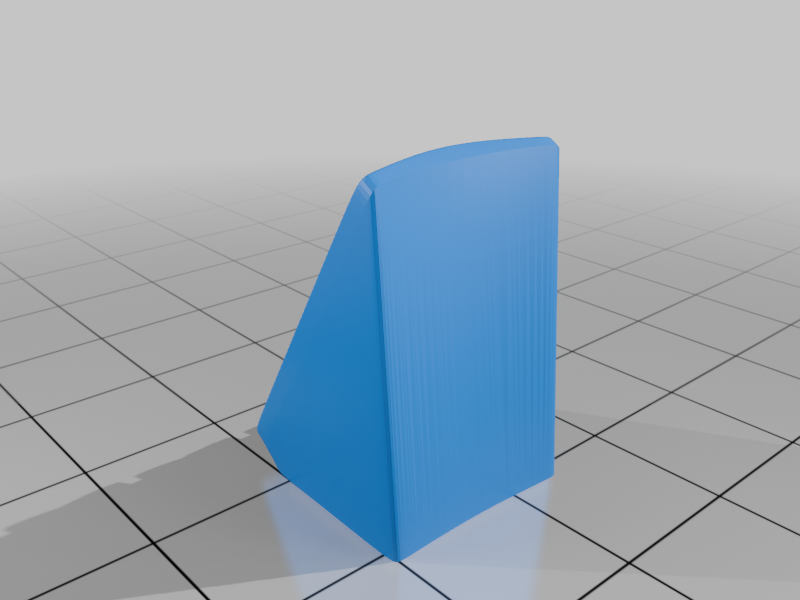
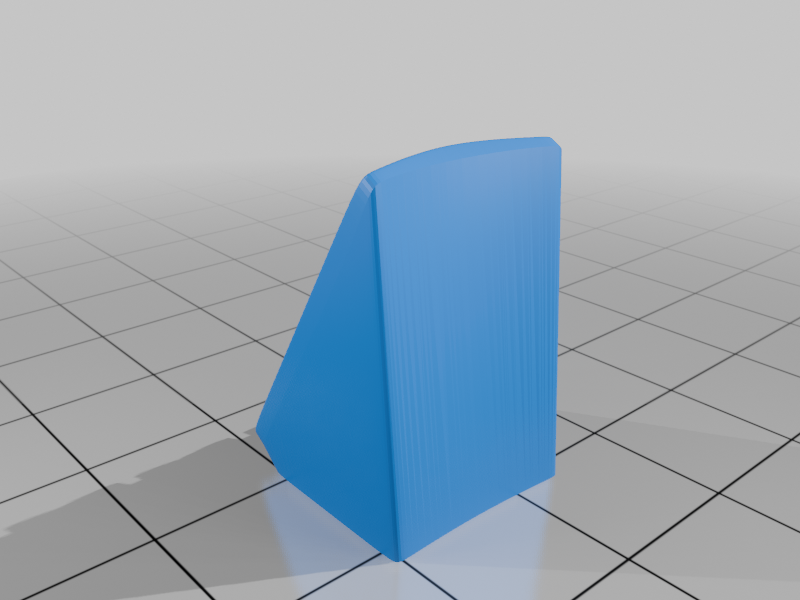
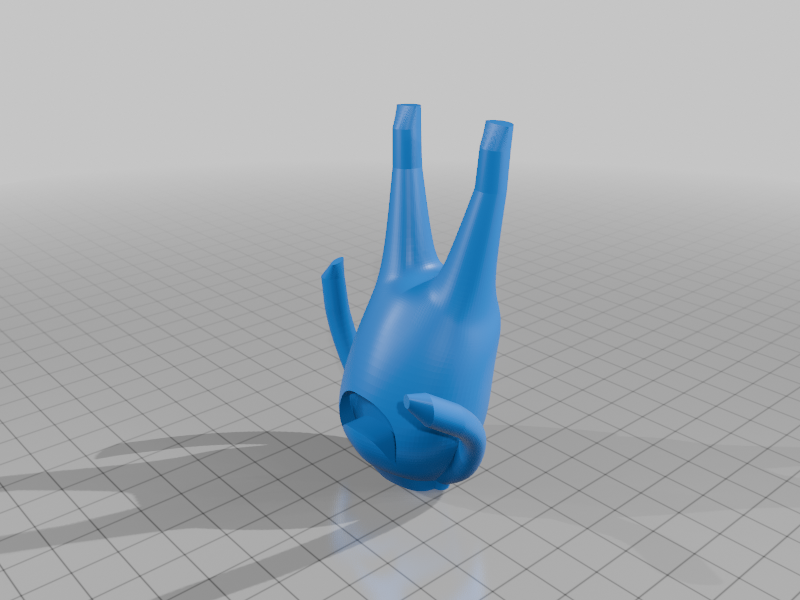
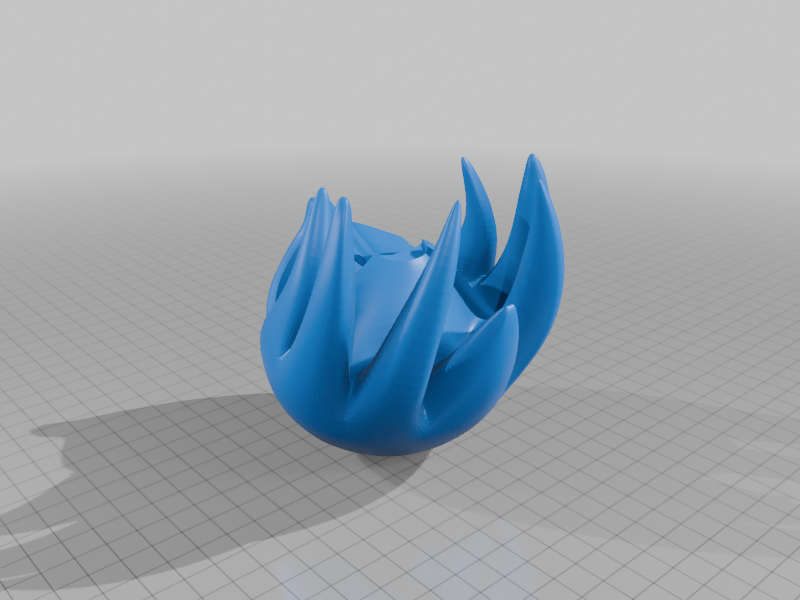
head (see below for support requirement)
body (see notes for recommended slicer parameters)
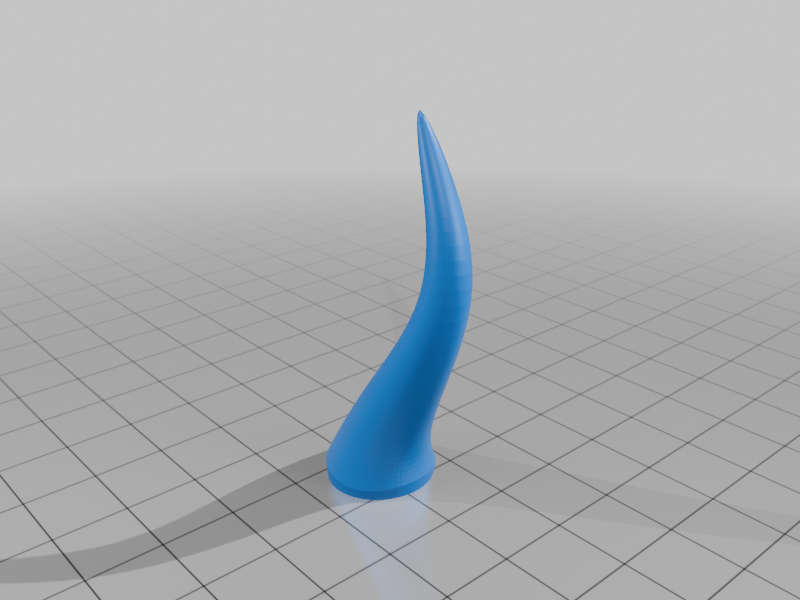
tail
..
Green: (Hatchbox PLA - True Green)
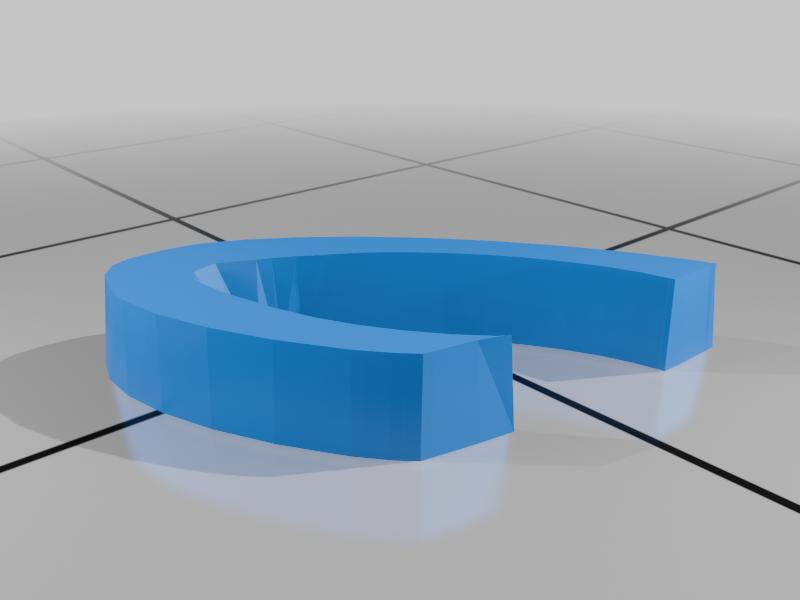
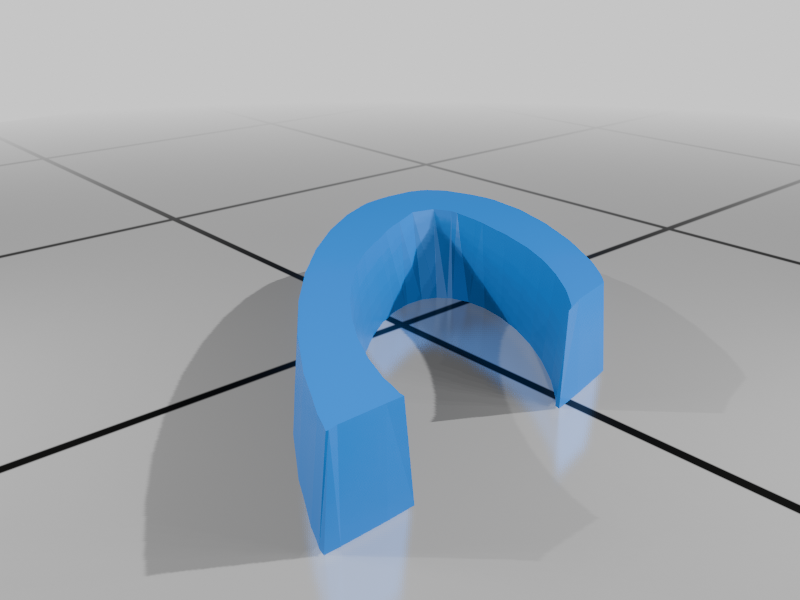
cuff_left
cuff_right
..
White: (Devil Designs PLA - White)
eye_white_right
eye_white_eft
shirt_white
glove_left
glove_right
..
...........................................................................................................
Printing and assembly tips
Printing tips
1 - No supports are required except for one piece, head. I tried organic supports and then standard PrusaSlicer supports. In my opinion, the standard supports were much better than the organic supports for this part. I also set the overhang value to only 30 deg. Variable layer height for the first few mm of this part may be helpful as well, however, I printed the whole part with the standard .2mm layer height and was satisfied with the result.
2 - I did not use any brims or rafts.
3 - Based on feedback from previous models, I printed the body part with three perimeters for added strength. This makes the arms and legs a bit stronger.
4 - When removing parts from the printer bed, it's a VERY good idea to place left/right parts into separate containers to help with the assembly process. Sometimes the difference between the left and right parts is very small but it is still worth keeping track of them and assembling them in their proper place.
..
Assembly tips:
1 - Take your time gluing the model together and enjoy the process. Give some thought into which parts to glue together as groups and then gluing the groups together. Let the glue for each group set completely before combining groups.
2 - I used 3D Gloop and E6000 to put this model together. For both glues using a smaller amount is usually better than more glue.
3 - important Be sure to put the glove_left on the body before inserting the body into the cuffs and shoes.
4 - Normally the bed side of a part is inserted into another part. For the eye_blacks, the bed side of the part should face out.
5 - The eye_whites/head/face need to be assembled altogether. Normally the eye_whites can be pressed in, but for this model they sit in voids in BOTH the other two parts.
6 - The shoes should be assembled with the buckle altogether and glued at the same time, instead of adding it after the other parts set. If you do glue the shoes and then have trouble inserting the buckle, Benoit suggested the following during QA:
"The top portion of the buckle needs to be inserted first and a rotation needs to take place around this point until contact with the bottom portion".
7 - Refer to the assembly diagrams in the pictures section as well as the uploaded pictures for putting the model together. The model is meant to be glued.
Do not hesitate to ask questions, feedback is essential to making better models.