Pixie Transceiver Case


Printbare bestanden (4)
-
 stl
stlPixie_Case_Back_Panel.stl
347 Ko · 1 106 downloads
-
 stl
stlPixie_Case_Front.stl
275 Ko · 1 102 downloads
-
 stl
stlPixie_Case_Bottom.stl
1.2 Mo · 1 111 downloads
-
 stl
stlPixie_Case_Top.stl
696 Ko · 1 107 downloads
Beschrijving
This is a case for the Pixie v 5.1 transceiver. For those of you who do not know a Pixie is its a minimalist 40 meter cw transceiver. Its low parts count and simple design make it easy for anyone to build. And it's cheap! I bought two with free shipping for $US 5.00 each. You can buy a Pixie kit on eBay for as low as $US 3.29 with free shipping. It just begs to pull out the soldering iron and build one. (Prices current on eBay as of March 22, 2018.) To confirm pricing I just checked and ordered two more. For $US 6.58 and free shipping I have two ham buddies who will get gifts.
As 3D printers, and ham radio operators it is a sweet project. And once you hear cw coming out of it you will be amazed. Don't expect it to perform like your KX3 or other high end QRP rig. It won't. The direct conversion receiver is wide as a barn. It's also crystal controlled, with a capacitor so you can pull the crystal for a bit of tuning.
But what do you expect from a transceiver that costs less than $5. Keep in mind most of the $5 kits come with a 7023 Khz crystal. I have an Extra so that's cool. But the QRP watering hole is 7030. There are 7030 kits out there, but cost a few dollars more. Or after building two, and having two more on order I realized they are better suited to operation on 7030. There are also HC-49s crystals on eBay, I think I bought 10 for $11 (also free shipping) and swapped out the 7023 crystals for 7030 Khz. The guy who sold me the crystals is KC9ON and he also has a web store http://www.3rdplanetsolar.com and sells them for $US 0.89 each.
A good document on the Pixie is here: http://w1sye.org/wp-content/uploads/2017/01/NCRC_PixieOperation.pdf
A YouTube video of the Pixie can be found here: https://www.youtube.com/watch?v=I92bmGQaPpg
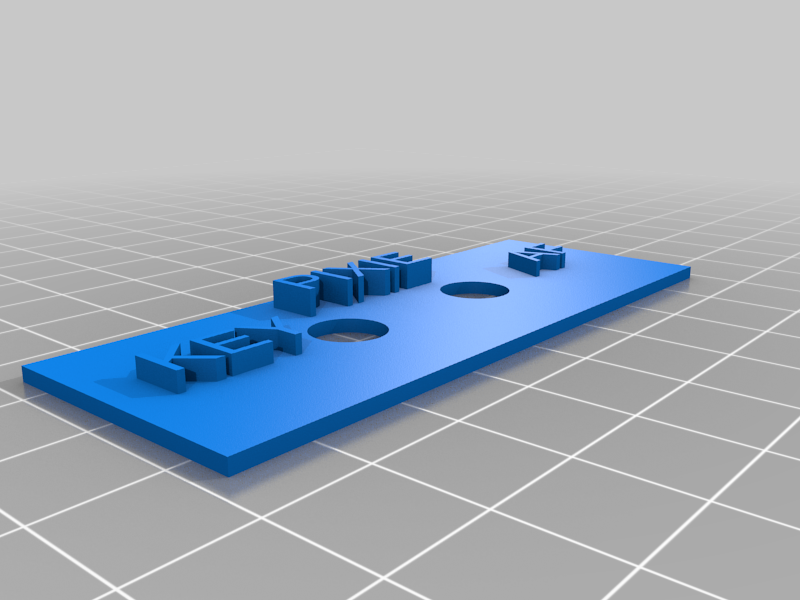
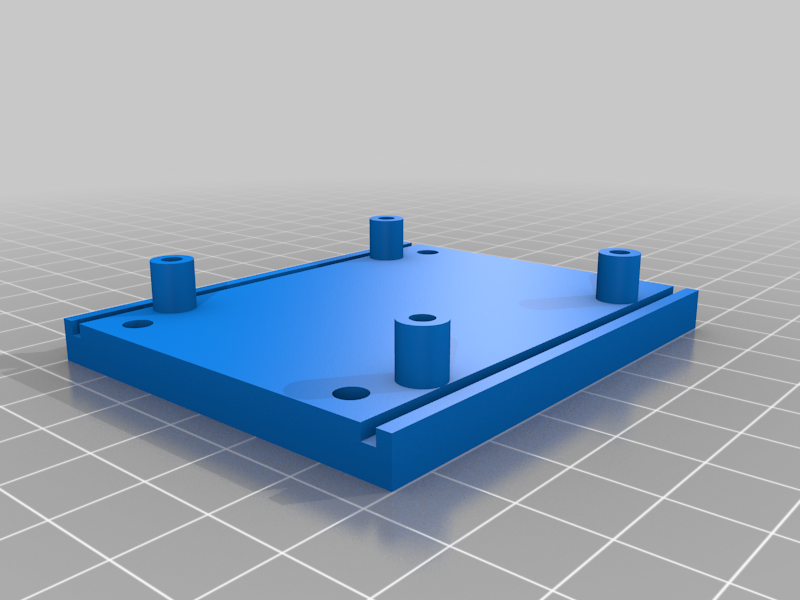
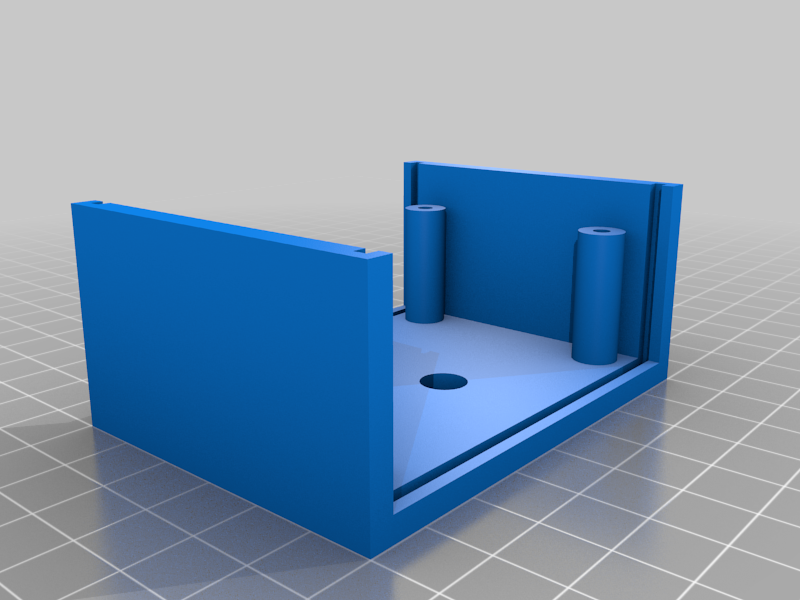
The case is pretty straightforward. Print the top case, bottom case, front panel and back panels. Slide the front and back panels on and position it with the panels sitting in the rebate slots and the PCB centered over the mounting posts. Secure the PCB to the mounting posts, slide the top case down over the panels and secure from the bottom.
I used PCB mounting screws from some anonymous bag of mounting screws I got years ago. The case mounting screws are #6 3/4”.
Apply power, antenna, phones, a key and rock and roll. I hope this will inspire some of you to make one, they are fun to build and you can print a case for it :) And for 5 bucks it's a hoot of a project.
73,
N9JR