
Vertical Laboratory
 por JesusGomez


Ficheiros imprimíveis (18)
-
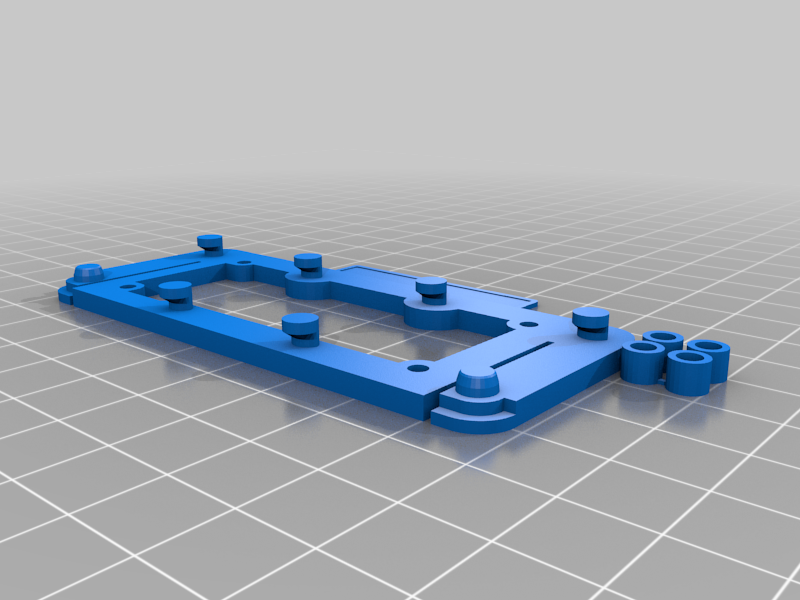 stl
stlesp32oled-plate.stl
174 Ko · 5 600 descargas
-
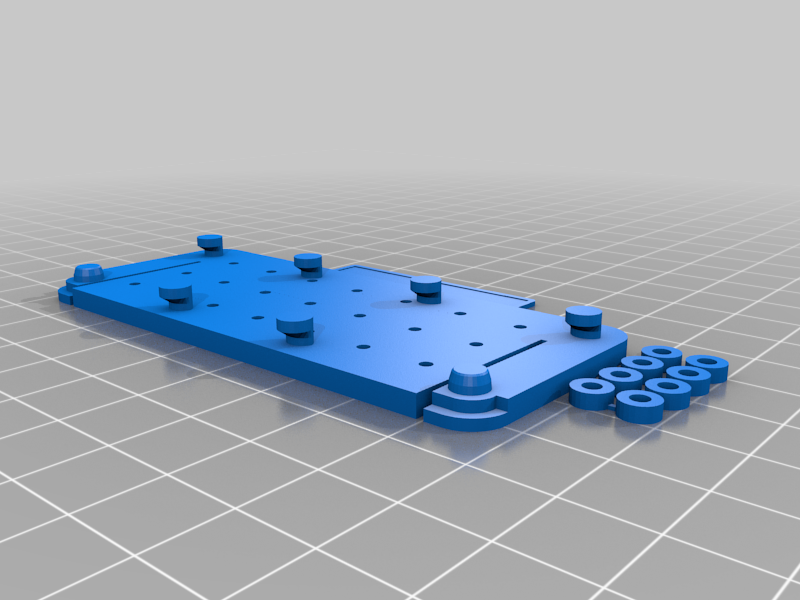 stl
stlgrove4x2-plate.stl
326 Ko · 5 555 descargas
-
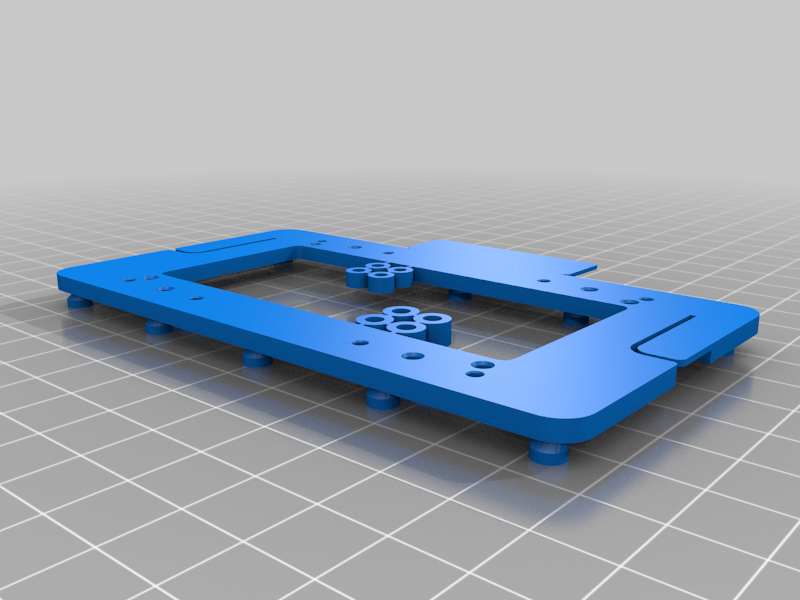 stl
stlbeaglebone-plate.stl
328 Ko · 5 558 descargas
-
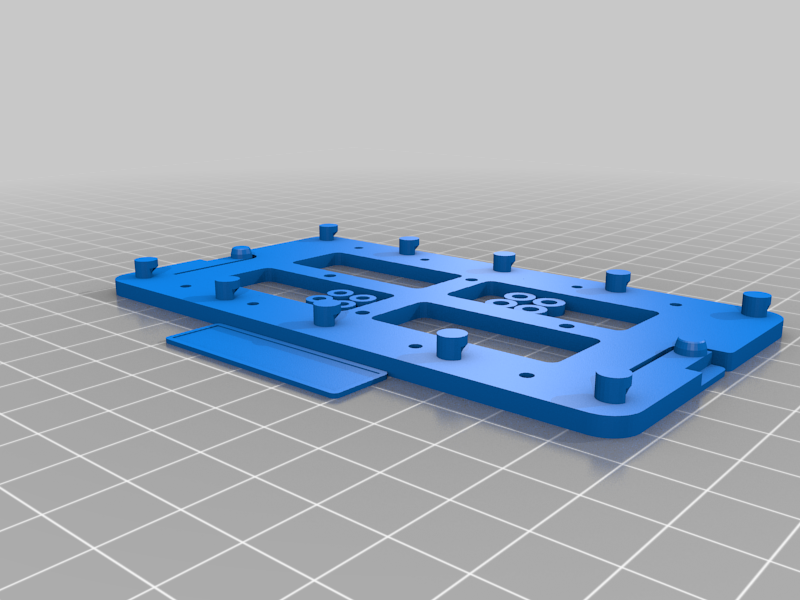 stl
stlraspi-plate.stl
312 Ko · 5 636 descargas
-
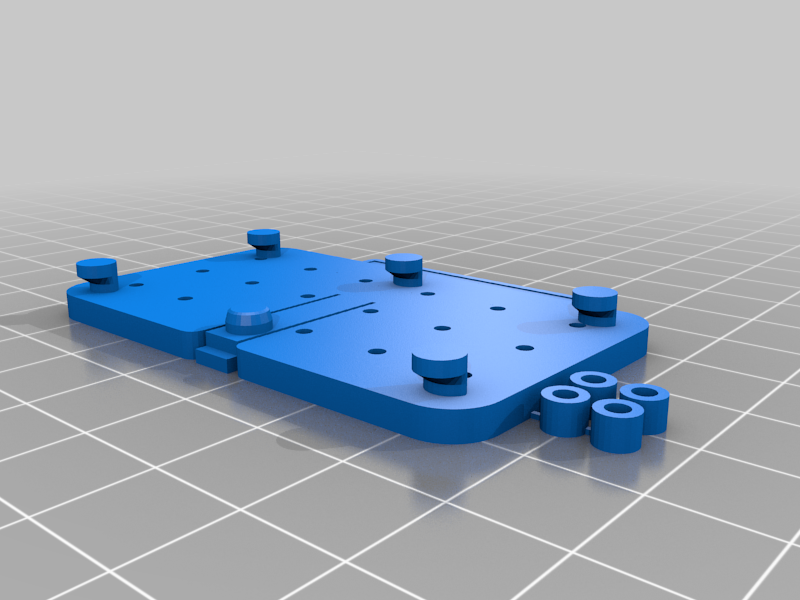 stl
stlgrove3x2-plate.stl
241 Ko · 5 547 descargas
-
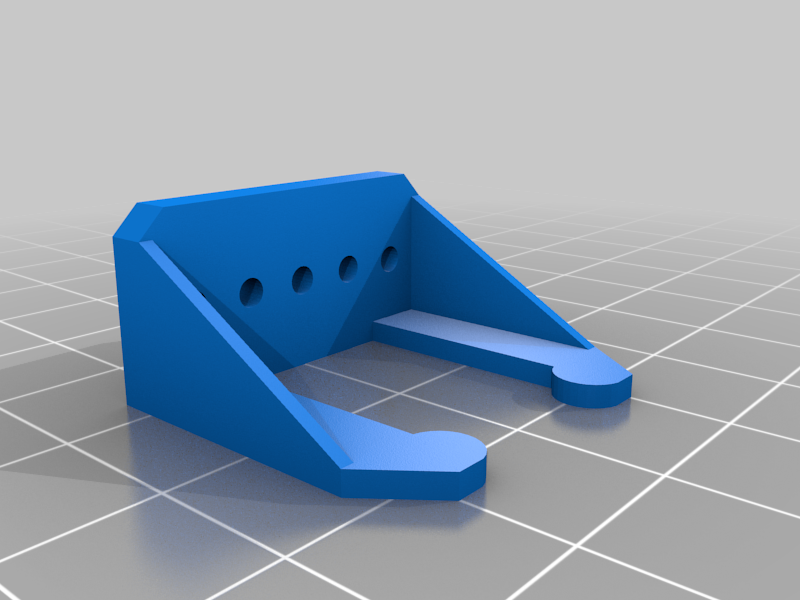 stl
stlCO2sensor-to-grove.stl
32 Ko · 5 559 descargas
-
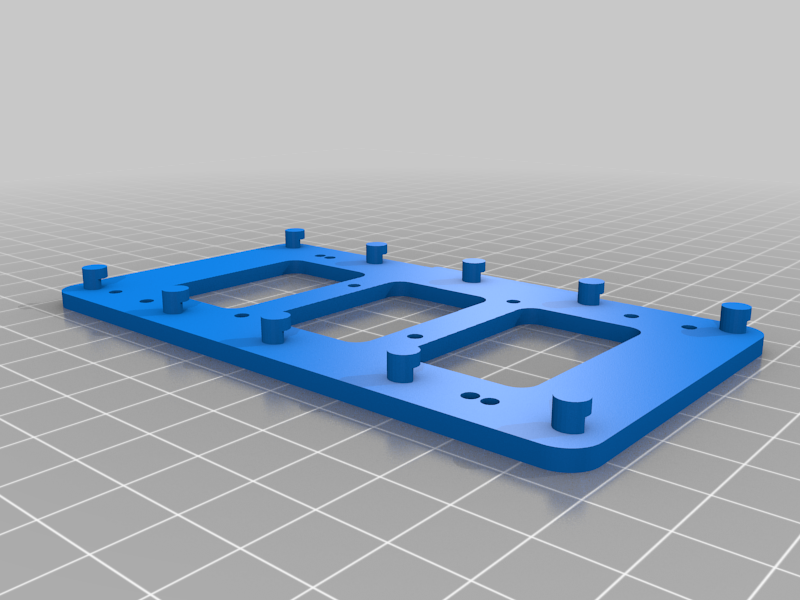 stl
stlarduinomega-plate.stl
177 Ko · 5 501 descargas
-
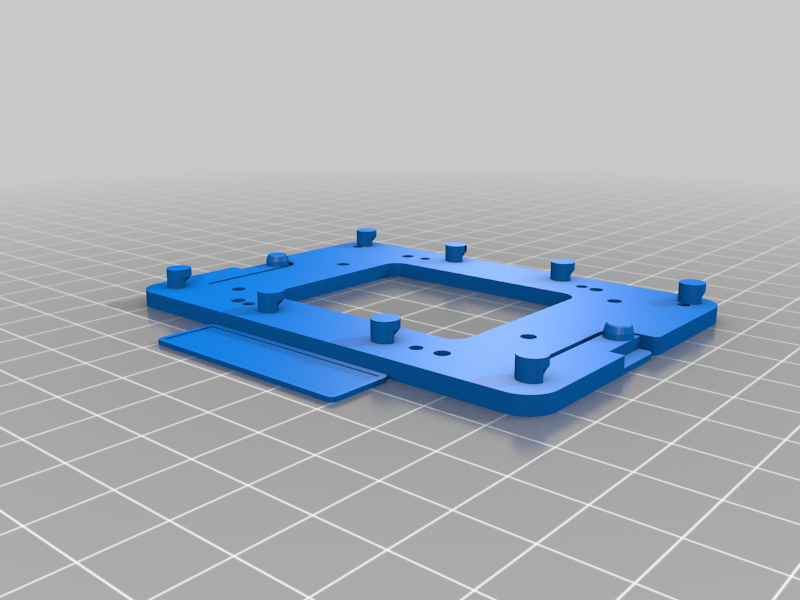 stl
stlarduinouno-or-rpi-plate.stl
221 Ko · 5 514 descargas
-
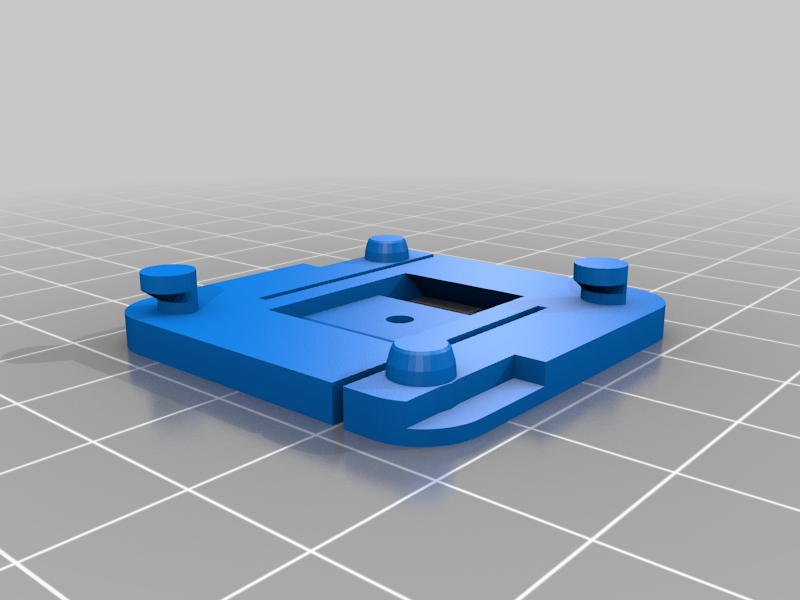 stl
stlcablevelcro-plate.stl
63 Ko · 5 469 descargas
-
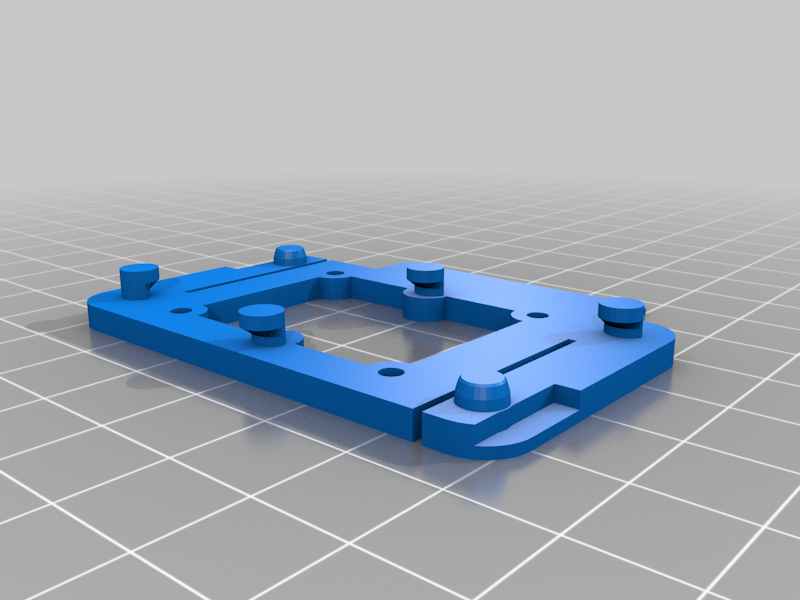 stl
stllmd18200-plate.stl
114 Ko · 5 444 descargas
-
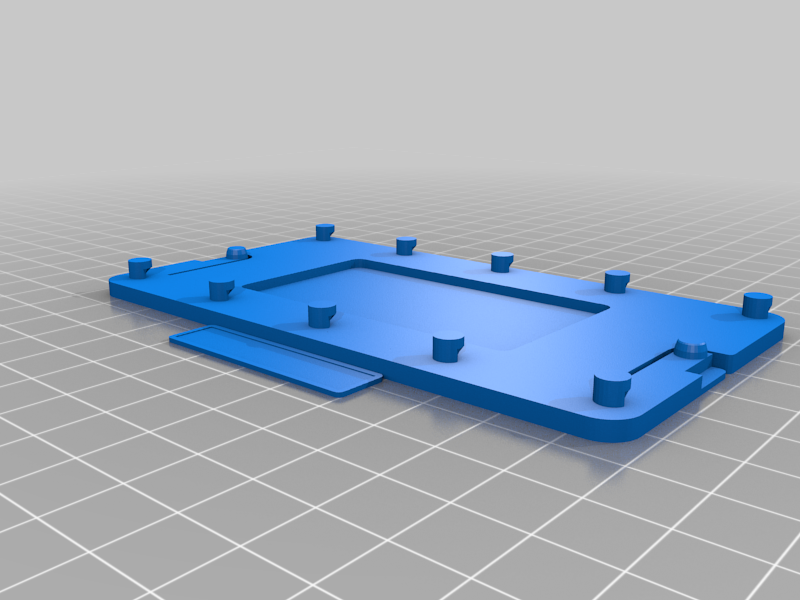 stl
stlprotoboard-plate.stl
131 Ko · 5 489 descargas
-
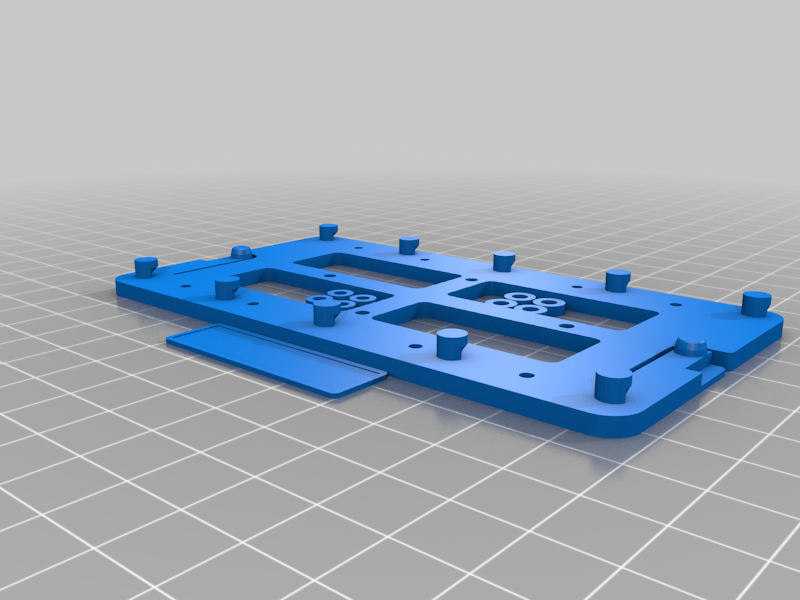 stl
stlraspberrypi-plate3.stl
312 Ko · 5 476 descargas
-
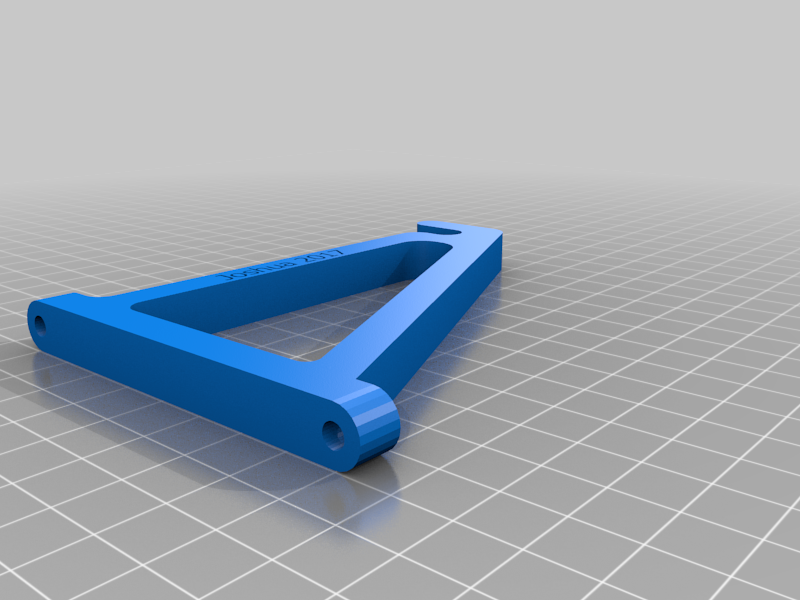 stl
stlspoolbar-support.stl
117 Ko · 5 442 descargas
-
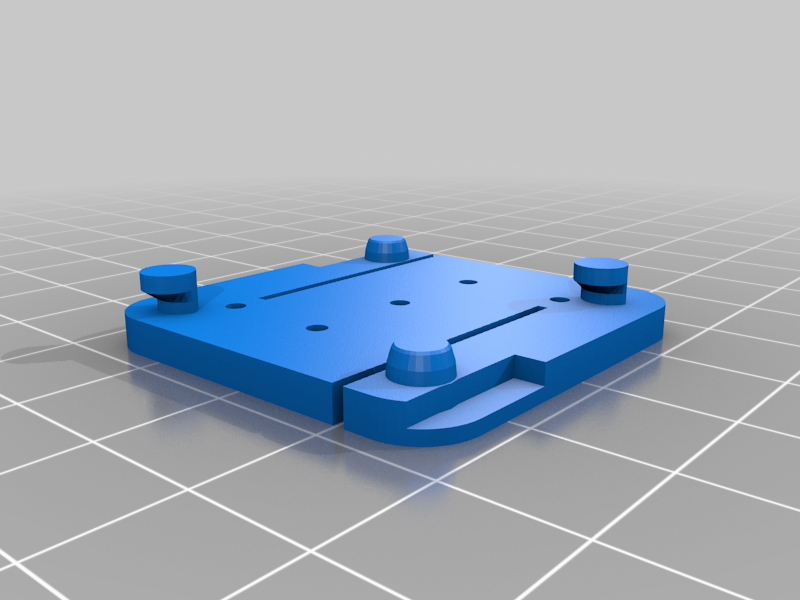 stl
stlgrove1x1-plate.stl
89 Ko · 5 448 descargas
-
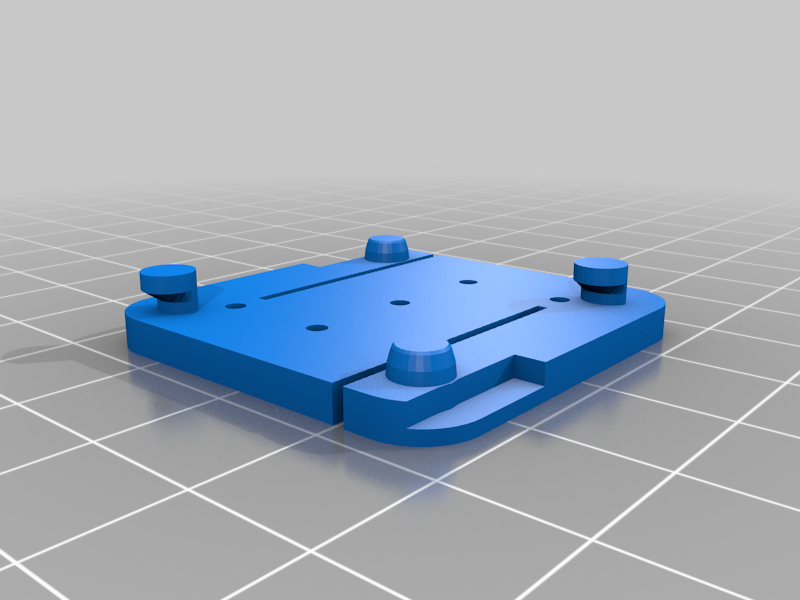 stl
stlgrove2x2.stl
89 Ko · 5 423 descargas
-
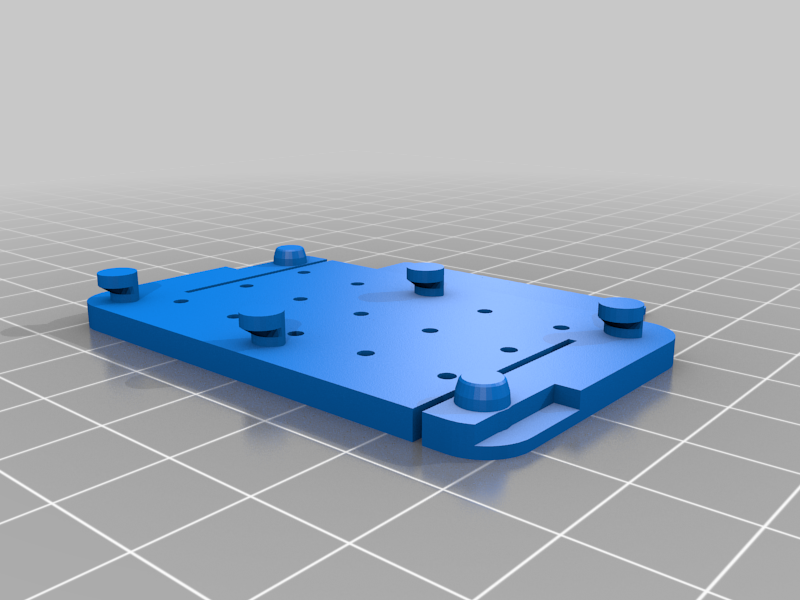 stl
stlgrove3x2.stl
182 Ko · 5 418 descargas
-
 stl
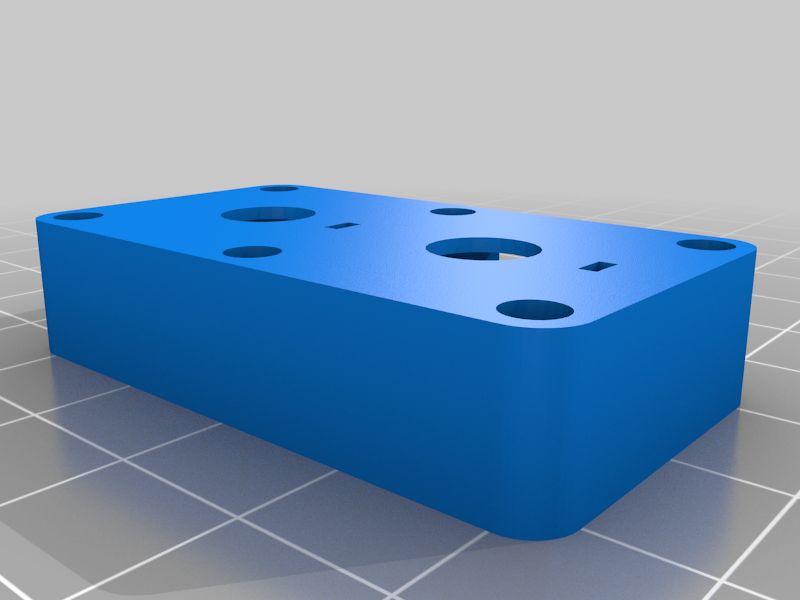
stldualpot_to_grove.stl
94 Ko · 5 452 descargas
-
 stl
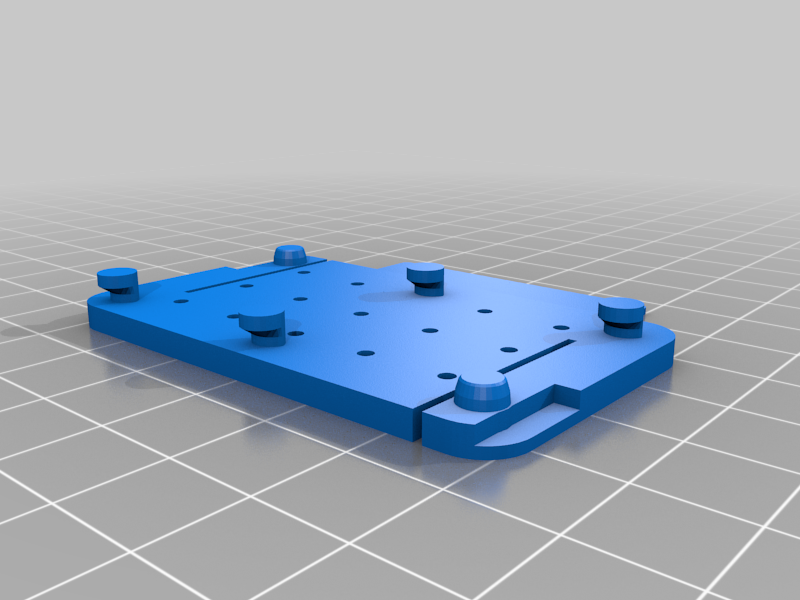
stlgrove2x1-plate.stl
182 Ko · 5 417 descargas
Descrição
Vertical Laboratory.
Click-on panels for electronic devices. The board plates are not just hung. You can use them right in the panel and build many projects on the wall.
However you can easily remove the modules by hand and use them on your desktop.
To remove the panels you need to pull from two sides while sliding the plate, to avoid your expensive electronics to fall. Boards can be mounted in four different orientations.
Te attachment/detachment method is always possible just from the front side of the panel, so you don't need to remove the pegboard from the wall in any moment.
Everyone can have an electronics laboratory at home/office/mancave using a metal pegboard. Use also magnetic labels to identify your project parts.
This pegboard has 4.75mm holes separated 26 mm. The model files are in Sketchup, so they are not parametric and major work has to be done to change the hole dimensions and step.
The designs include the detachable board spacers, so you just need some screws to hold the board on the plate.
Each board also features a removable label support compatible with DYMO labeling system to better organize your projects. Just bend twice the label suppor by hand to remove it.
Use appropiate colors to easily identify your module families: blue for arduino, red for raspberry pi, green for beaglebone green, etc.
In many designs, the boards can be mounted in two different directions, depending on which side you want the label.
This system has been designed for commom electronic development oards as well as GROVE modules ( https://www.seeedstudio.com/category/Grove-c-1003.html ) that have been provided to TaISLab ( http://taislab.uma.es ) by SeeedsStudio.
So far, the set of included plates include:
- Arduino Mega form factor boards
- Arduino UNO form factor boards
- Beaglebone green
- Raspberry PI (1,2,3) model B
- ESP32 with OLED display
- Suppor panels for grove modules
- Velcro cable ties
- many more ...
The system has been featured on HackADay.com :
https://hackaday.com/2018/01/01/electronics-workbench-goes-vertical-with-pegboard-mounting/
3-1-2018: Added the rest of designs.
The panels are inexpensive and can be purchased in Amazon in different countries:
Good luck!