Pliers Multitool

Ficheiros imprimíveis (23)
-
 stl
stlHexBit.stl
13 Ko · 1 611 descargas
-
 stl
stlBitHolder.stl
33 Ko · 1 614 descargas
-
 stl
stlHalfRivet.stl
34 Ko · 1 606 descargas
-
 stl
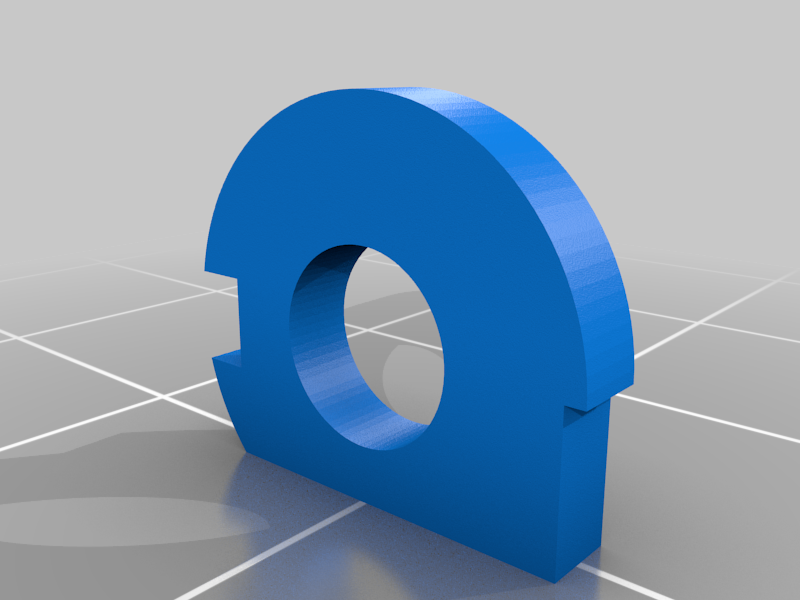
stlClip.stl
30 Ko · 1 611 descargas
-
 stl
stlFile.stl
18 Ko · 1 614 descargas
-
 stl
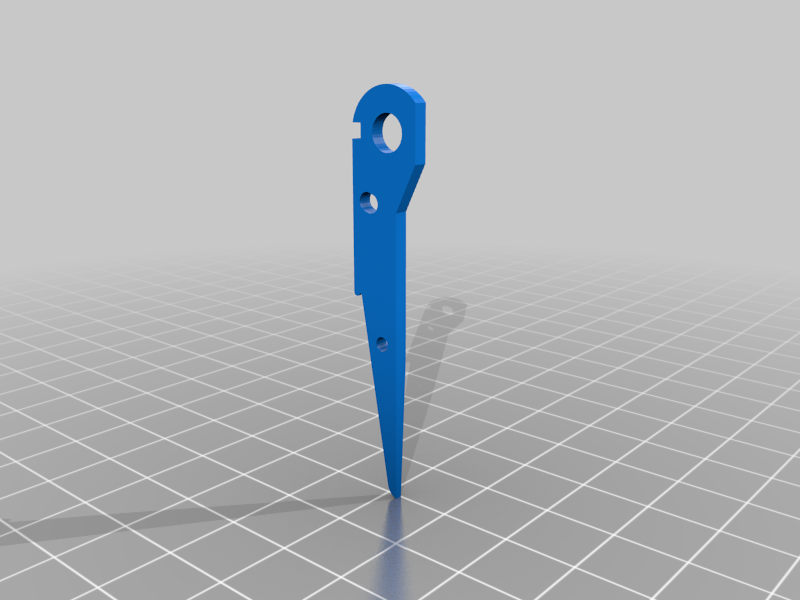
stlPliersBot.stl
100 Ko · 1 625 descargas
-
 stl
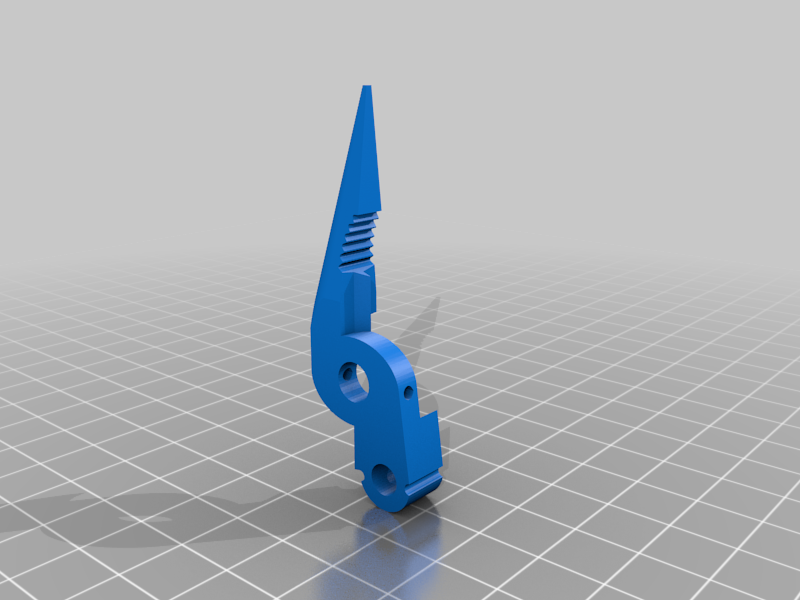
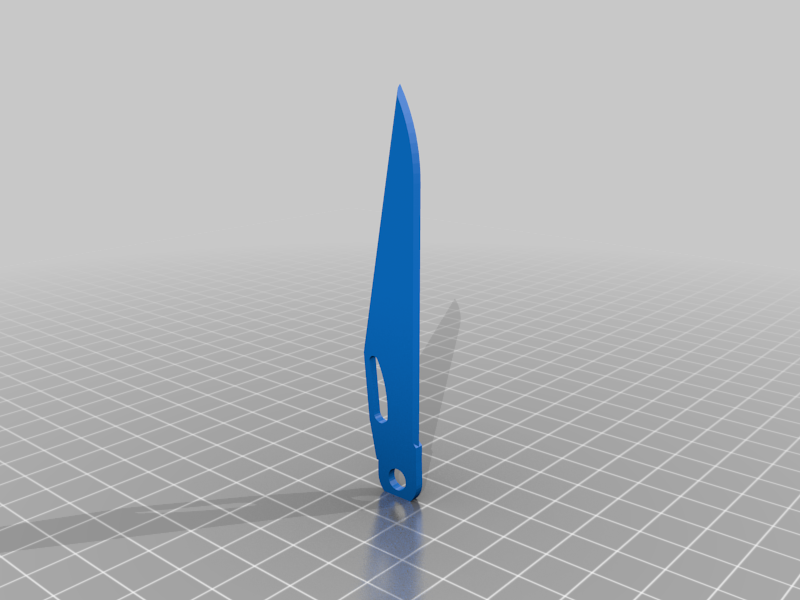
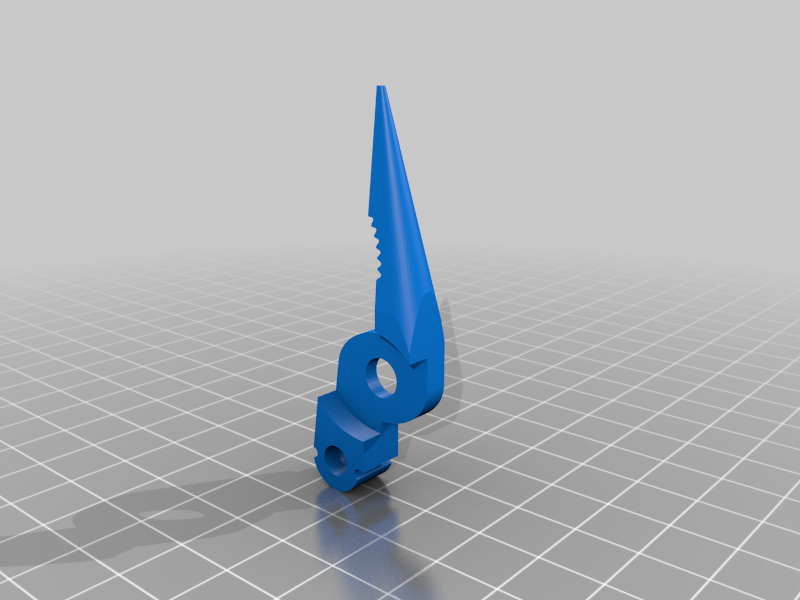
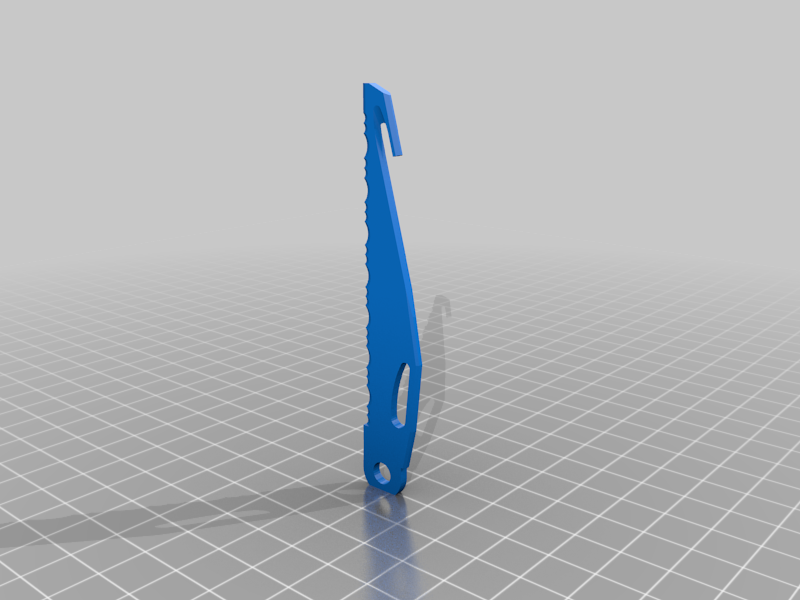
stlKnife.stl
22 Ko · 1 620 descargas
-
 stl
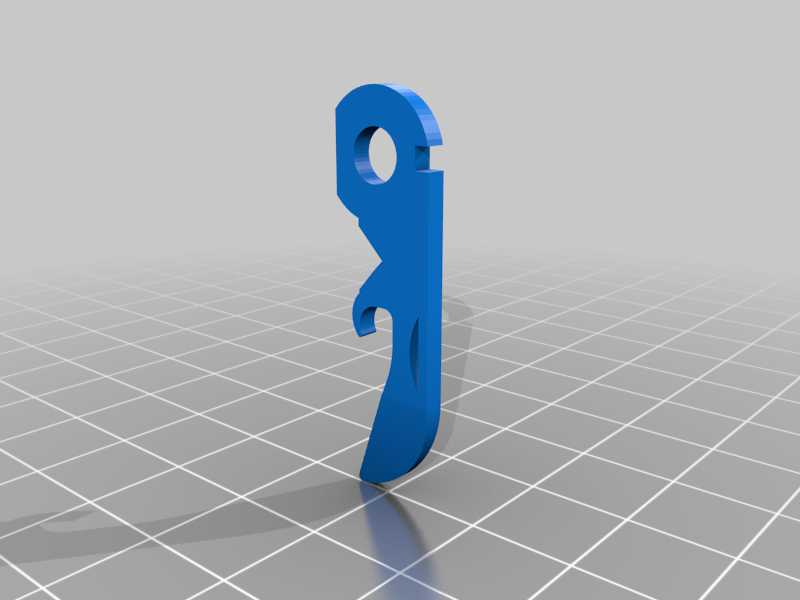
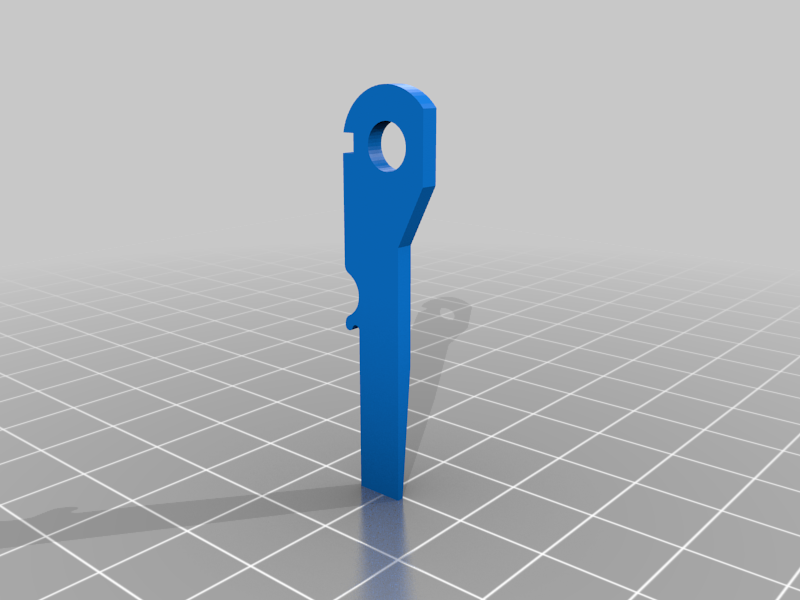
stlOpener.stl
44 Ko · 1 609 descargas
-
 stl
stlScissorMain.stl
31 Ko · 1 609 descargas
-
 stl
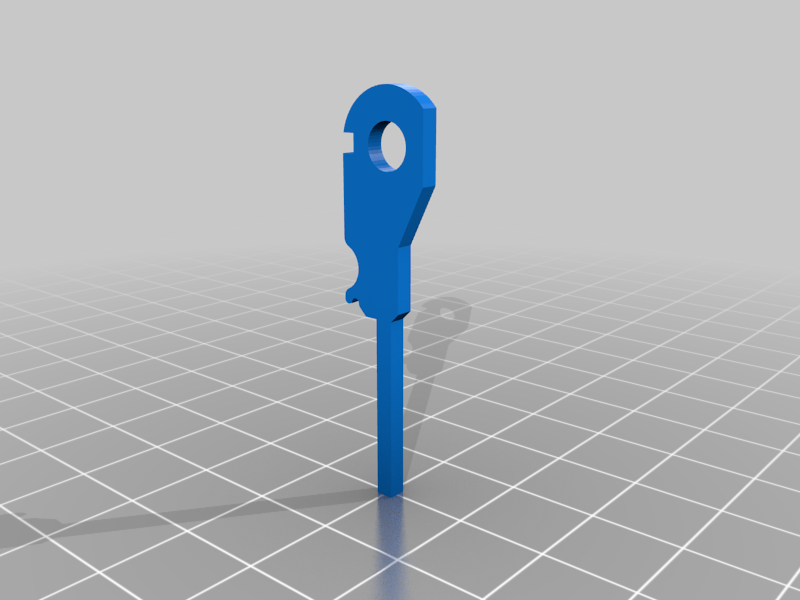
stlFlathead.stl
25 Ko · 1 608 descargas
-
 stl
stlThinDriver.stl
26 Ko · 1 611 descargas
-
 stl
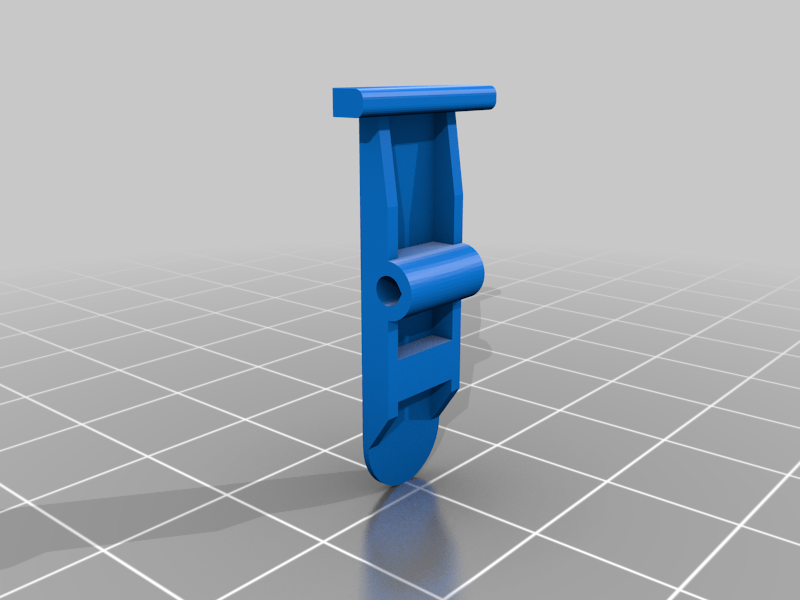
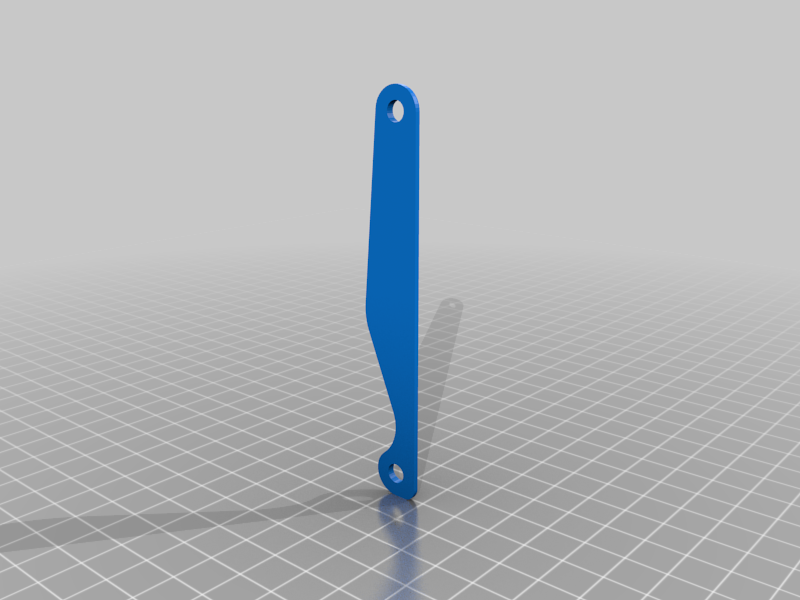
stlLatch.stl
40 Ko · 1 610 descargas
-
 stl
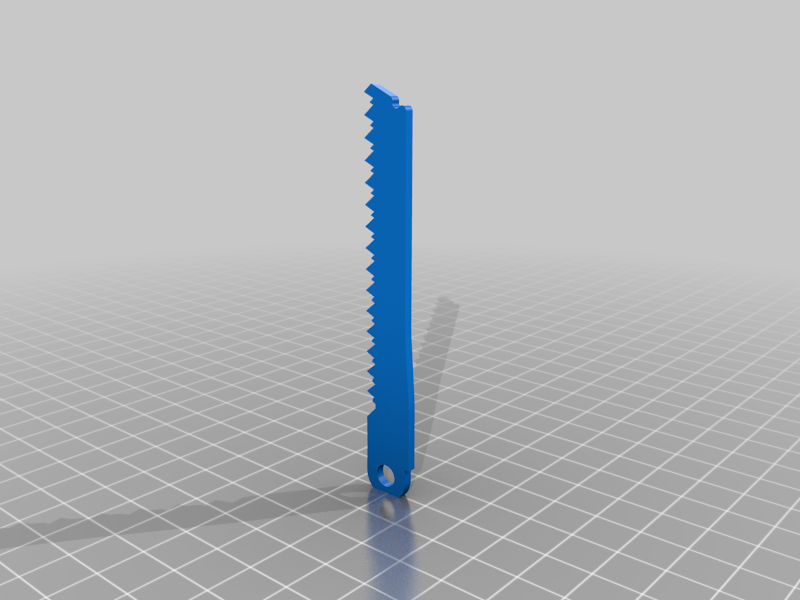
stlSaw.stl
29 Ko · 1 608 descargas
-
 stl
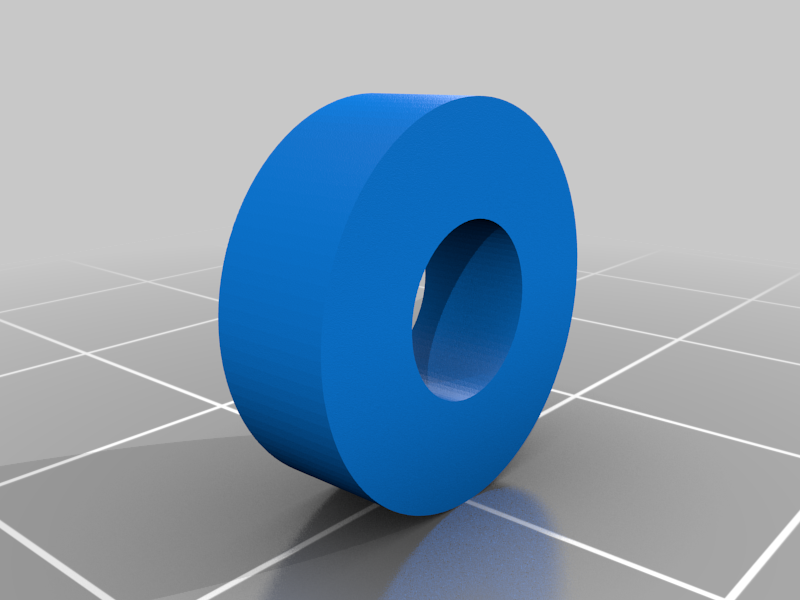
stlSpacer.stl
27 Ko · 1 611 descargas
-
 stl
stlPliersTop.stl
91 Ko · 1 623 descargas
-
 stl
stlPlate1.stl
77 Ko · 1 621 descargas
-
 stl
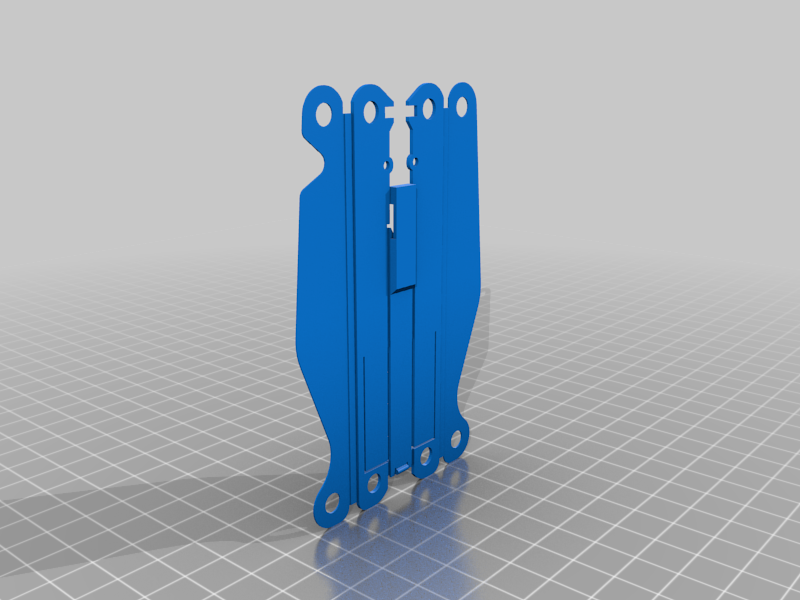
stlFrameNet.stl
130 Ko · 1 630 descargas
-
 stl
stlPlate2.stl
93 Ko · 1 627 descargas
-
 stl
stlScissorSpring.stl
30 Ko · 1 612 descargas
-
 stl
stlHalfPin.stl
34 Ko · 1 611 descargas
-
 stl
stlScissorBlade.stl
20 Ko · 1 615 descargas
-
 stl
stlSKnife.stl
91 Ko · 1 609 descargas
-
 stl
stlClearanceTest.stl
34 Ko · 1 337 descargas
Descrição
Fully 3D printable pliers-style multitool styled after the Leatherman Charge Plus (https://www.leatherman.com/charge-552.html)
No screws or springs required, some filament is used for hinges. Assemble the Pliers LAST for an easier time.
All the tools are printed with the hole axes vertical, on the flattest side. Only the Pliers print with supports and infill. All other parts print without supports and with only top and bottom layers. The Latches print on their flattest side. Half Pins and Half Rivets print on the flat faces. Everything prints at 0.2mm layer height. The Clearance Test lets you judge if your printer can handle the clearances. Elephant's foot is a big problem for this design.
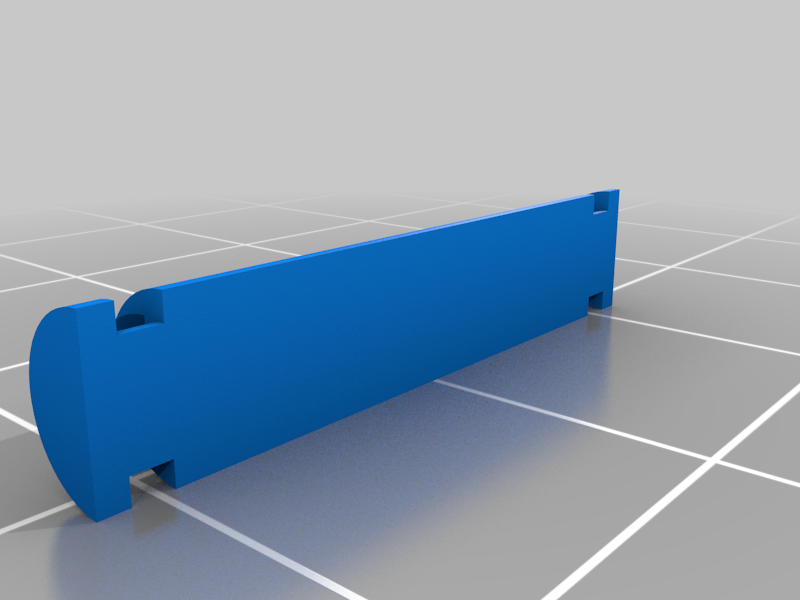
The Frame is a fold-up part, refer to the image for help on folding it properly. It may take a few attempts, be prepared to print extra. I recommend folding from the middle outward for the easiest experience. Have a pair of pliers handy to hold onto the thin flanges when bending. Do not print the frames in advance, as the PLA becomes brittle if left out too long after printing. Fold them soon after printing, right before assembly.
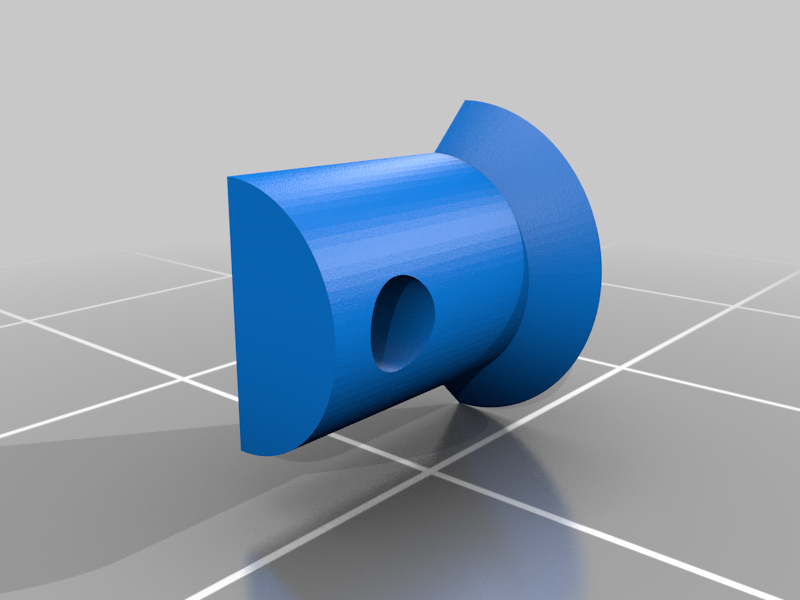
When assembling the tools, use the Clearance Test part to hold two Half Pins together to form the full Pin, then press the assembly onto the Pin as you add parts. The Pin is intended to be a tight fit to the Frame, so be careful not to damage it when pressing.
The scissors are a three piece part, refer to the image for proper order. A small length of filament holds the blade to the main body and acts as the pivot. Cut a 4 to 4.5mm length of filament and pass it through the parts. Use a pair of pliers to press both ends of the filament flush. This will effectively rivet the scissors together. Be careful not to press too hard, or the scissors will not move smoothly.
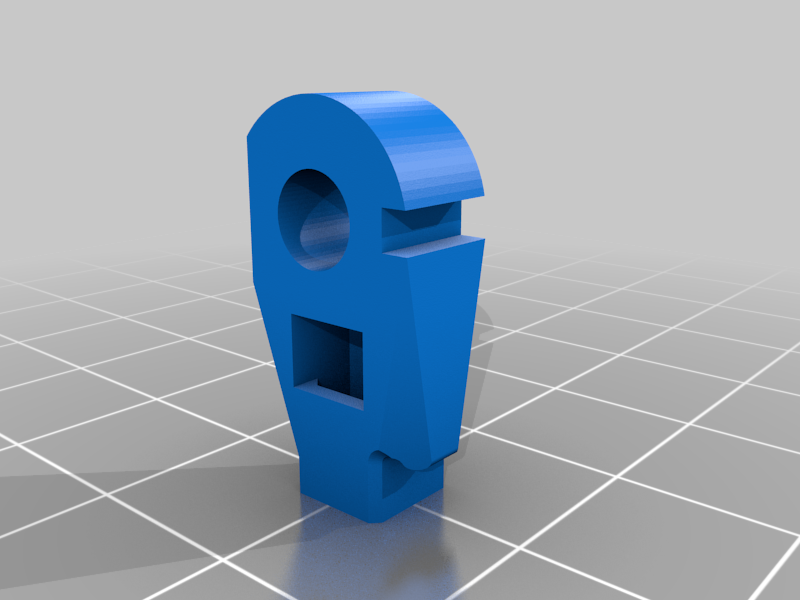
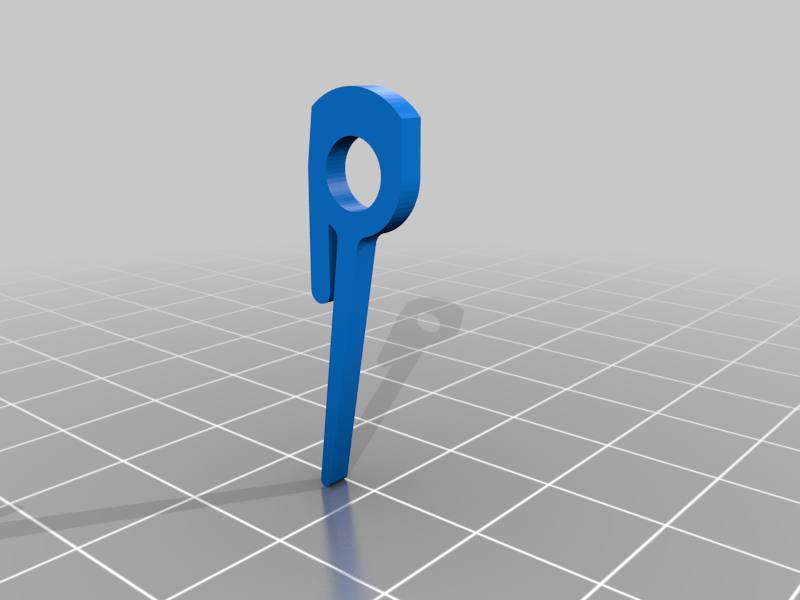
The Bit Holder and Bit are simply pressed together, make sure the hook on the Bit catches in the gap of the Bit Holder. Be sure to print the Bit on its side with the channel vertical for maximum strength. Print the Bit Holder with the square hole side up.
Refer to the image for the order of tools, and once all parts are pinned through, use the clips to hold it all together.
Once all tools are assembled on each half, add the Latches by passing a 1cm piece of filament through the Frame hole, Latch, and opposite Frame hole. Press down on the Latch slightly to align the holes as you pass filament through.
The Pliers are a two piece part held together by a full Rivet made with two Half Rivets. A piece of filament passes through the Bottom Pliers and Rivet, and the top lip of the Rivet holds the Top Pliers in place. Snip the ends of the filament pin flush with side cutters. This should be the final step of assembly.