Asterix
 por reddadsteve


Ficheiros imprimíveis (41)
-
 stl
stlscabbard_dot.stl
21 Ko · 1 683 descargas
-
 stl
stlpin_belt.stl
684 o · 1 680 descargas
-
 stl
stlcuff_left.stl
257 Ko · 1 678 descargas
-
 stl
stlpin_helmet.stl
1 Ko · 1 689 descargas
-
 stl
stlsword_pommel.stl
164 Ko · 1 675 descargas
-
 stl
stlscabbard_body.stl
61 Ko · 1 677 descargas
-
 stl
stlsword_guard.stl
191 Ko · 1 675 descargas
-
 stl
stlflask_droplet.stl
104 Ko · 1 699 descargas
-
 stl
stleye_black_left.stl
74 Ko · 1 681 descargas
-
 stl
stlpants.stl
1.8 Mo · 1 683 descargas
-
 stl
stlshoe_left.stl
383 Ko · 1 678 descargas
-
 stl
stlflask_strap_inside.stl
435 Ko · 1 673 descargas
-
 stl
stlsword_grip.stl
2.4 Mo · 1 673 descargas
-
 stl
stlmoustache_left.stl
175 Ko · 1 677 descargas
-
 stl
stlbelt_rivet_middle.stl
145 Ko · 1 678 descargas
-
 stl
stlshirt_bottom.stl
645 Ko · 1 684 descargas
-
 stl
stleye_black_right.stl
68 Ko · 1 677 descargas
-
 stl
stlarm_left.stl
1.4 Mo · 1 695 descargas
-
 stl
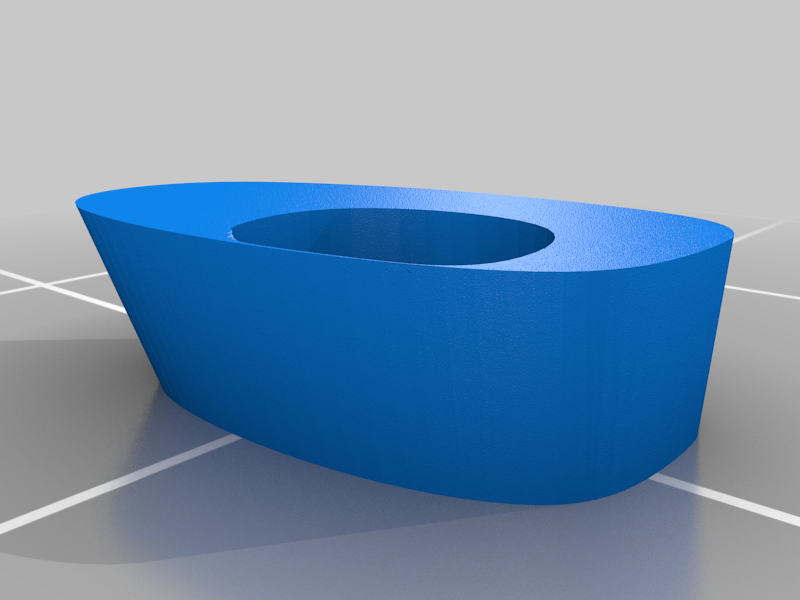
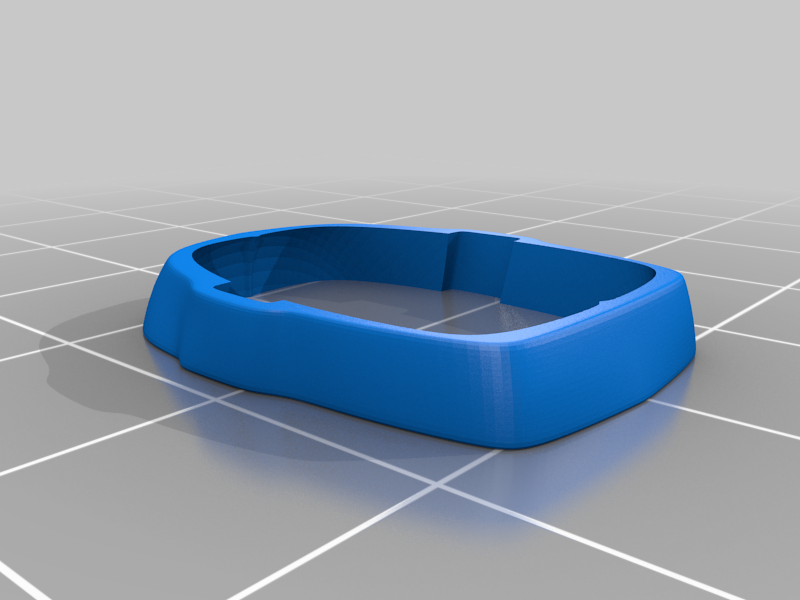
stlbelt.stl
418 Ko · 1 675 descargas
-
 stl
stlbelt_rivet_sides.stl
297 Ko · 1 675 descargas
-
 stl
stlarm_right.stl
1.4 Mo · 1 684 descargas
-
 stl
stleyebrow_left.stl
137 Ko · 1 678 descargas
-
 stl
stlmoustache_right.stl
175 Ko · 1 679 descargas
-
 stl
stleye_white_right.stl
79 Ko · 1 683 descargas
-
 stl
stlflask_strap_outside.stl
854 Ko · 1 673 descargas
-
 stl
stlcuff_right.stl
257 Ko · 1 679 descargas
-
 stl
stleye_white_left.stl
86 Ko · 1 678 descargas
-
 stl
stleyebrow_right.stl
137 Ko · 1 678 descargas
-
 stl
stlhelmet_bolts.stl
68 Ko · 1 678 descargas
-
 stl
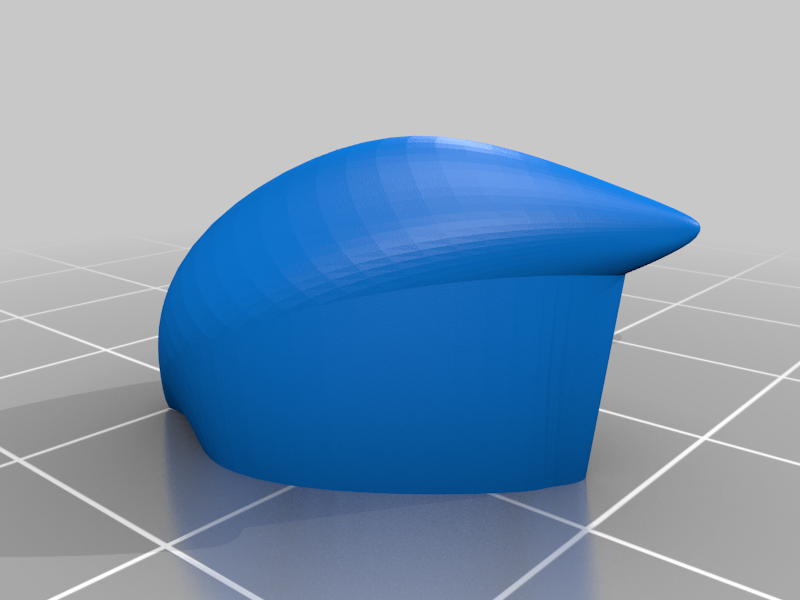
stlhelmet.stl
1.5 Mo · 1 672 descargas
-
 stl
stlscabbard_tip.stl
138 Ko · 1 676 descargas
-
 stl
stlhair.stl
1.7 Mo · 1 684 descargas
-
 stl
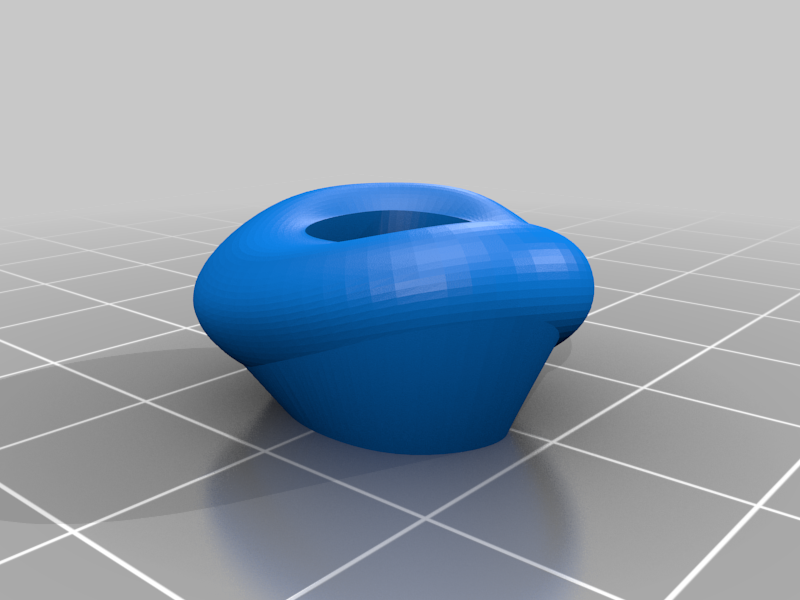
stlflask.stl
1.2 Mo · 1 701 descargas
-
 stl
stlhead.stl
3.1 Mo · 1 686 descargas
-
 stl
stlhead_without_supports.stl
3 Mo · 1 673 descargas
-
 stl
stlscabbard_strap_inside.stl
216 Ko · 1 679 descargas
-
 stl
stlshirt_top.stl
1.2 Mo · 1 683 descargas
-
 stl
stlshoe_right.stl
383 Ko · 1 682 descargas
-
 stl
stlscabbard_strap_outside.stl
1.5 Mo · 1 676 descargas
-
 stl
stlwing_left.stl
2 Mo · 1 694 descargas
-
 stl
stlwing_right.stl
2 Mo · 1 696 descargas
Descrição
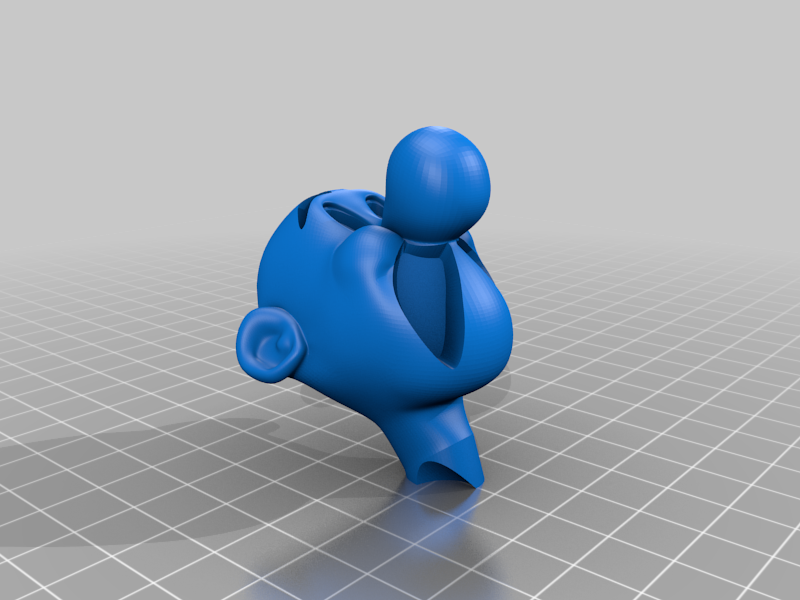
Asterix, a cartoon character in the French comic book series The Adventures of Asterix.
The main protagonist and hero of the story is Asterix, who, because of his shrewdness, is usually entrusted with the most important affairs of his village. He can gain temporary superhuman strength by drinking a magic potion brewed by the local village druid.
No supports are required. One piece contains built-in supports and braces. An optional part without the built-in supports and braces are also supplied if you want to use your slicer supports (see notes below). If you have the proper filament colors, no painting is needed.
The assembled model is 190mm tall and is almost in proportion to my previously released Obelix model.
Enjoy!
...........................................................................................................
Special shoutout to maker Benoît Lussier for providing QA printing and quality feedback.
Another shoutout to the guys at 3DBoom (Thingiverse id: 3db00m) for printing a final proof copy of this model. A picture of the front view of their print is included. See their build under their full make for more details.
...........................................................................................................
Print Instructions:
Supports: No
Resolution: .2mm
Infill: 10%
Notes:**
Refer to the notes below for a few helpful printing and assembly instructions.
...........................................................................................................
Building the model
Colors
Black: (Paramount3D PLA - Black)
eye_black_right
eye_black_left
eyebrow_left
eyebrow_right
shirt_top
shirt_bottom
..
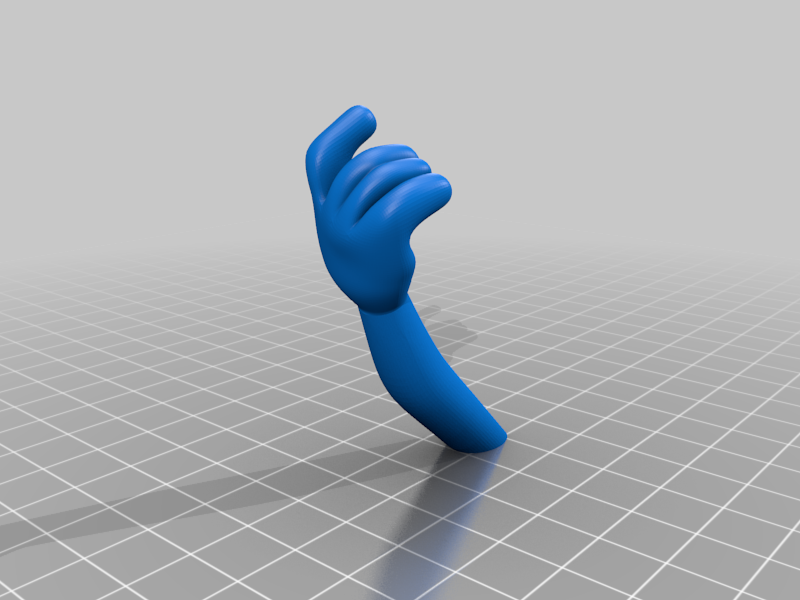
Skin: (Paramount3D PLA - Universal Beige)
arm_left
arm_right
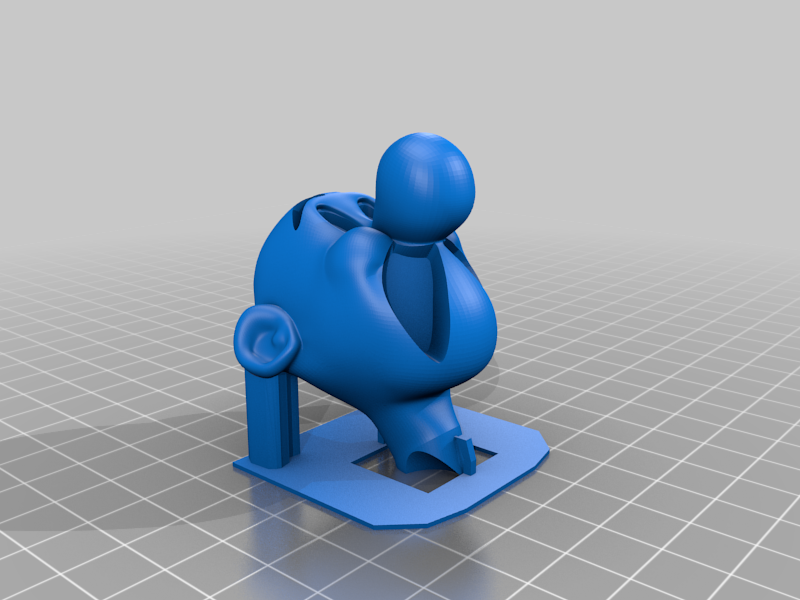
head
head_without_supports (optional piece)
..
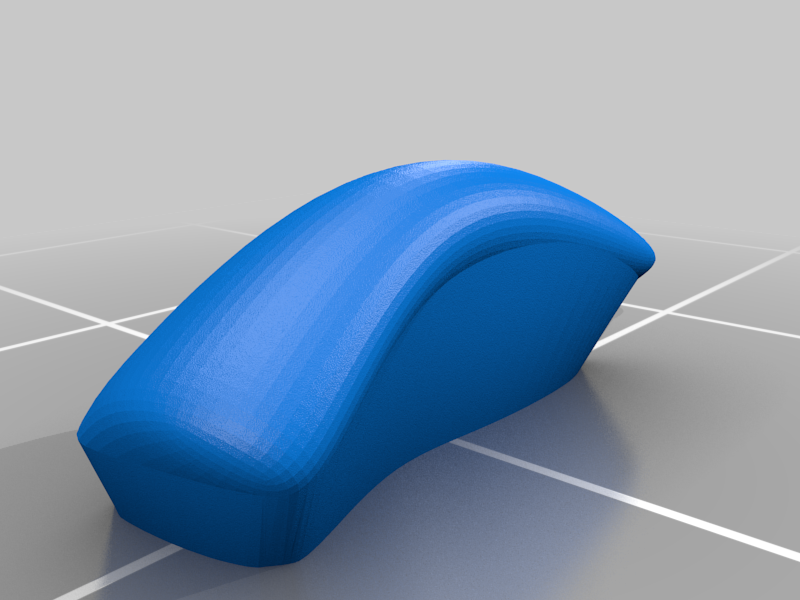
Yellow: (Paramount3D PLA - Simpson Yellow)
moustache_left
moustache_right
hair
..
Green: (Hatchbox - True Green)
belt
flask
..
Brown: (Hatchbox - Brown)
sword_grip
shoe_left
shoe_right
..
Gold: (Hatchbox - Gold)
sword_pommel
sword_guard
scabbard_tip
scabbard_dot
scabbard_strap_inside
scabbard_strap_outside
flask_strap_inside
flask_strap_outside
belt_rivet_middle
belt_rivet_sides (contains two identical pieces)
..
Light Blue: 3D Soulutech PLA- Aqua Blue)
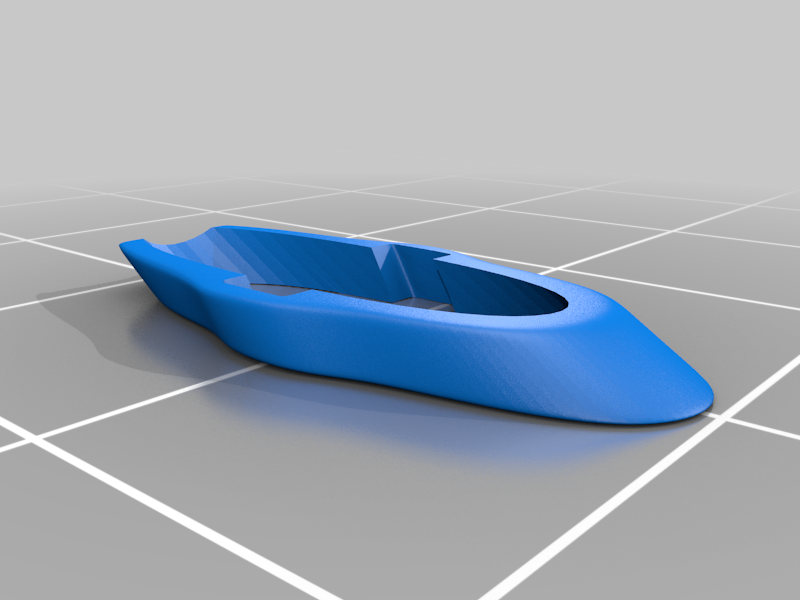
scabbard_body
..
Red: (3D-Fuel PLA - Iron Red)
pants
cuff_left
cuff_right
..
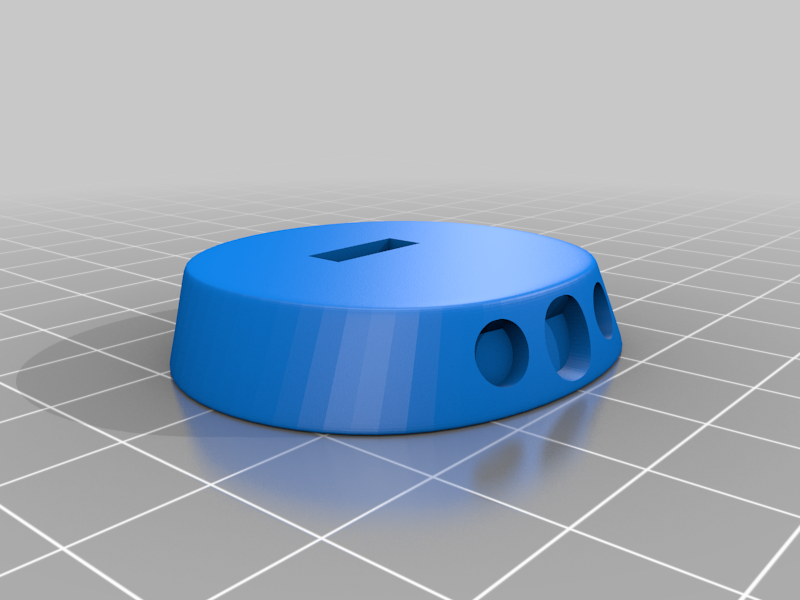
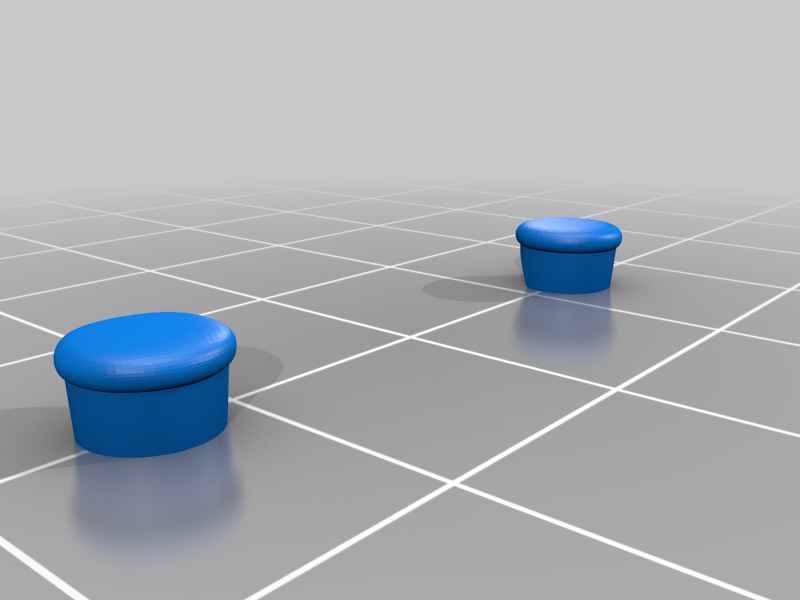
Silver: (unknown PLA - Silver)
helmet
helmet_bolts (contains two identical pieces)
..
Clear: (unknown PLA - Clear)
flask_droplet
..
White: (Overture PLA - White)
eye_white_left
eye_white_right
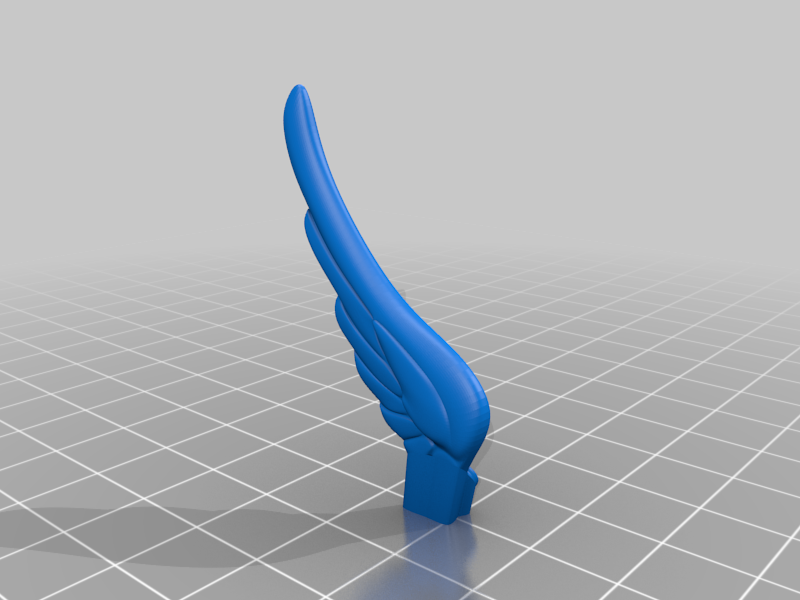
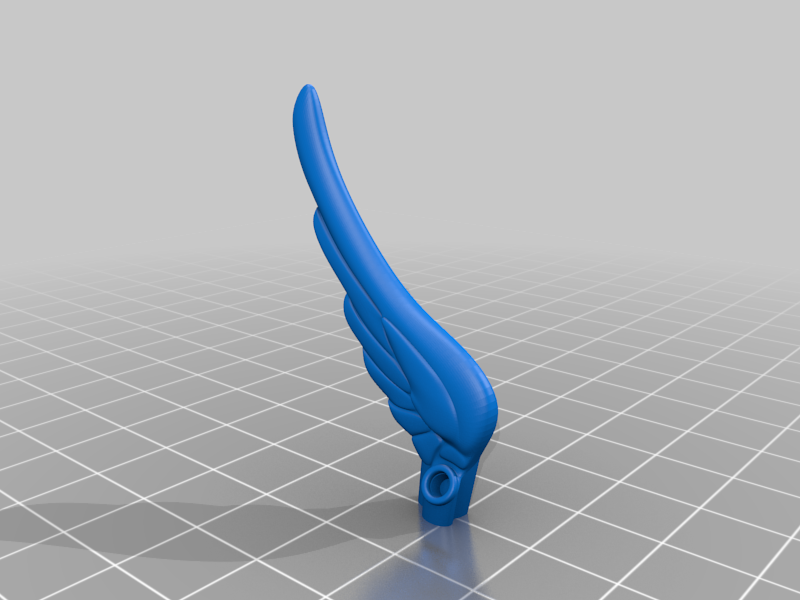
wing_left
wing_right
..
Any color: (hidden piece):
pin_helmet
pin_belt
..
...........................................................................................................
Printing and assembly tips
Printing tips
1 - No supports are required. One piece contains built-in supports and braces, head. An optional part without the built-in supports and braces are also supplied if you want to use your slicer supports. The built-in supports and braces are designed for a .4mm nozzle and for the size that the model is presented. Use your discretion for which parts to use if you resize the model significantly.
2 - There are some pieces that may need brims or rafts, use your discretion. When setting up my prints I prefer to be conservative to ensure the least chance of a print failure, especially since the base of many parts are hidden when inserted into another part.
*I used rafts on:
- wing_left and wing_right, a brim may have been enough
*I used brims on:
- arm_right and arm_left
- flask_droplet
3 - This model contains a number of small parts, but all are easily printed. The model is sized almost in proportion to my Obelix model. If I made him exactly in proportion, the parts would have been too small.
4 - When removing parts from the printer bed, it's a VERY good idea to place left/right parts into separate containers to help with the assembly process.
..
Assembly tips:
1 - Take your time gluing the model together and enjoy the process. Give some thought into which parts to glue together as groups and then gluing the groups together. Let the glue for each group set completely before combining groups.
2 - I used 3D Gloop and E6000 to put this model together. I am not affiliated with 3D Gloop but have experimented with different glues for my models and have found that this glue is a great option for my models. Each type of glue has different pros/cons and I found that 3D Gloop was far easier to use than superglue (for me). The E6000 sticky glue that I also use allows more time to position parts and is still the best for smaller parts. 3D Gloop covers the middle ground for me and really works wonders. It leaves enough time to set, so parts can be positioned correctly and it dries fast enough to hold awkward parts without the need for taping. I used the PLA version that comes in a tube. For both glues using a smaller amount is usually better than more glue.
3 - The hair should be tilted forward and rotated into position on the head around the ears until it fits in place.
4 - When assembling the flask and scabbard, the "inside straps" go on first and then the "outside straps" slide over. I recommend dry fit testing before gluing so that you can confirm that the parts are positioned correctly.
5 - Refer to the assembly diagrams in the pictures section as well as the uploaded pictures for putting the model together. The model is meant to be glued.
Do not hesitate to ask questions, feedback is essential to making better models.