Micro Lathe
 par firstflight


Fichiers imprimables (9)
-
 stl
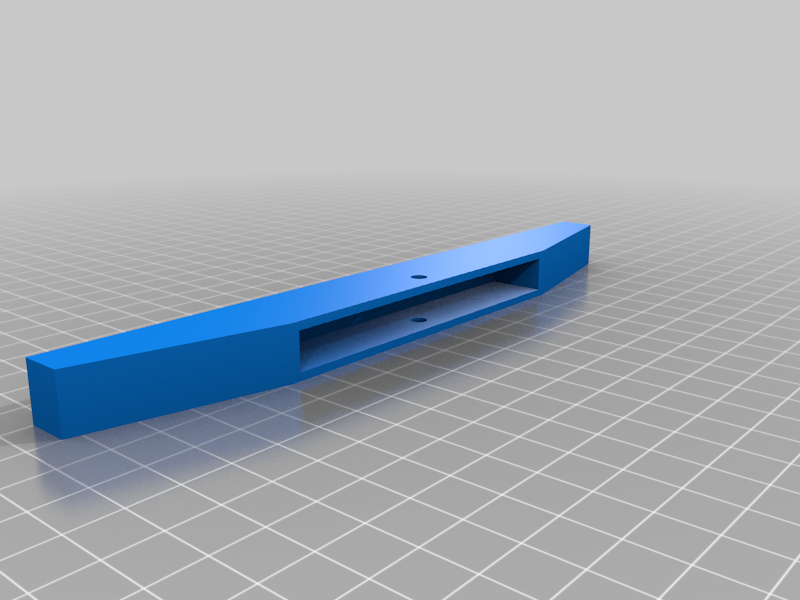
stlcarriage.stl
226 Ko · 7 319 téléchargements
-
 stl
stlcompound_rest.stl
16 Ko · 7 252 téléchargements
-
 stl
stlengine_mount_dremel3000_.stl
101 Ko · 7 291 téléchargements
-
 stl
stlhead_stock.stl
303 Ko · 7 261 téléchargements
-
 stl
stlhead_stock.stl
294 Ko · 7 159 téléchargements
-
 stl
stltail_stock_moving.stl
254 Ko · 7 179 téléchargements
-
 stl
stlend_bushing.stl
133 Ko · 7 164 téléchargements
-
 stl
stlcompound_rest.stl
16 Ko · 7 155 téléchargements
-
 stl
stltail_stock_fixed.stl
233 Ko · 7 167 téléchargements
Description
-2019-12-25. Uploaded the original fusionfile (.f3d) if anyone would like to improve the design.
-Edited 2016-09-17 Made my first test today. It works fine, but can be improved. The holder för the Dremel was a bit to long so the frontgrip was not completly firm. This has been fixed in the uploaded files. I short video of my teh can be found here: https://youtu.be/eavTV2zDyGs
-Edited: 2016-09-13 The lather works, but the fixed tail stock cant cope with soft materials, so I made a moving tail stock with a bearing.
A simple woodworking micro lathe, powered by a Dremel. The goal is to design a simple lathe with few moving parts. Will mostly be used for making parts for my model aircrafts.
Materials:
1 set of printed parts
2 steel rods 10mm x 600mm
1 steel rod 10mm x 40mm
1 theaded steel rod 10mm x 600mm
2-3 M10 nuts
1 M10 washer
9 M4 nuts
9 socket head screw M4x25mm
1 bearing 15x35x8mm (for moving tail stock)
Instructions:
-Print one piece of every stl-file. You might have to adjust the holes in order to make the rods fit.
-Cut the long rods at the desired length.
-Solder a M10 nut on the end of the threaded rod. (or mount two nuts on the threaded rod and fasten them against each other.) Make a cut in the other end with a saw.
-Mount the short (40mm) rod in a drilling machine and sharpen one end with a rasp.
Put the rod with the flat end first into the tail stock. This rod works as the dead center.
-Mount all nuts in their slots and place the socket head screws into them.
-Insert all three rods into the head socket, compound rest and tail socket.
-Glue the engine mount into the head socket.
-Forge av sharpen a round nail to make a fastener.
Print settings:
Printer: Reprap Makerfarm Prusa i3v
Material: ABS
Rafts: No
Supports: No
Resolution: 0.25
Infill: 30%, hexagon fill