Mjolnir
 par TheRedBeard


Fichiers imprimables (12)
-
 stl
stlMjolnir-Handle-Head.stl
235 Ko · 16 891 téléchargements
-
 stl
stlMjolnir-Handle-single-piece.stl
781 Ko · 16 886 téléchargements
-
 stl
stlMjolnir-Handle-Pommel.stl
17.8 Mo · 16 921 téléchargements
-
 stl
stlMjolnir-Head-Cap-Scroll.stl
2.3 Mo · 16 881 téléchargements
-
 stl
stlLathe-Jig-For_Mjolnir.stl
176 Ko · 16 810 téléchargements
-
 stl
stlhandle_bottom-2_updated_both_pieces.stl
6.2 Mo · 16 708 téléchargements
-
 stl
stlHead_End_Scroll_Piece_1.stl
706 Ko · 16 735 téléchargements
-
 stl
stlPommel_Cap.stl
1.8 Mo · 16 518 téléchargements
-
 stl
stlMjolnir-Head-bodyA.stl
474 Ko · 9 560 téléchargements
-
 stl
stlMjolnir-Head-bodyB.stl
102 Ko · 9 470 téléchargements
-
 stl
stlMjolnir-Head-bodyC.stl
30 Ko · 9 446 téléchargements
-
 stl
stlMjolnir-Head-bodyD.stl
26 Ko · 9 437 téléchargements
Description
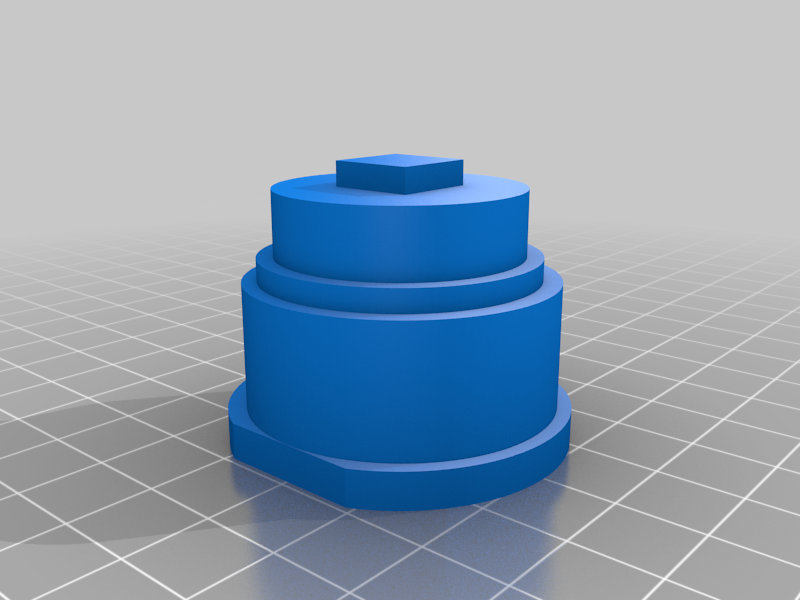
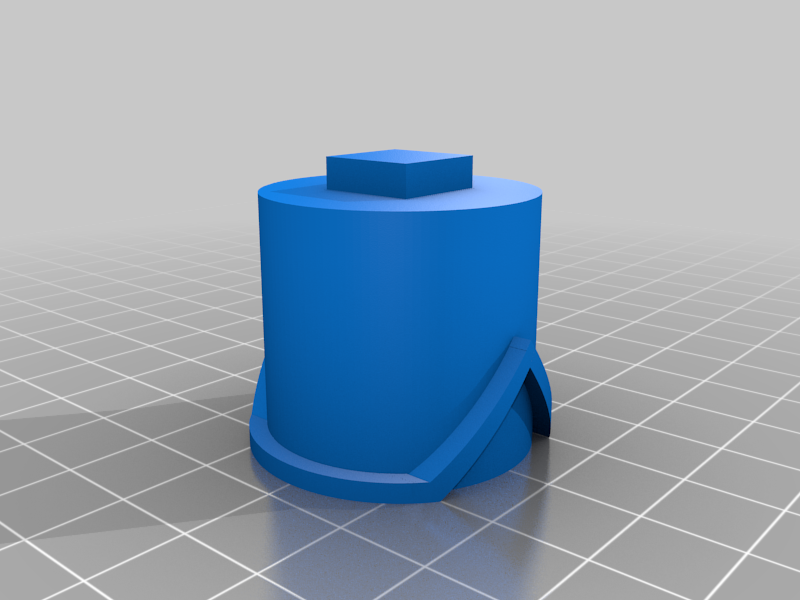
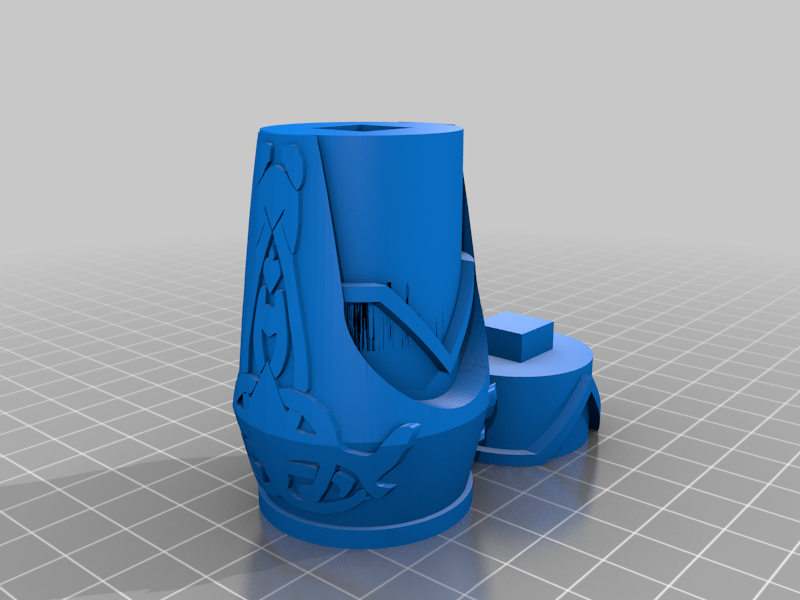
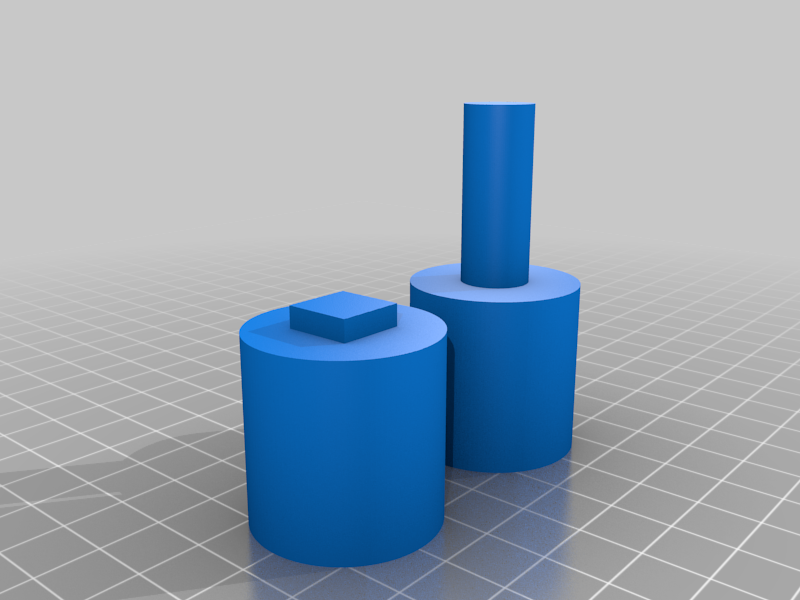
I started printing Mjolnir from ChaosCoreTech. Great files by the way! His original files of the handle printed in 3 pieces. When I would print the handle, I would get a lot of stringing from the overhanging "ribs", because of no support. So I ended up cutting the handle up into pieces, so that when printing, each "rib" would print using the bed for support. I could not be happier with the result. In addition to that, I created square keys for easily re-aligning and gluing the handle together. I ended up totally rebuilding the single handle piece and smoothed out all surfaces.
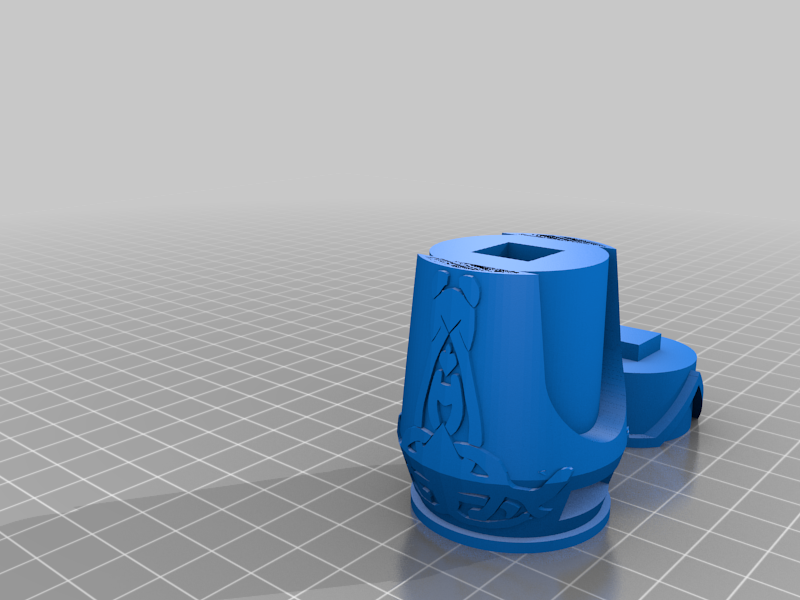
I also rebuilt the bottom and top pieces of the handle for a smoother surface. All scroll work is the original work from ChaosCoreTech.
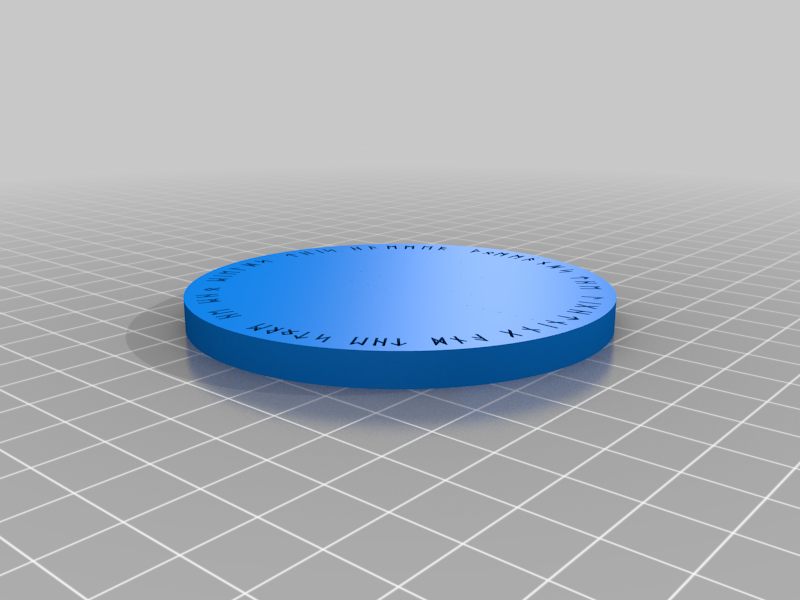
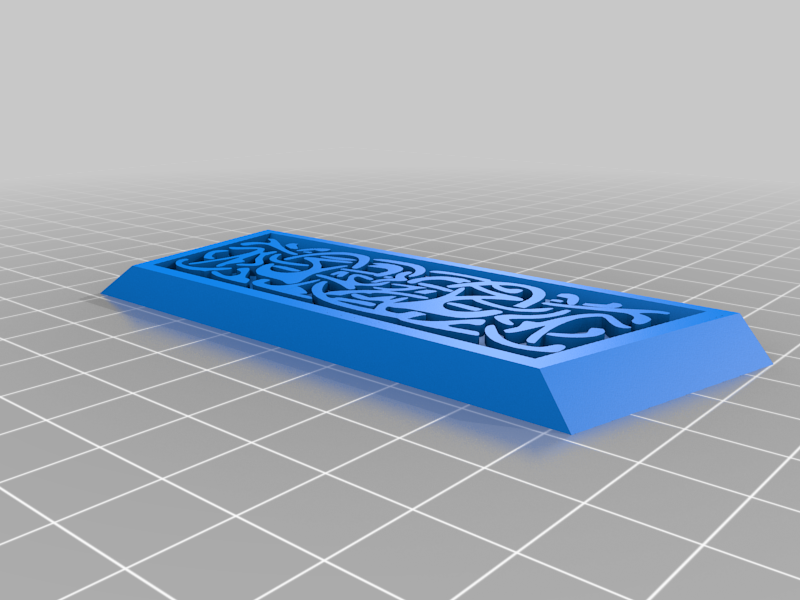
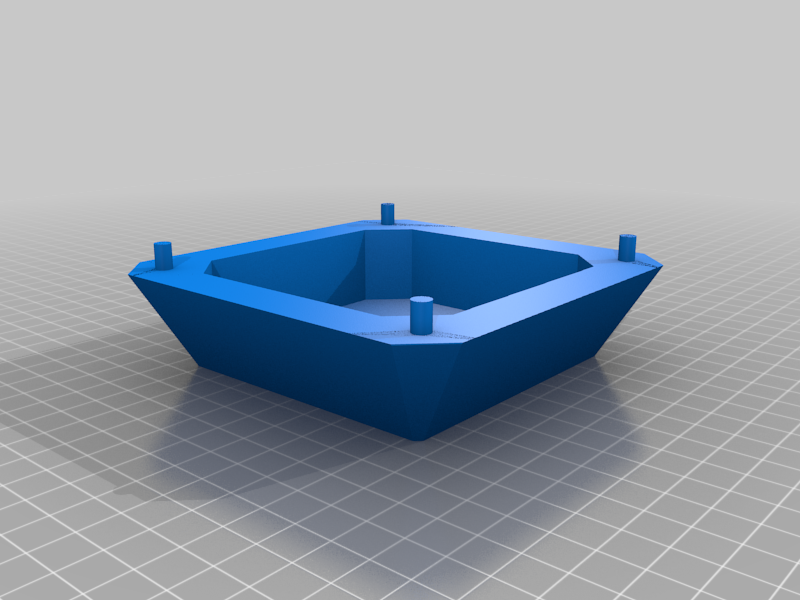
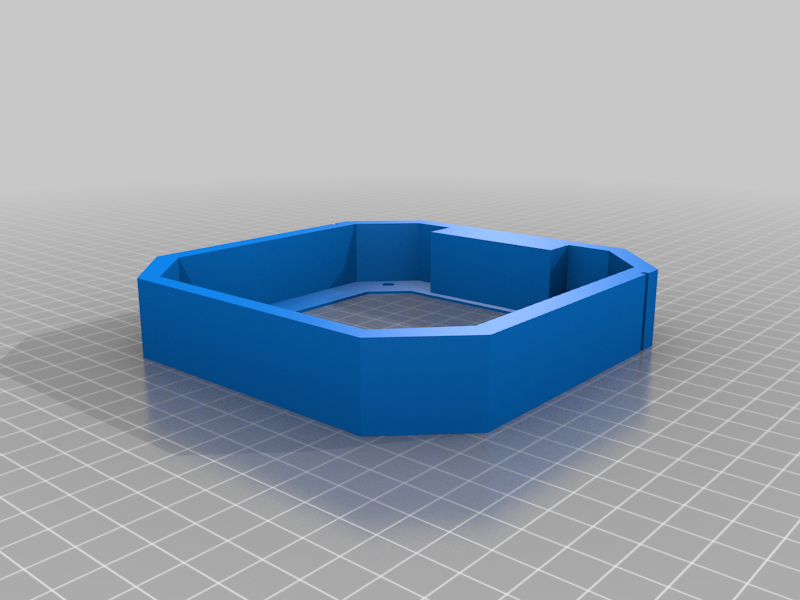
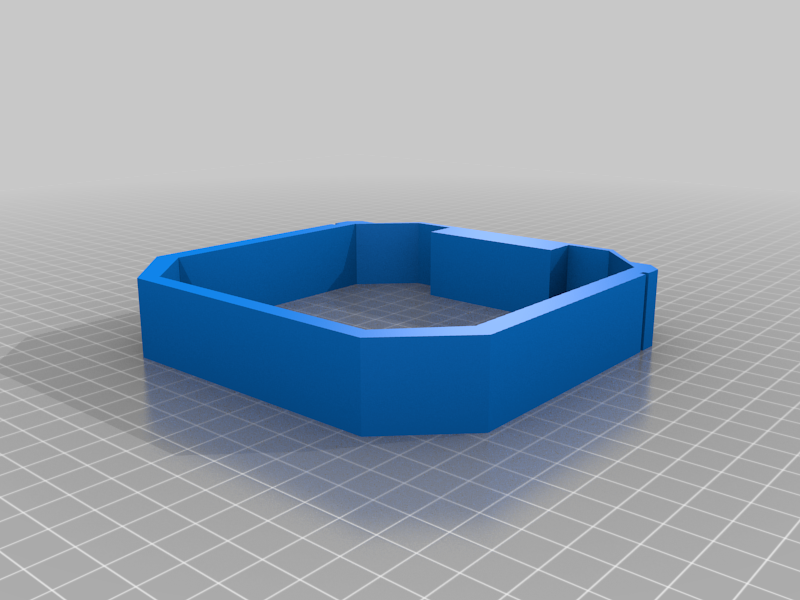
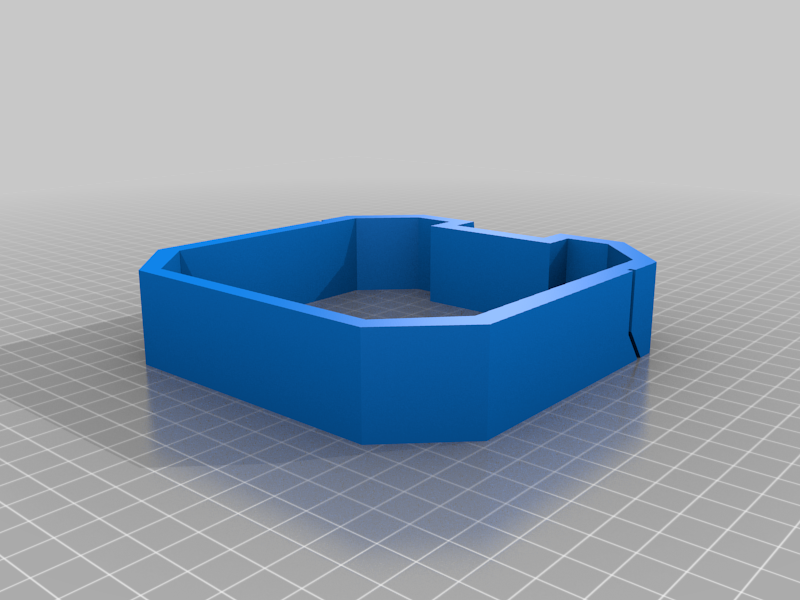
For the actual body of the hammer, I cut it into smaller sections, so I'm not held hostage by my printer for 12 hours at a time. For the end cap, with all the scroll work, I cut it into 5 pieces. Each scroll piece being it's own, plus the actual end cap. The scroll pieces print flat on the print bed for a clean print. No clean up afterwards. Just attach to the end cap with your favorite adhesive. The end cap has cylindrical keys for easy attachment to body part C. The rest of the body must be perfectly aligned and glued.
The head cap with scroll work is slightly tweaked from Remih. I made it slightly bigger and thicker. Enjoy.
Just added my lathe jig also! So you can turn the handle pieces on the lathe for a quick sanding!!!
Just added a new pommel. This one has a hole for a leather strap. I also omitted the rib on the pommel. I used a 2" heat shrink tubing for the handle wrap and that last rib was giving me issues. The shrink tubing has an adhesive lining, which helps re-inforce the strength of the handle, but that last rib was keeping the wrap from seating properly. I'll add the new pommel with that last rib later for those who want it.
Also just added an updated version of the scroll piece that goes with Body A. This scroll piece has a few extra "scroll" pieces added to fill the small voids that the original has.