Improved printable eggbot
 par nglasson


Fichiers imprimables (12)
-
 stl
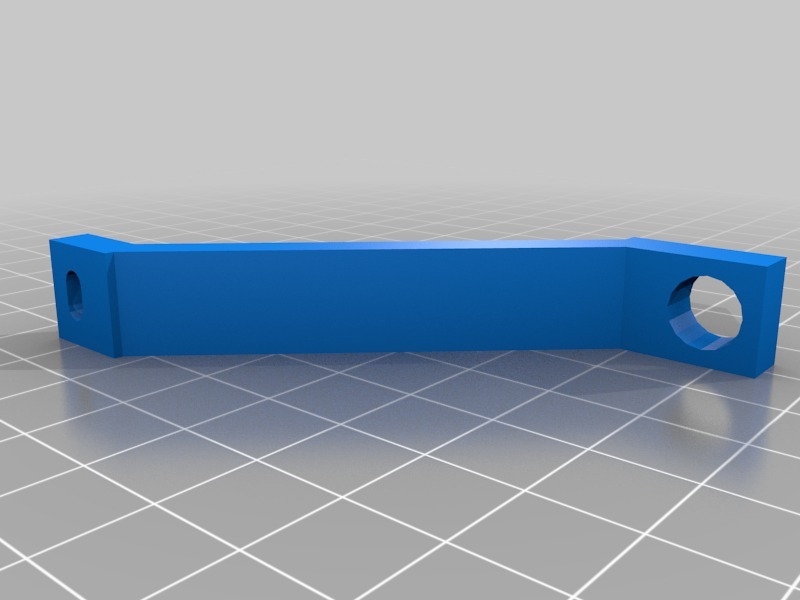
stlbrace_-_drive_end.stl
10 Ko · 8 921 téléchargements
-
 stl
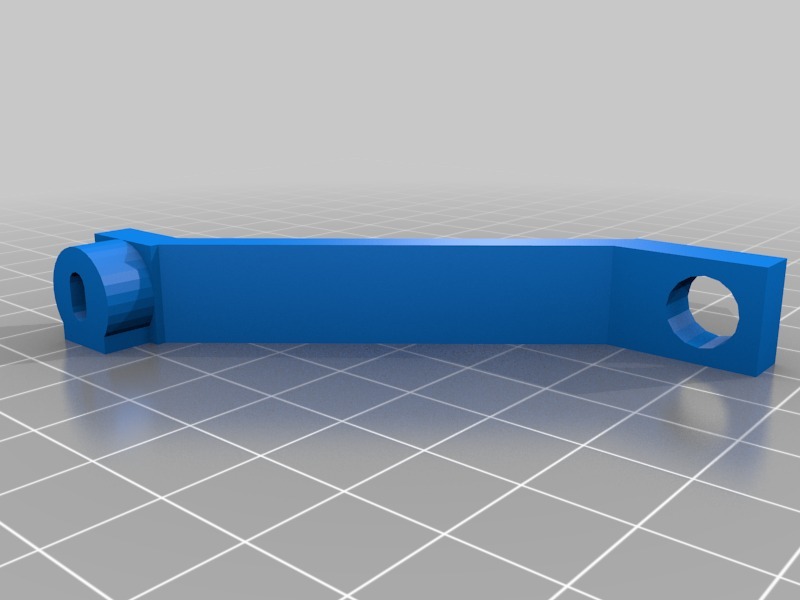
stlbrace_-_idler_end.stl
19 Ko · 8 827 téléchargements
-
 stl
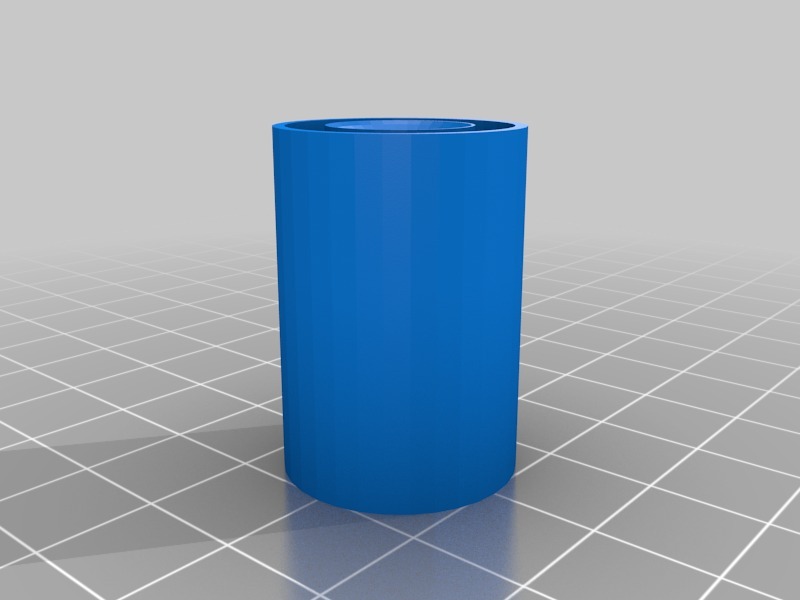
stldrive_cup.stl
41 Ko · 8 913 téléchargements
-
 stl
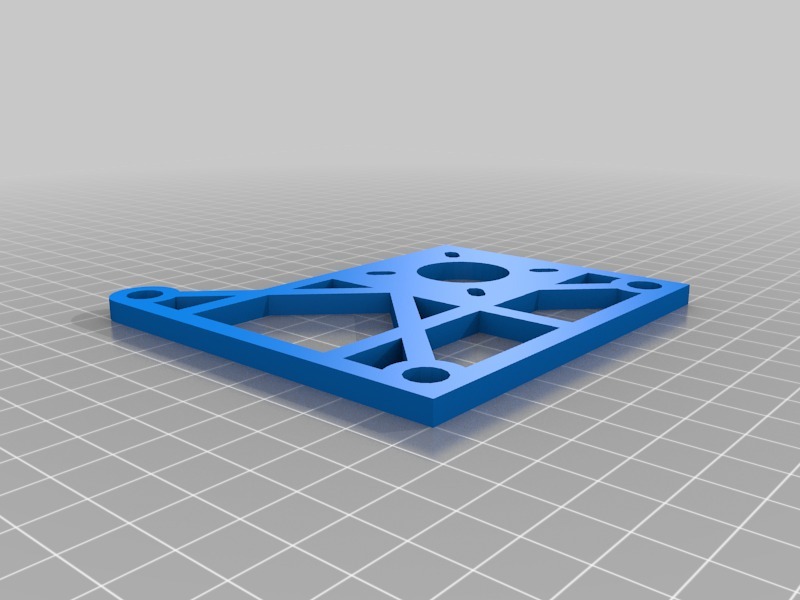
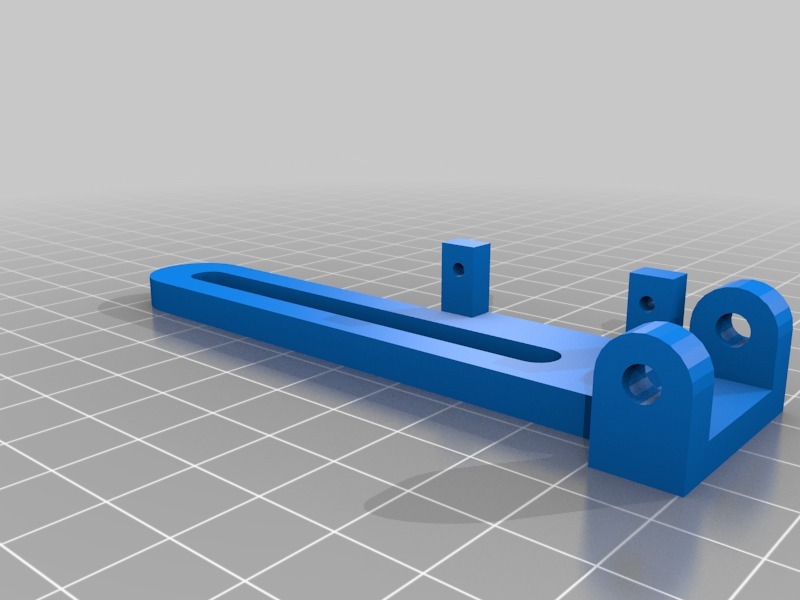
stlend_plate.stl
143 Ko · 8 901 téléchargements
-
 stl
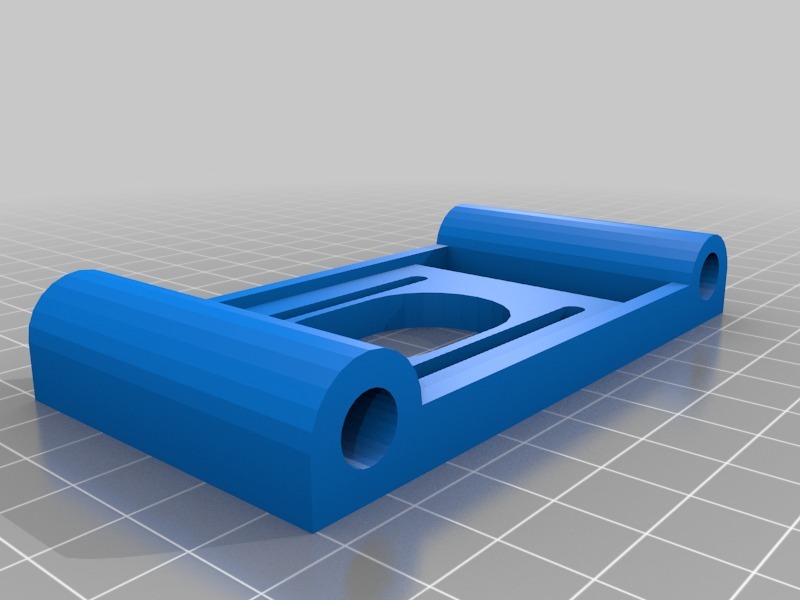
stlback_plate.stl
143 Ko · 8 794 téléchargements
-
 stl
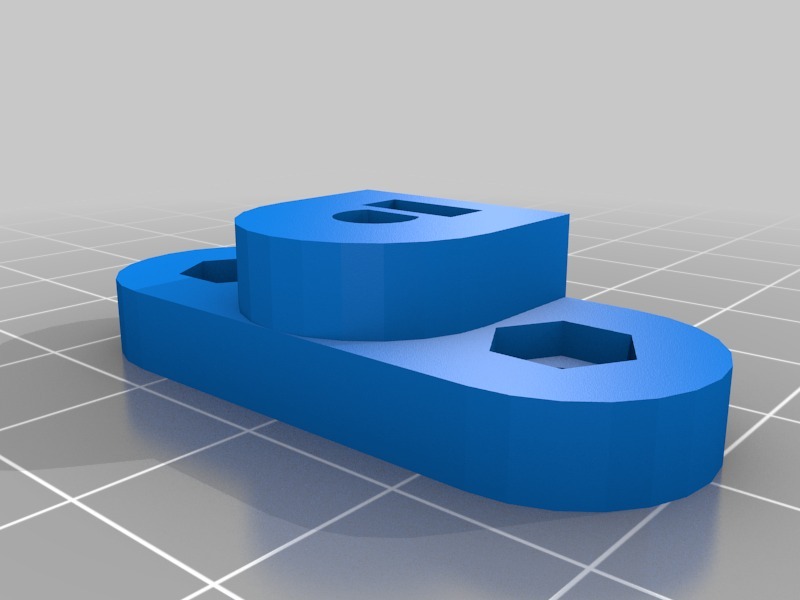
stlpen_arm_pivot.stl
134 Ko · 8 859 téléchargements
-
 stl
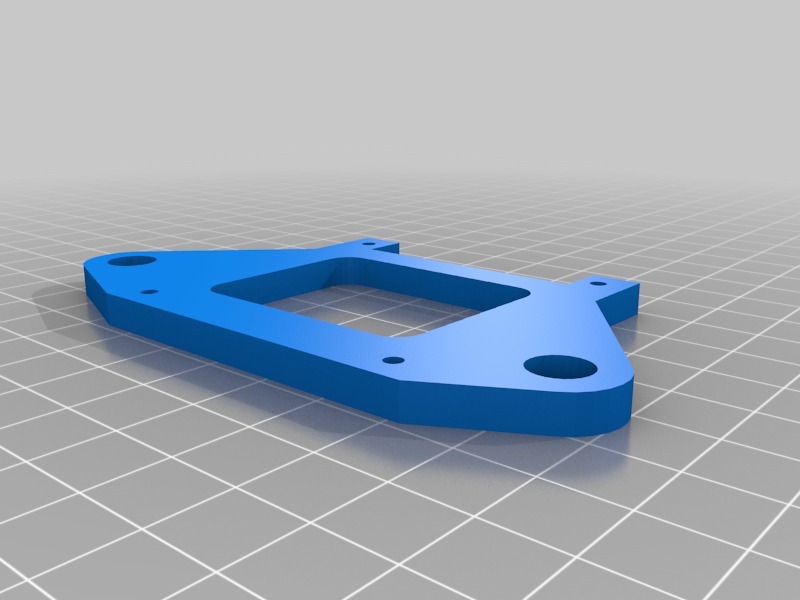
stlEBB_bracket.stl
41 Ko · 8 877 téléchargements
-
 stl
stlidler_cup.stl
41 Ko · 8 842 téléchargements
-
 stl
stlpen_arm_shaft_coupler.stl
149 Ko · 8 818 téléchargements
-
 stl
stlpen_arm_top.stl
147 Ko · 8 845 téléchargements
-
 stl
stlidler_bearing_plate.stl
174 Ko · 8 799 téléchargements
-
 stl
stlspring.stl
124 Ko · 8 945 téléchargements
Description
Eggbot in action: http://youtu.be/w5YWRMa1uJk. Make your own and have fun designing and plotting your own designs onto eggs, balls or light bulbs.
Remixed from earlier designs, I have added some improvements of my own as follows:
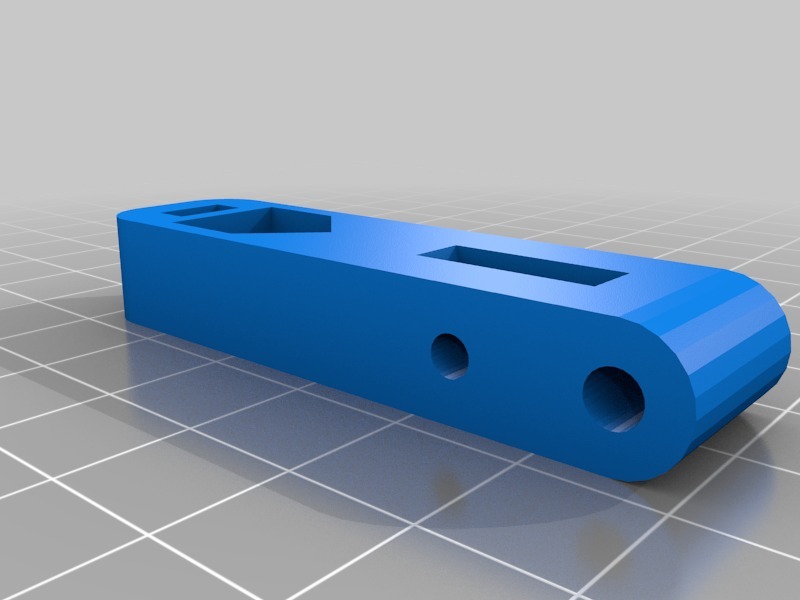
End plates have been changed to allow more pen travel. The top front hole for an M8 stud on the original design was redundant because an M8 stud fitted there would interfere with the pen when lifted. The height of the end plates also limited the possible pen travel left and right. It would be possible to reduce the overall height of the end plates to 75mm and correspondingly reduce the height of the back plate by 25mm, but I chose not to do this because the back plate offers some useful protection to the pen arm when not in use. It also makes for more vertical space to mount the electronics. I added angle brackets to either side at the front to take the flex out of the end plates and therefore better hold the axes of the drive shaft and idler shaft in line.
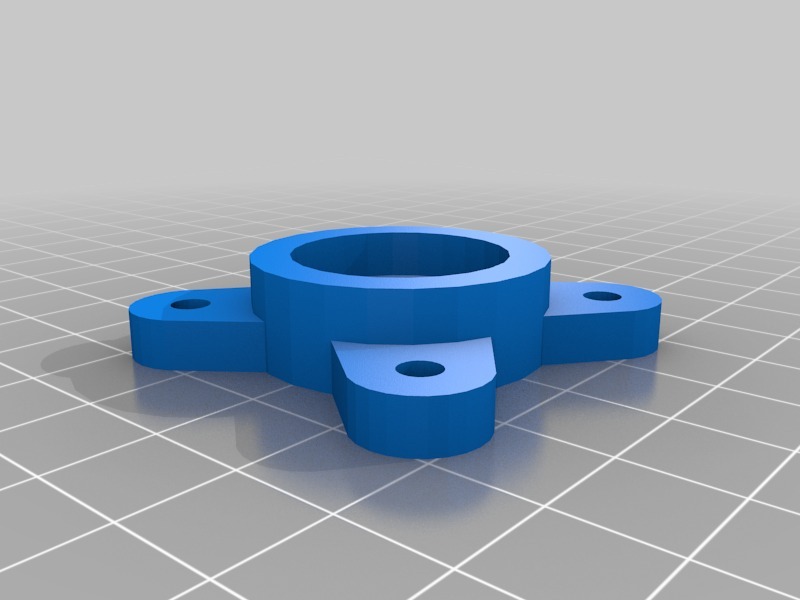
Drive and idler cups have been designed to have nitrile O-rings inserted into the grooves in the end faces. I figured that an O-ring would be a sensible means of accurately holding the egg on centre. The O-rings I sized them for are ARP-206 (3/4"OD x 1/2" ID). Having the drive and idler a constant outer diameter allows you to use a short straight edge to assist with lining them up with each other.
I used an HXT900 9gr servo and found that when fitted to Finucane's arm the servo arm lined up with the centre of the spring rather than sitting either side of it. I made it fit together by carefully sawing and filing a slot in the spring so the servo arm could fit into the middle of the spring end.
I decided to buy the genuine EBB electronics (from http://shop.evilmadscientist.com/) because it is a tidy one-board solution with good software support and documentation and it was about the same price as an Arduino Uno plus an Adafruit motor shield. The genuine EBB came pre-loaded with firmware - all I needed to do was plug it in, install the software and start egg-boting.