Wall Mount Drawbot
 par Faught


Fichiers imprimables (14)
-
 stl
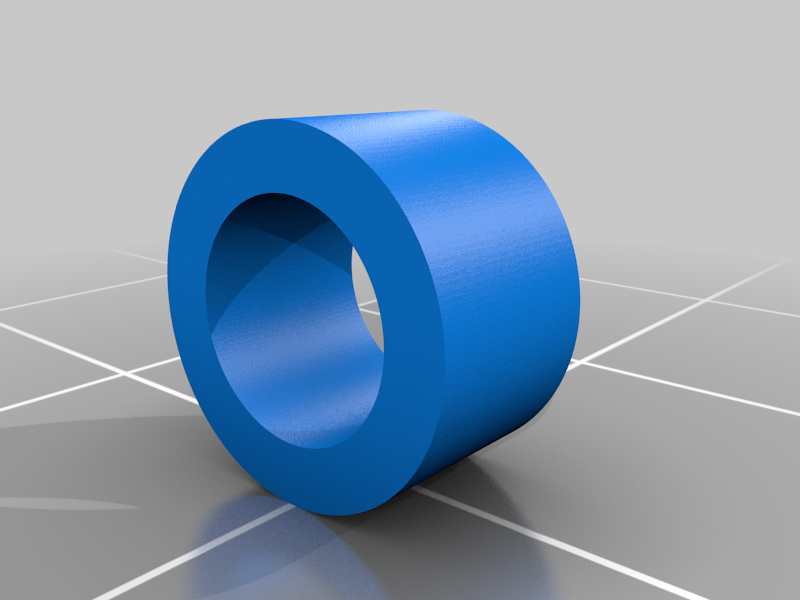
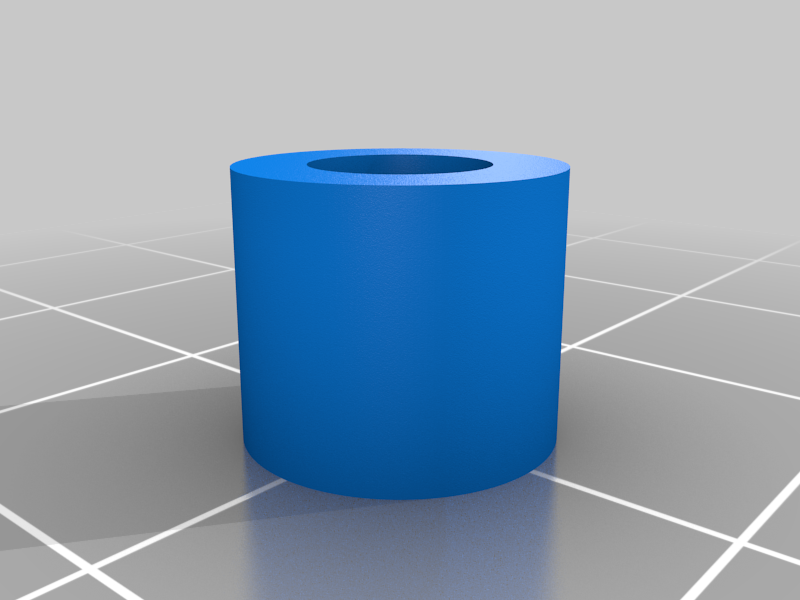
stlWall_Mount_DrawBot_YCarriage_Wheel_Spacer.stl
64 Ko · 3 236 téléchargements
-
 stl
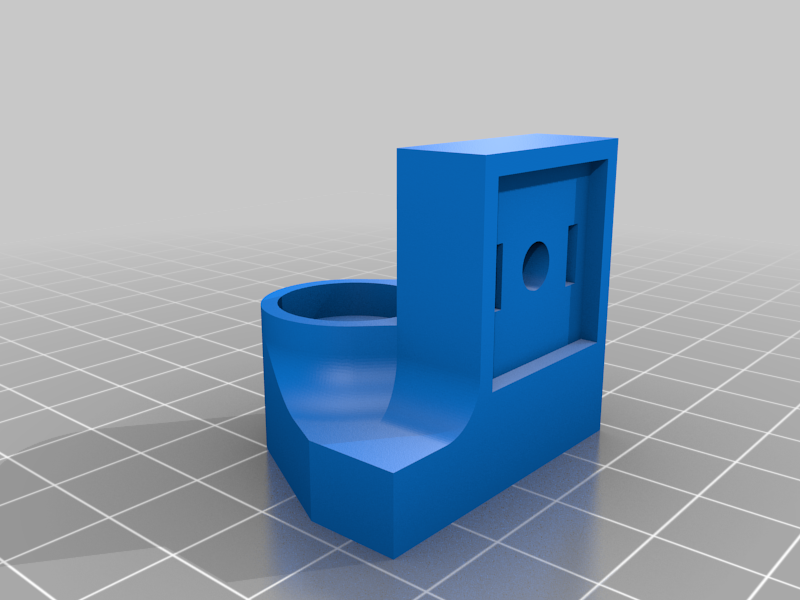
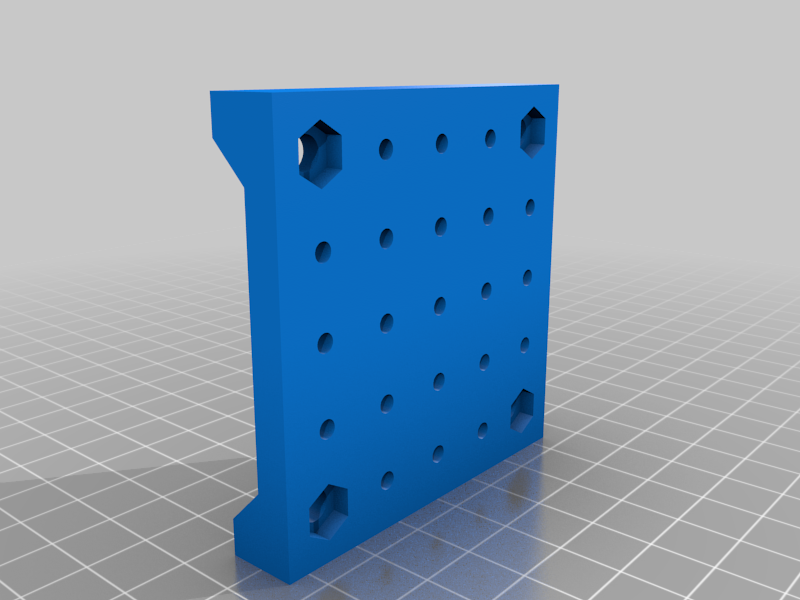
stlWall_Mount_DrawBot_Wall_Mount_Left.stl
141 Ko · 3 222 téléchargements
-
 stl
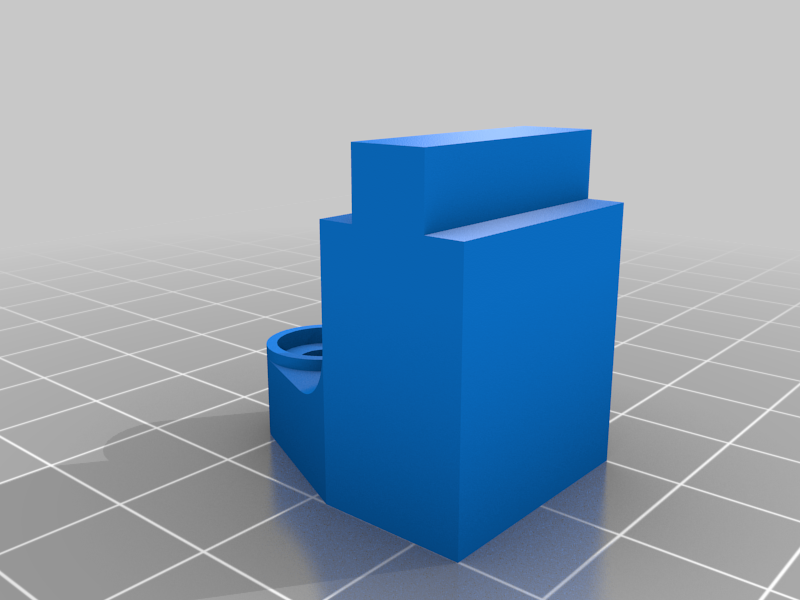
stlWall_Mount_DrawBot_Wall_Mount_Left_XL.stl
133 Ko · 3 248 téléchargements
-
 stl
stlWall_Mount_DrawBot_Center_Supportmaybe_needs_improvement.stl
62 Ko · 3 200 téléchargements
-
 stl
stlWall_Mount_DrawBot_Pen_Holder_XL.stl
137 Ko · 3 202 téléchargements
-
 stl
stlWall_Mount_DrawBot_Pen_Holder.stl
149 Ko · 3 210 téléchargements
-
 stl
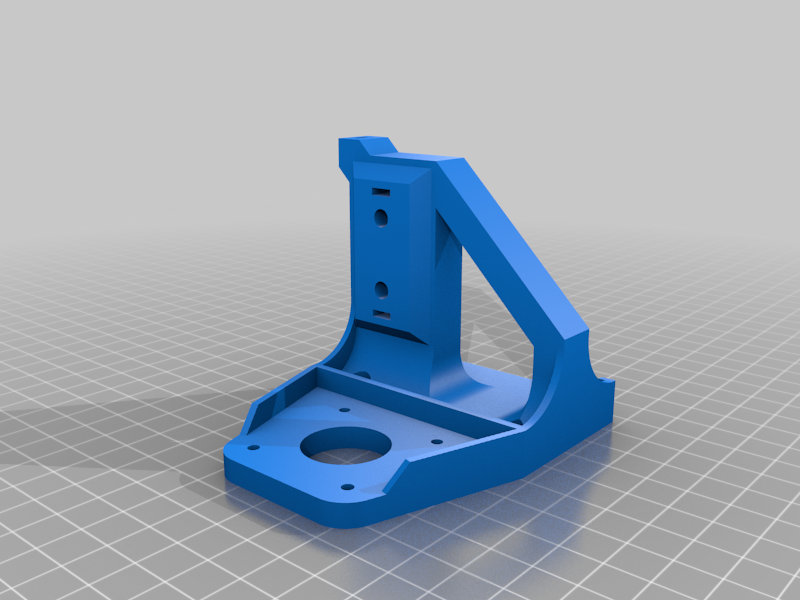
stlWall_Mount_DrawBot_XCarriage_Right.stl
243 Ko · 3 216 téléchargements
-
 stl
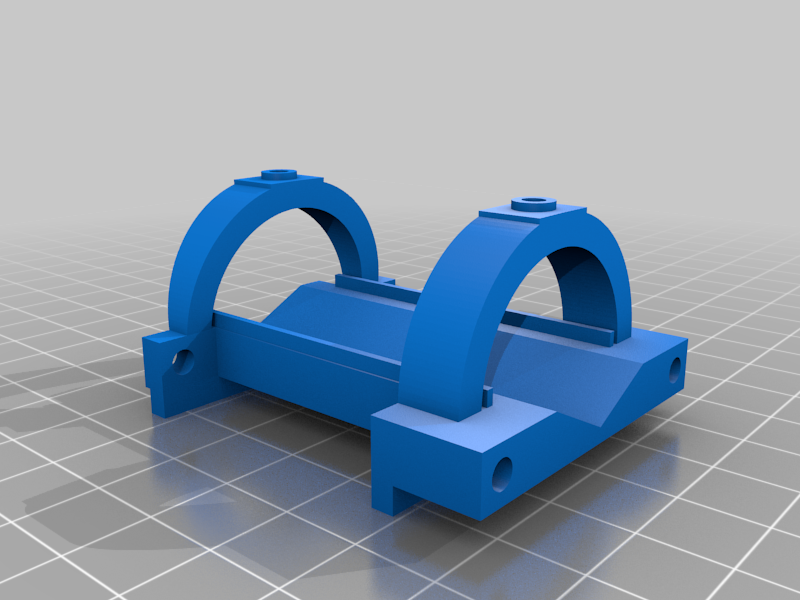
stlWall_Mount_DrawBot_YCarriage_Front.stl
449 Ko · 3 210 téléchargements
-
 stl
stlWall_Mount_DrawBot_XCarriage_Wheel_Spacer.stl
59 Ko · 3 198 téléchargements
-
stl
Wall_Mount_DrawBot_Wall_Mount_Right_XL.stl
133 Ko · 3 228 téléchargements
-
 stl
stlWall_Mount_DrawBot_YCarriage_Back.stl
492 Ko · 3 205 téléchargements
-
 stl
stlWall_Mount_DrawBot_Wall_Mount_Right.stl
141 Ko · 3 202 téléchargements
-
 stl
stlWall_Mount_DrawBot_Servo_Mount.stl
80 Ko · 3 193 téléchargements
-
 stl
stlWall_Mount_DrawBot_XCarriage_Left.stl
243 Ko · 3 201 téléchargements
Description
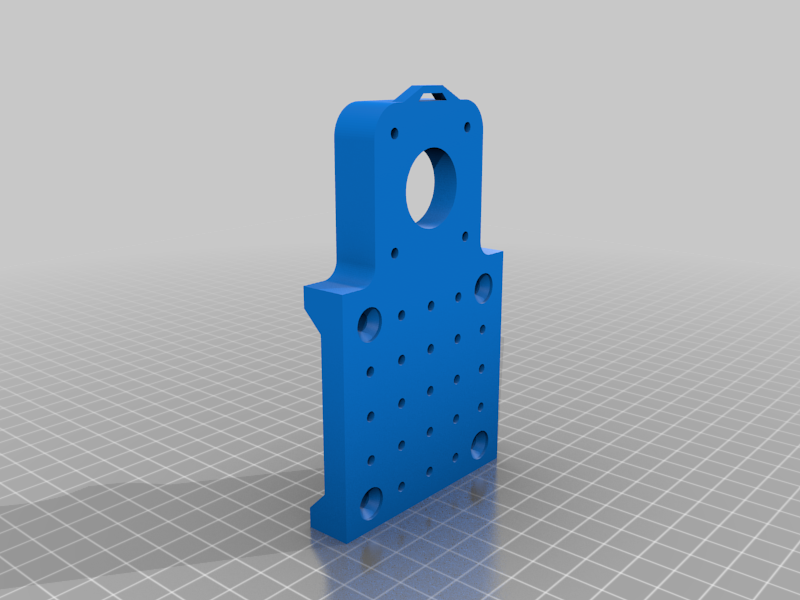
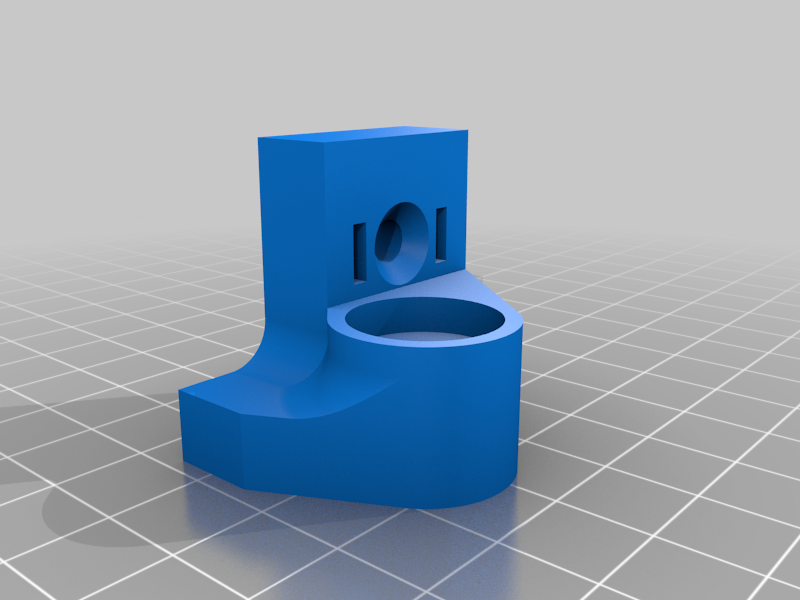
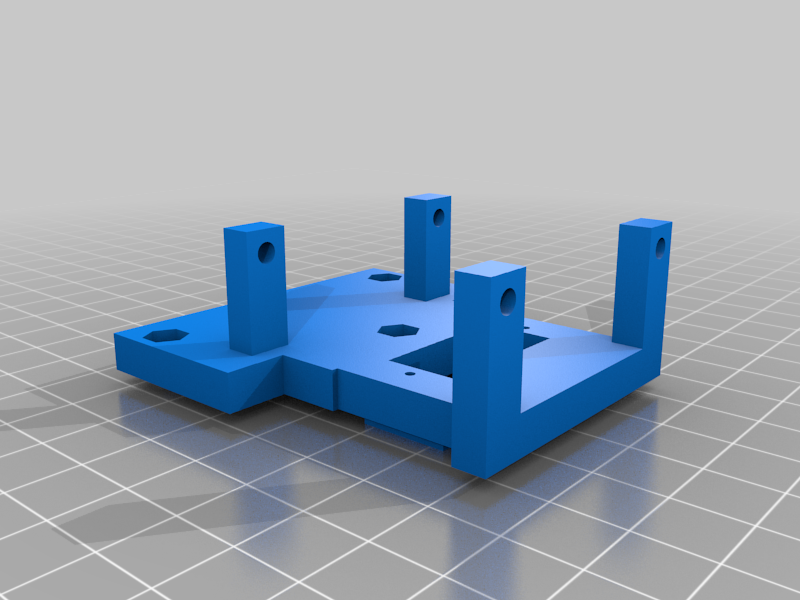
Wall-Mounted Drawbot/Cartesian Robot
I designed this after seeing other drawbots and wanting something I could hang on the wall and create large scale prints with. It can be run from many different controllers but I am using a Arduino with a CNC Shield and a grbl fork with servo support much like the other drawbots and many of the grbl settings are similar. I am planning on replacing the arduino and shield with a duet board for better results.
https://github.com/robottini/grbl-servo
I printed most parts in PETG 100% infill with 0.20 layer heights and supports where needed. This uses V-slot rail and wheels from Openbuilds.
http://openbuildspartstore.com/v-slot-linear-rail-1/
http://openbuildspartstore.com/xtreme-mini-v-wheel-kit/
The Y Axis is 20x40 and the X Axis is 20x20. The belts are all run through the rail channels and it even has placement to hide the stepper wires and run a strip of LEDS along either axis.
I used a sg90 servo to move the pen and these steppers.
https://www.amazon.com/Stepper-Motor-Bipolar-64oz-Printer/dp/B00PNEQI7W
Using 24V and good quality stepper drivers is really necessary for the motor torque to pull the carriages along and I have used direct cooling on the board and heatsinks to keep the motors cooler. Bolt sizes vary from m3 to m5 at all different lengths but are primarily flat head or hex, sorry I will write up a parts list very soon.
One thing I will express is the spring that tensions the pen to the wall needs to be very weak just strong enough to press the pen to the paper and distribute ink. The carriage that holds the pen is mounted on 3mm X 80mm rods and the holes will need to be opened slightly to achieve smooth movement with such a weak spring. Use caution when expanding the holes as and additional movement in that carriage will cause quality to decline rapidly. That is probably the most challenging part of this build. I recommend using the rods to expand the holes slightly by gently rocking in a circular motion with only a small proton of the rod in each hole, do not over expand. Once it's close run the servo up and down a few hundred times to smooth everything out. PTFE grease may be a good way to get very smooth movement but I have not tried it.
Quality and speed are all very good. I have attached a image of a space filing curve my 1000x1000mm machine did at decent speed. I am sure this deserves a better write-up than I am giving at the moment but I will do a more detailed one in the near future.
Parts Marked XL space the machine farther from the wall to fit most thin stretched canvases.
Some of the parts need to be rotated before printing I will fix in the next upload.
Crappy youtube video of my smaller machine drawing a small drawing.
https://www.youtube.com/watch?v=UFtHQrUjVC0
Edit:
I have since upgraded to a Duet Wifi board with great results. Stepper motors were upgraded to the 0.9 degree variant. The servo is much easier to setup and control, I will likely upgrade to a higher quality servo. The stepper motors all run incredibly smooth at 16th step with interpolation at good speeds. I have Nema dampeners on the steppers and plan on replacing the current duet driver fan with a noctua and the thing will be almost completely silent. Write up coming soon.