AutoScan
 par HemdaMakers


Fichiers imprimables (3)
-
 stl
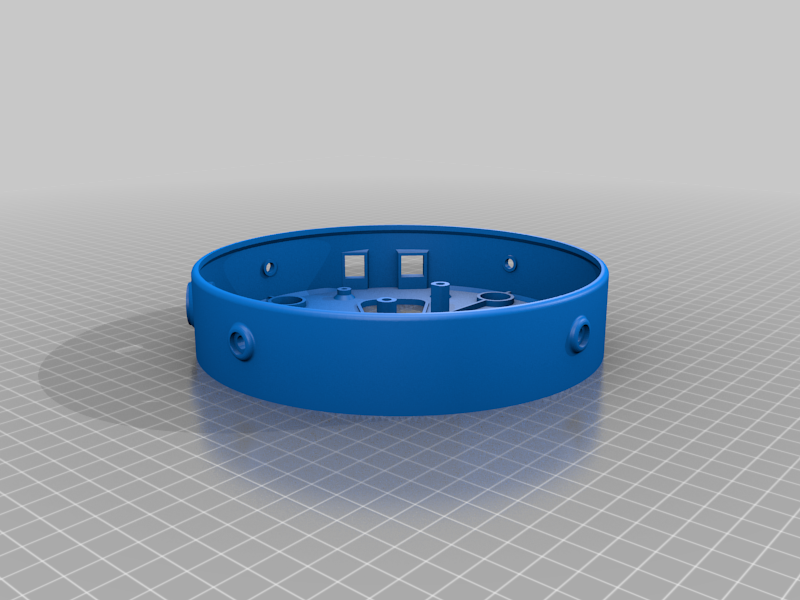
stlScanner_base.stl
1.6 Mo · 19 282 téléchargements
-
 stl
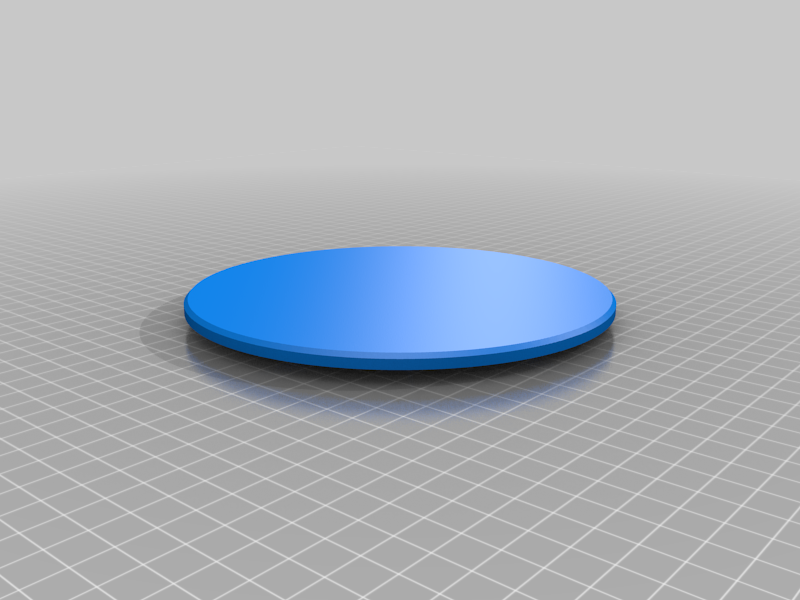
stlScanner_plate.stl
235 Ko · 19 343 téléchargements
-
 stl
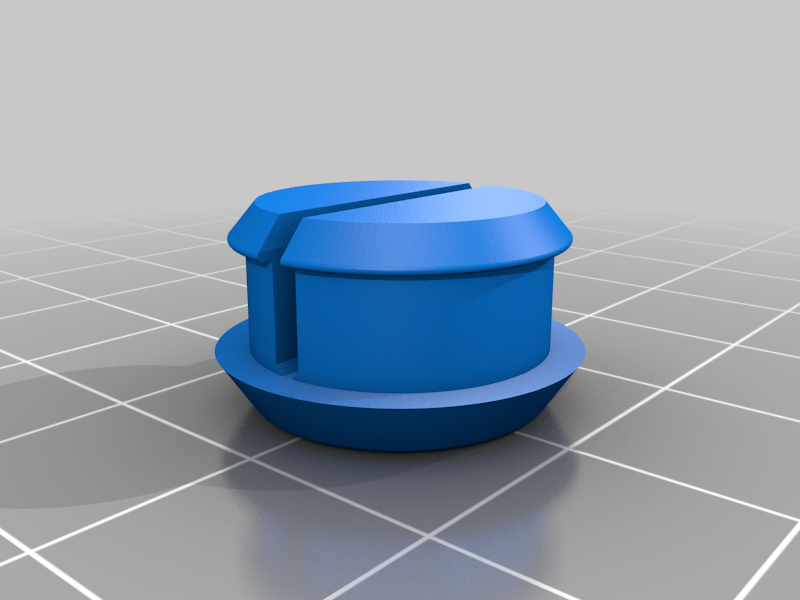
stlAntiSlip_bottoms-TPU.stl
378 Ko · 19 150 téléchargements
Description
AutoScan
AutoScan is a project created for the purpose of introducing a fast, easy, and accurate new way to take pictures of objects for the creation of 3D models using photogrammetry technology.
AutoScan consists of two parts: the rotating scanner plate and the AutoScan app.
The scanner plate holds the object being scanned on top, waiting for instructions from the app to rotate the object, allowing the app to take a picture from a new angle.
The AutoScan app is functioning as a camera and a controller, taking the pictures while communicating with the scanner plate via Bluetooth. In the app, the user can set the name of the projects and can choose how many pictures he wants.
The Team:
- Ariel Drach - Rotating Scanner Plate Design
- Eran Shmueli - App Development and Arduino Programing
- Gil Meir - Arduino Electronics Assembly
HEMDA - Tel Aviv Center for Science Eduction.
________________________________________________________________________
How to build AutoScan:
Parts list
- Arduino UNO R3 - 1 unit
- Stepper motor with ULN2003 Driver - 1 unit
- Bluetooth Module HC06 - 1 unit
- Jumper wires - 1 unit
- Bearing wheels to support the rotating scanner plate - 4 units
- Flexible arm to support the mobile camera - 1 units
- Mobile bracketClamp to fix the mobile camera into the flexible arm- 1 units
- M3 Allen screws to attach arduino board and ULN2003 Driver to the mounts - Set
- M4 Allen screws to attach the stepper motor to mounts - Set
- M5 Allen screws to attach the bearing wheels - Set
Recommended tools
- Tevo Tarantula 3D printer The printer we used to print AutoScan
- Allen key set
Print parts
*The parts were designed to fit any standard 200*200mm printing bed!
*If we see a positive demand for AutoScan we will consider to design a bigger scanner, please show your love by liking and sharing (:
You have to print the the Base and Scanner plate. The bottoms are optional but handy!
- Scanner base.stl*1
- Scanner plate.stl*1
- AntiSlip bottoms-TPU.stl*4
We recommend using Hatchbox PLA
App, Arduino sketch and Software
- The AutoScan app: Google Play
- Arduino IDE: Download
- Download the Arduino sketch
use this key to unlock: !iOrIEsXj8oPYUc5-hQDTQ43nSDfj49oK6W_2ILkvRbM
- Autodesk ReCap - Reality capture software to convert reality into a 3D model : Recap software - Not free
- 3DF ZEPHYR allows you to automatically and easily reconstruct 3D models from photos: Zephyr 3D software - Free features
General instructions
- Print the 3d parts
- Assembly the electronics to the corresponding scanner base mounts
- Wire the electronics according to the Fritizing scheme
- Upload the Arduino sketch to the Arduino board, You wiill have to disconnect the BT module RX/TX wires to upload the code! and reconnect them after you see "done uploading" message!
- Download and install the App, currently available for Android only
- Enable your Bluetooth on your mobile device and follow app instructions, check that motor responds and rotate
- Fix the bearing wheels using M5*20 Allen screws to the scanner walls
- Attach the scanner plate to the stepper motor shaft, check that the plate rests nicely on the bearing wheels
Happy scanning and dont forget to share your makes (: