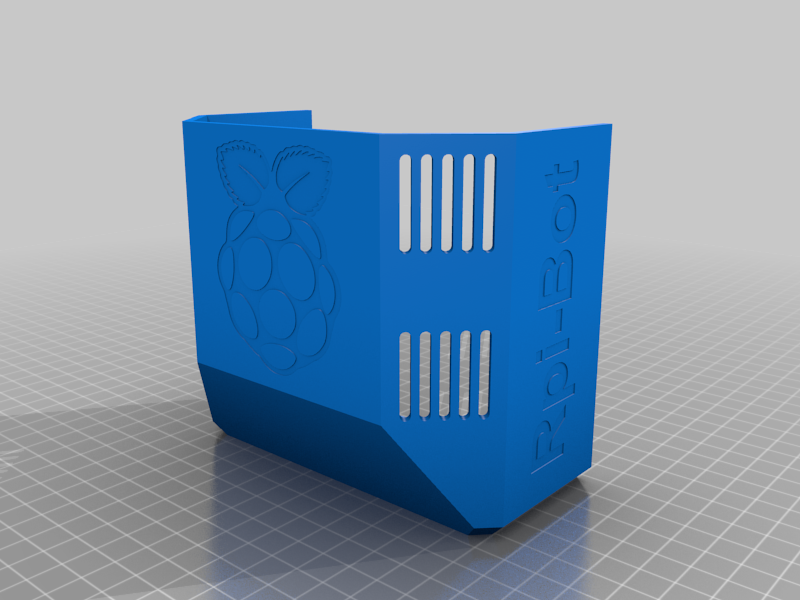
RPi-Bot
 par iClint


Fichiers imprimables (10)
-
 stl
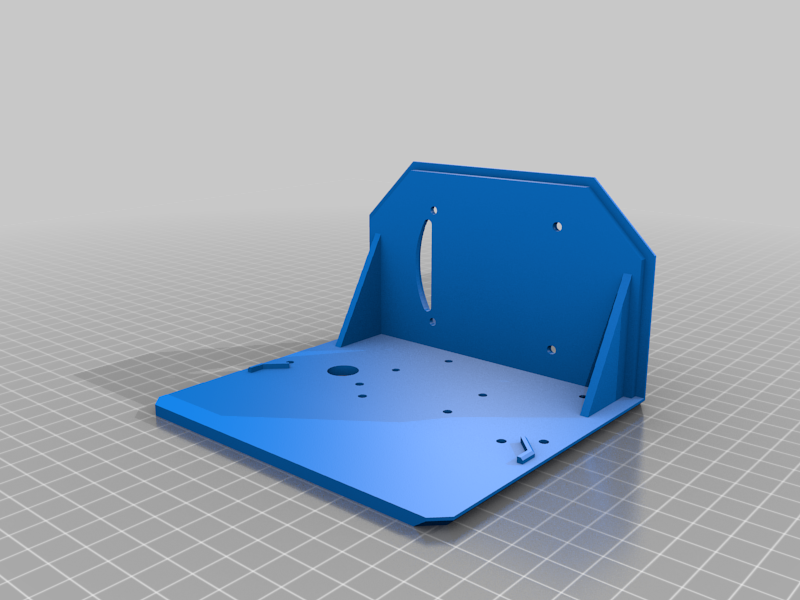
stlBody_SD_Card.stl
204 Ko · 3 976 téléchargements
-
 stl
stlchassisBody.stl
193 Ko · 4 001 téléchargements
-
 stl
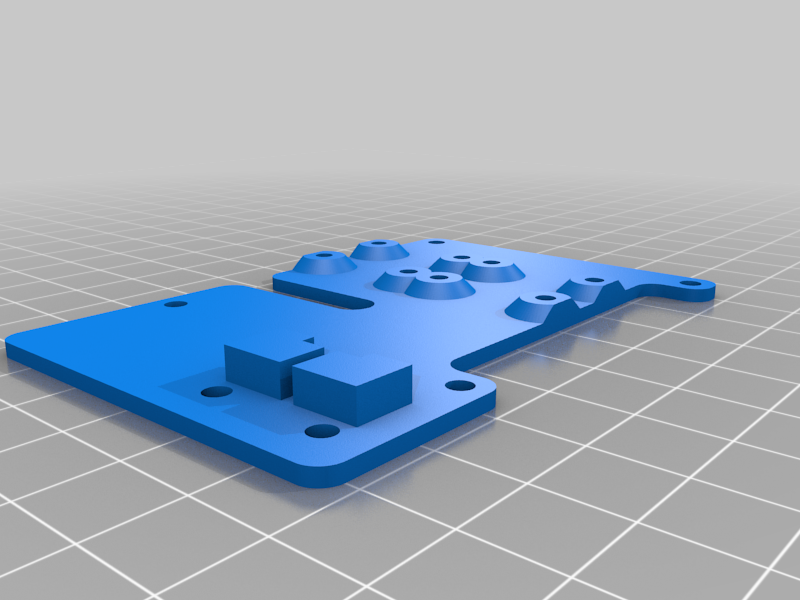
stlpiStack.stl
228 Ko · 4 016 téléchargements
-
 stl
stltrackBody.stl
1 Mo · 4 009 téléchargements
-
 stl
stlbodyCover.stl
1 Mo · 3 998 téléchargements
-
 stl
stlchassis.stl
1.6 Mo · 4 006 téléchargements
-
 stl
stlwheels.stl
1.4 Mo · 4 000 téléchargements
-
 stl
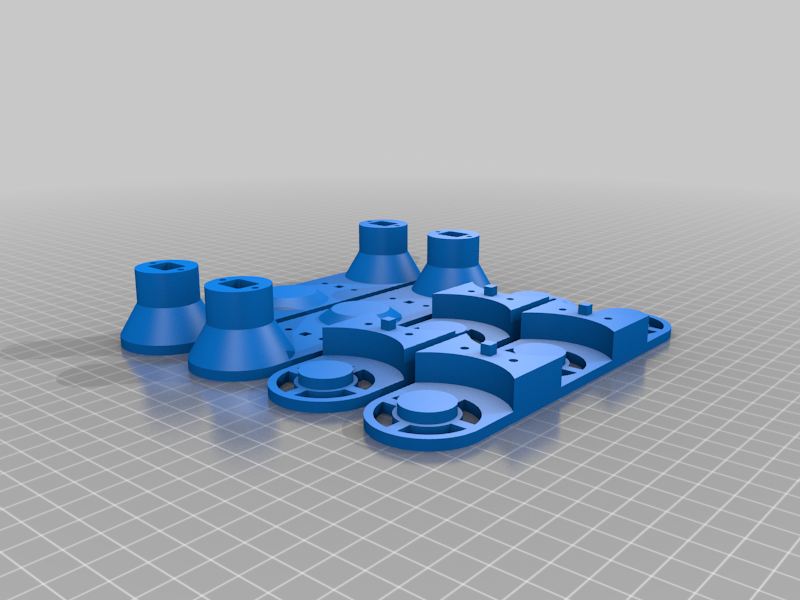
stlmotorCovers.stl
2.3 Mo · 4 001 téléchargements
-
 stl
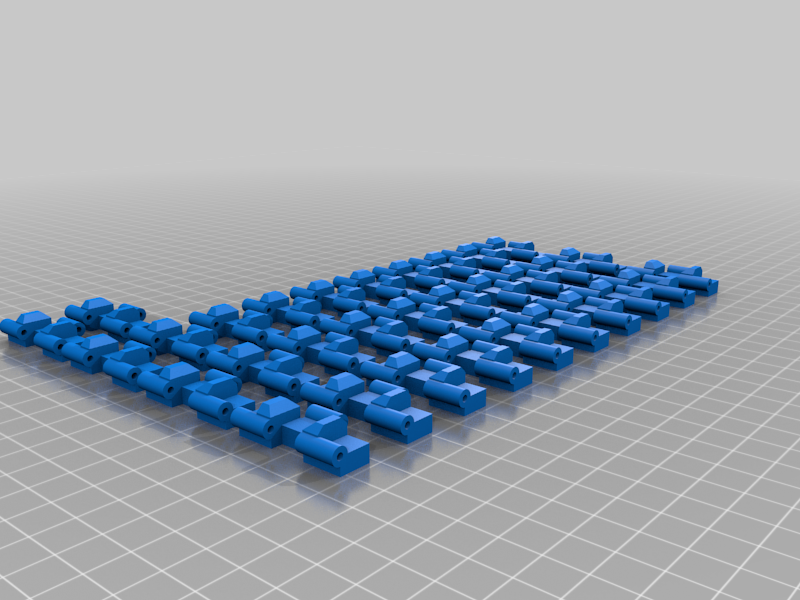
stl32TrackSegments.stl
4.8 Mo · 4 005 téléchargements
-
 stl
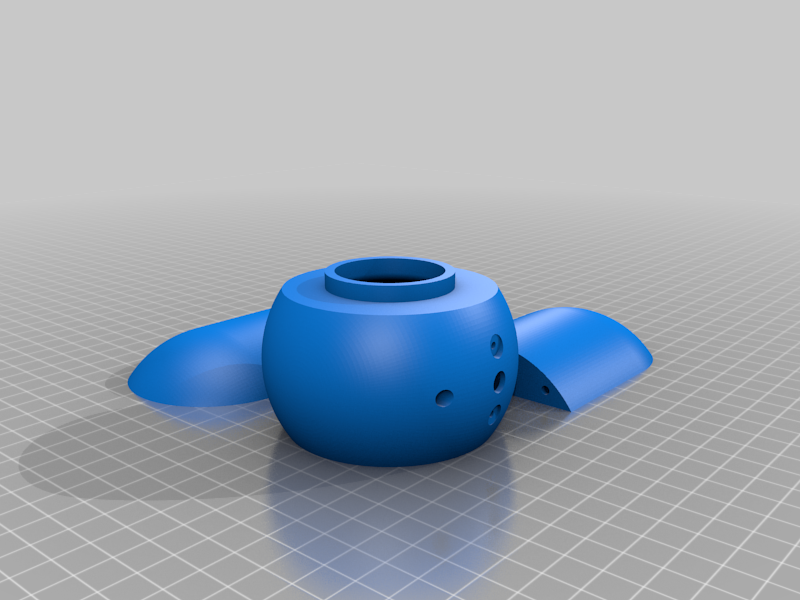
stlcameraPod.stl
3.3 Mo · 3 991 téléchargements
Description
Fully prepared SD card image. once I have my setup finalised I will upload a torrent of the SD card images for both wlan and Access point modes.
This project requires some basic knowledge of electronics, bash scripting, html/css/javascript while I am not writing a step by step instructions I am happy to answer questions and help where I can.
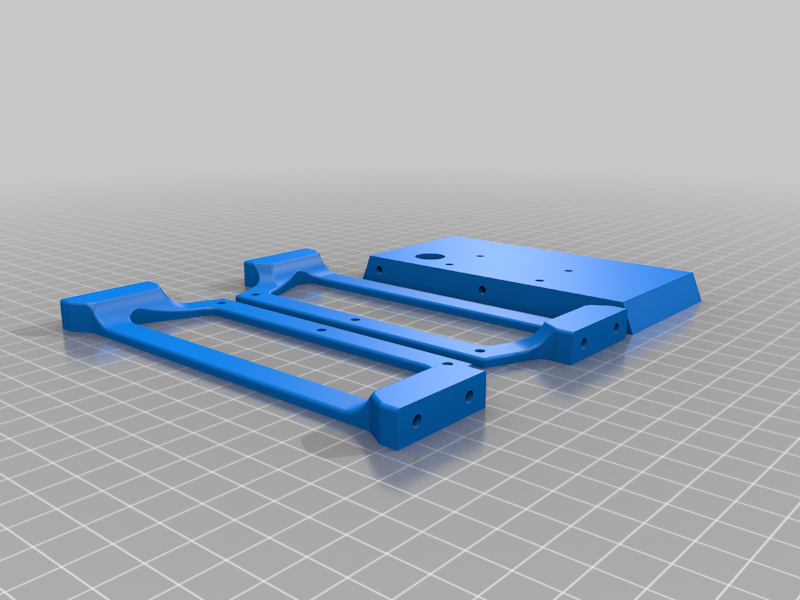
This is my caterpillar tracked Raspberry Pi robot. It is fitted with a tilt controlled camera and is controlled through a web portal or web app on an iOS phone. wireless controls is over wlan. video is streamed with little to no latency making for a cool little spy vehicle.
I have attached my HTML and script files for others to use as they see fit.
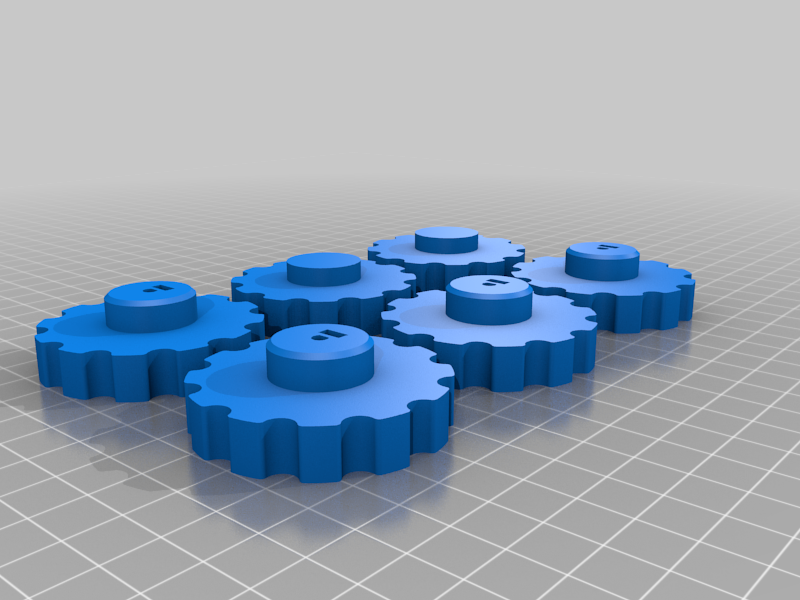
how to assemble the tracks https://youtu.be/RxB7USuMwRw
EDIT: the default username and password for the cam stream is user: userxyz pass: pass1234
you can change this by editing /opt/mjpg-streamer/mjpg-streamer-experimental/run.sh
EDIT: I added an addition file "Body_SD_Card.stl" This alternative body has a slot for a spare SD card built into it. The reason being it takes a lot of setting changes to take the robot from working on a wifi network to being able to operate independently anywhere by becoming a Wifi Access Point and connecting to the robot directly. I have been experimenting with a way to script these setting changes without breaking anything and decided it would just be easier to swap the SD card.