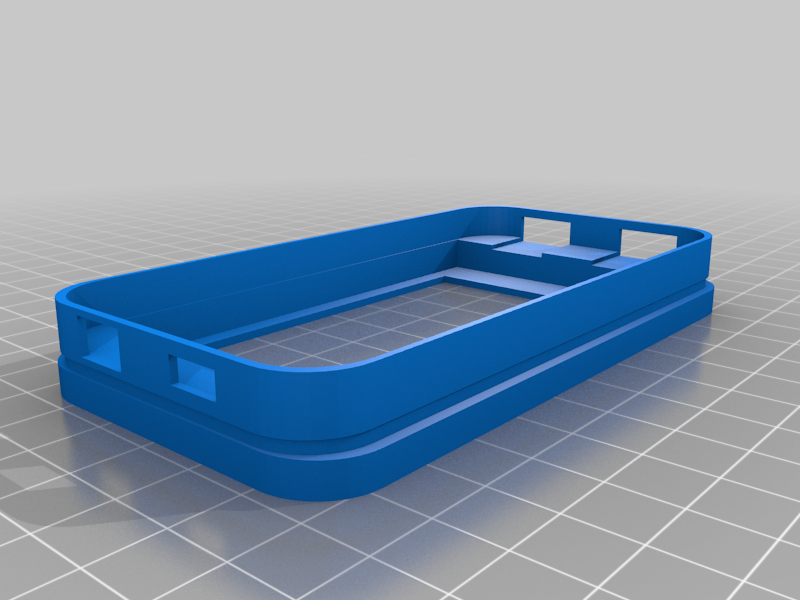
Pi Zero Terminal Case
 par BrainFever


Fichiers imprimables (2)
-
 stl
stlPi_Zero_Terminal_Case.stl
55 Ko · 6 533 téléchargements
-
 stl
stlPi_Zero_Terminal_Case_Mirrored.stl
55 Ko · 6 466 téléchargements
Description
Inspired by the great tutorial by NODE here https://n-o-d-e.net/zeroterminal.html, I designed a 3D printed case that would work in an iPhone 4 sliding keyboard case like the one from Naztech.
The portable terminal uses a Raspberry Pi Zero (either version will work) but the W version is recommended because it could simplify the build. Here is a general list of parts that I used...
- Raspberry Pi Zero
- MicroSD card with Raspbian
- Bluetooth Dongle
- Naztech Sliding Keyboard Case for the iPhone 4
- Generic 3.5 inch Raspberry Pi LCD with touchscreen
- OTG 2-port Hub
- DIY Power Bank Module
- LiPo battery
- 2-Position slide switch
Of course you can use a Raspberry Pi W and drop the BT dongle. And if you can live with one (or none) external USB port, then you can replace the hub and all of it's wiring with a simple OTG cable. Either way you go the cost hovers around $50 dollars.
Purpose
Originally my intention for the device was to use it as a portable serial terminal that I could use to program ESP8266 modules running MicroPython. Like a portable, pocket-able VT-100. I was interested in...
- Keeping the cost down
- Making the construction easy
- Portability versus Working Time
- The coolness factor
Construction
About the most difficult part of the construction is the shortening of the LCD connector to attach the Raspberry Pi Zero. As they are, they are too long to fit in the space of an iPhone 4. So they have to be shortened. Please see the included PDF that describes how I did it.
One thing to note is that the LCD display is often off-center so the view-port in the model is shifted to one side. Since your LCD may force you to orient itself in one particular way, it could affect where you would like the ports to be. That is why I have included a second model. The only difference is that the view-port is shifted to the other side (with respect to the port holes).
If you wish to change the port positions, I recommend you follow the TinkerCAD link and start by un-grouping the main object. Otherwise, let me know in a comment if you need something different.