Ember Celica
 par JollyRager


Fichiers imprimables (13)
-
 stl
stlRod-Hands.stl
5 Ko · 2 308 téléchargements
-
 stl
stlRod-Cover.stl
484 o · 2 317 téléchargements
-
 stl
stlwrist-top.stl
106 Ko · 2 373 téléchargements
-
 stl
stlcover.stl
82 Ko · 2 378 téléchargements
-
 stl
stlRod-Arms.stl
484 o · 2 308 téléchargements
-
 stl
stlwrist-bottom.stl
223 Ko · 2 337 téléchargements
-
 stl
stlarms.stl
246 Ko · 2 308 téléchargements
-
 stl
stlhand.stl
175 Ko · 2 370 téléchargements
-
 stl
stlcover-back.stl
74 Ko · 2 377 téléchargements
-
 stl
stlcover-front.stl
71 Ko · 2 310 téléchargements
-
 stl
stlwrist-shell.stl
29 Ko · 283 téléchargements
-
 stl
stlwrist-bottom-shells_cutout.stl
431 Ko · 283 téléchargements
-
 stl
stlwrist-top-shells_cutout.stl
195 Ko · 282 téléchargements
Description
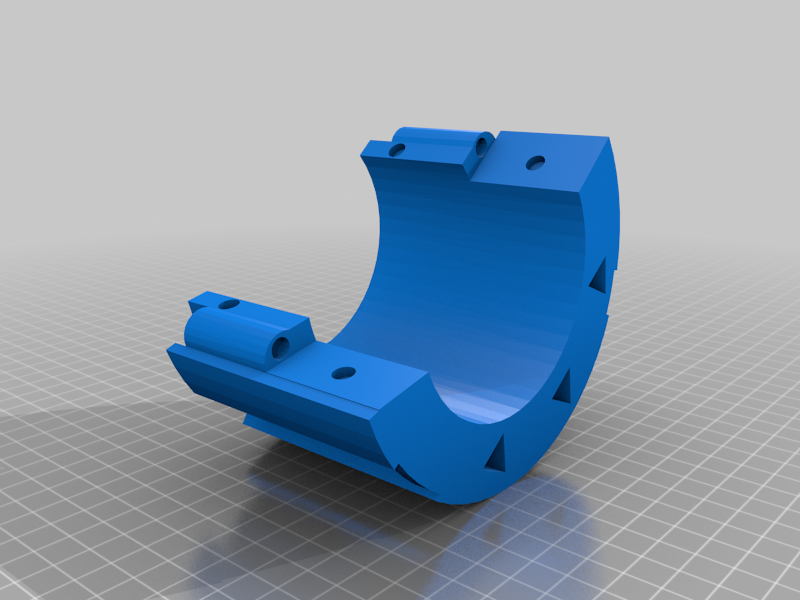
EDIT: By request, I cutout as many of the shells from the wrist pieces as possible to make it easier for painting. All the shells for the bottom wrist piece have been removed, though only two were able to be removed from the top wrist cover, due to the side shells having inserts for magnets, the shell in firing position being a slightly different dimension, and the shells under the thin cover piece have inserts holes in them for holding the pieces together. I gave the shells a .5mm tolerance, so most printers should be able to print them without issue on fitting.
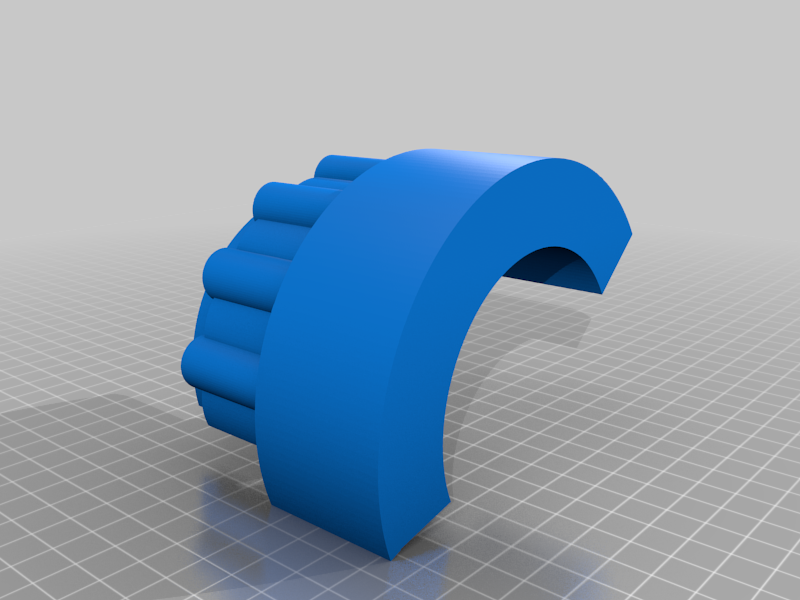
After noticing the criminal lack of public 3D models of the iconic shotgun gauntlets, I decided to do what was right and make a set of 3D printer files that would make Yang Xia Long proud. In the spirit of making things as open-source as possible, I've also included all the part and assembly files I created the .stl files from. This will allow anyone with a copy of Autodesk Inventor Pro (you can get it for free if you don't) to edit it. This way you can mirror the gauntlet if you want the full set, or resize it. I modeled this gauntlet for a friend, so it's sized for her arm, but I utilized as many screenshots and reference pictures possible to make this prop as canonical as possible.
For a quick reference, this gauntlet was made for a 3 inch wide wrist and 9 inch long forearm, but don't worry, I used metric units when actually making the parts. Feel free to resize as you see fit, but if you feel like going into the part files to do it, I give you fair warning that getting those edge chamfers to look just right took quite a bit of tweaking and I'm unsure what changing a random length might do to them.
I made the gauntlet with the idea that a black sleeve could be glued to the inside of the gauntlet in order to hold the gauntlet tight to the arm, meaning the wrist does NOT actually bear the weight of the entire prop. The bottom half of the wrist piece is split with small indentations to allow 6x2.7 mm magnets to be glued in place and hold the piece together (I ordered 6x3 mm magnets, but the magnets sent to me were all 6x2.7 mm, so thats what I scaled the holes for).
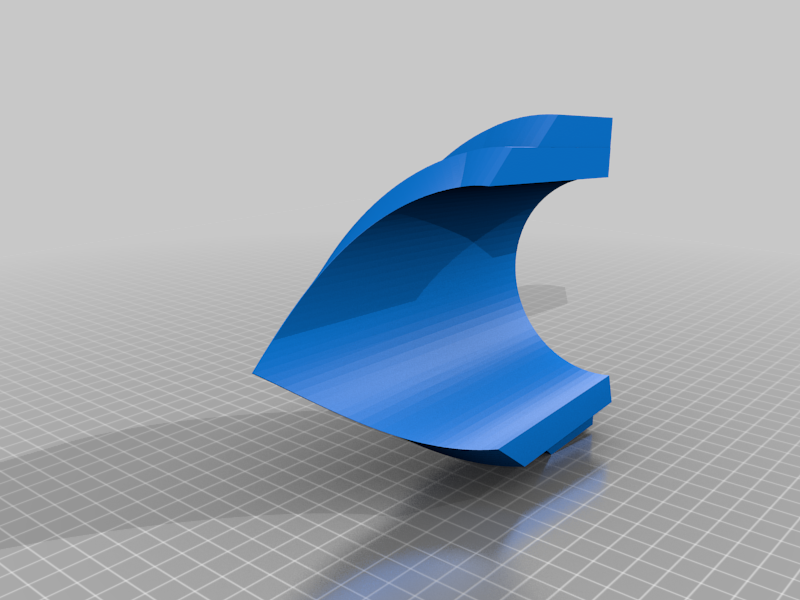
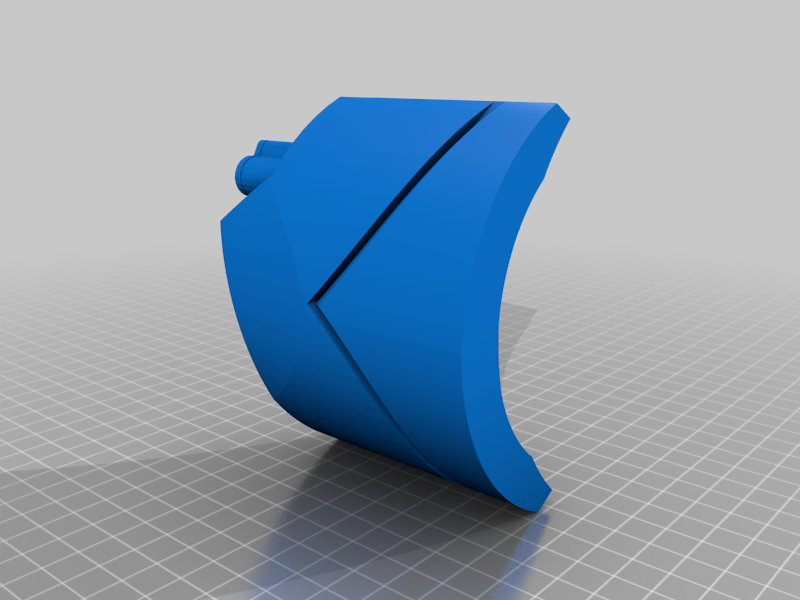
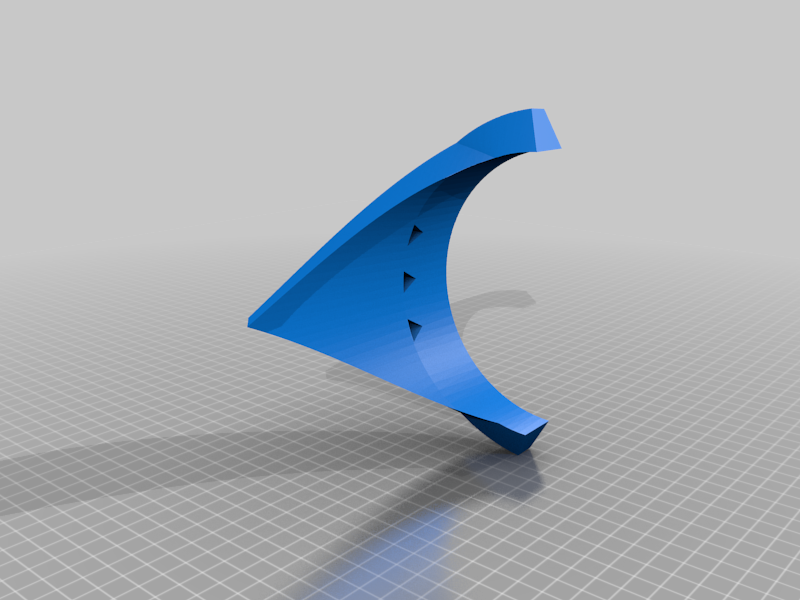
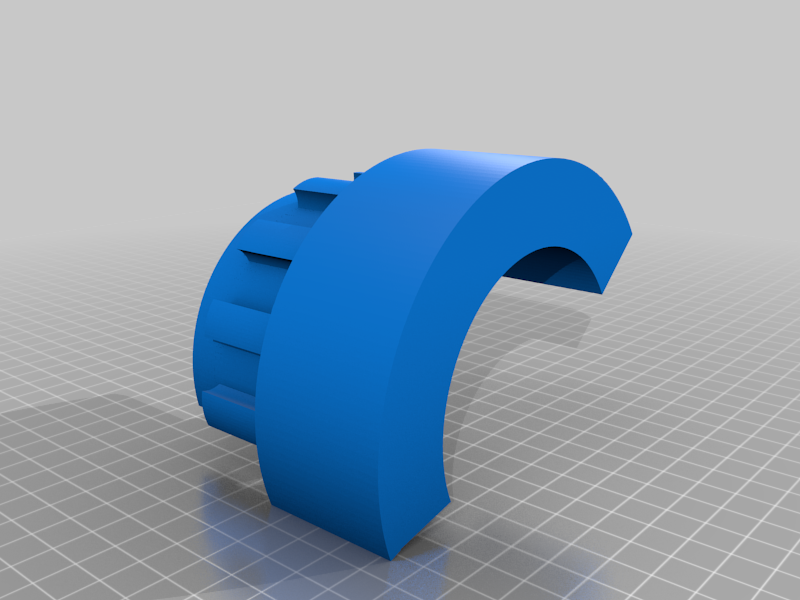
Due to the size limitations of my own printer and wanting to make the print look smooth, I split the outer "cover" shell in two. However, I've also attached the full piece if you feel confident in your printer. The entire prop is held together with a series of holes and rods, though I also used JB Weld along all meshed surfaces to ensure the prop held together strongly. I made these rods slightly smaller than the holes to ensure they fit easily, though some minor sanding might still be required in order to make them fit easily.
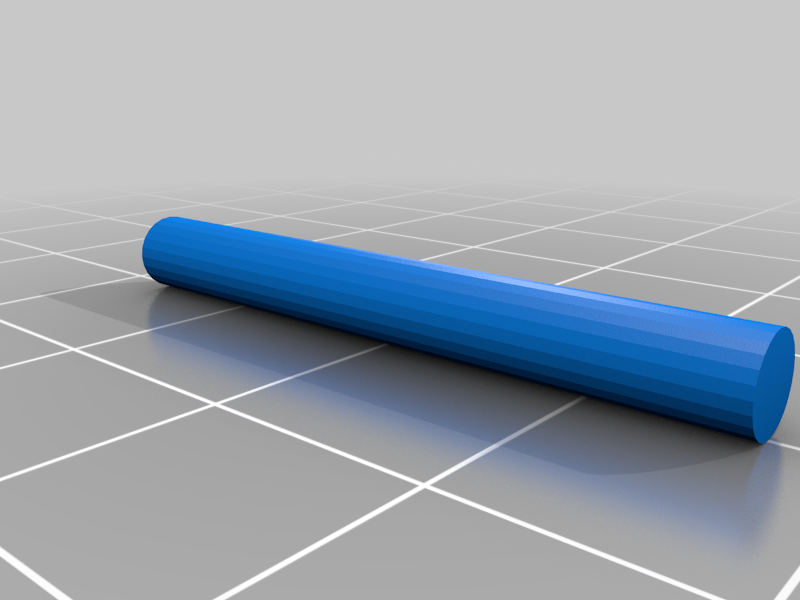
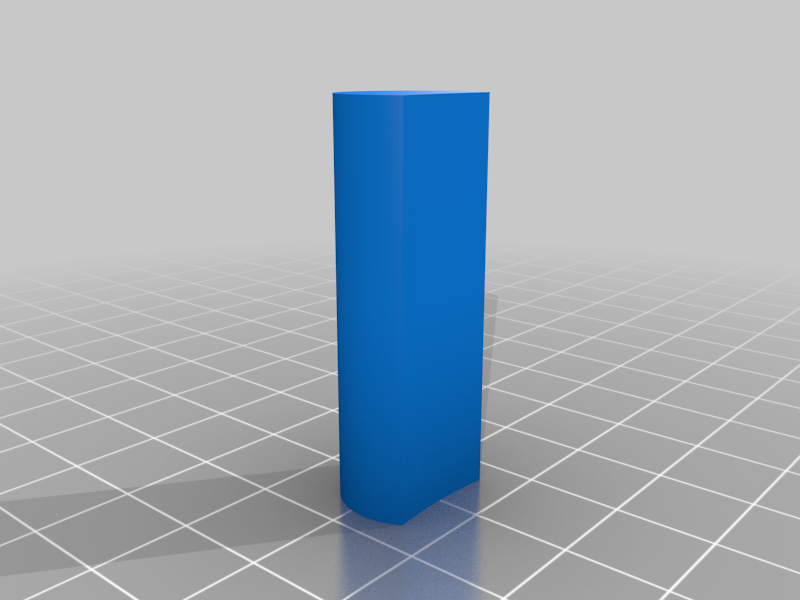
In order to print the gauntlet as originally modeled, you'll need to print the following parts. I recommend you print the rods as finely as possible and with a pretty high infill as you'll want these parts as strong as possible. Also, be sure to print the rods length-wise to make sure their axis of strength aligns with the direction of stress.
6x Rod-Cover.stl
3x Rod-Arms.stl
2x Rod-Hands.stl
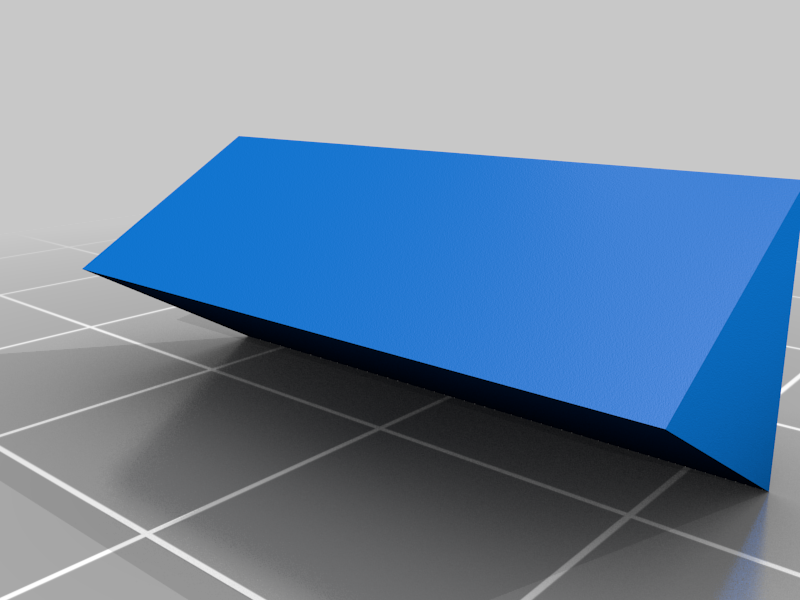
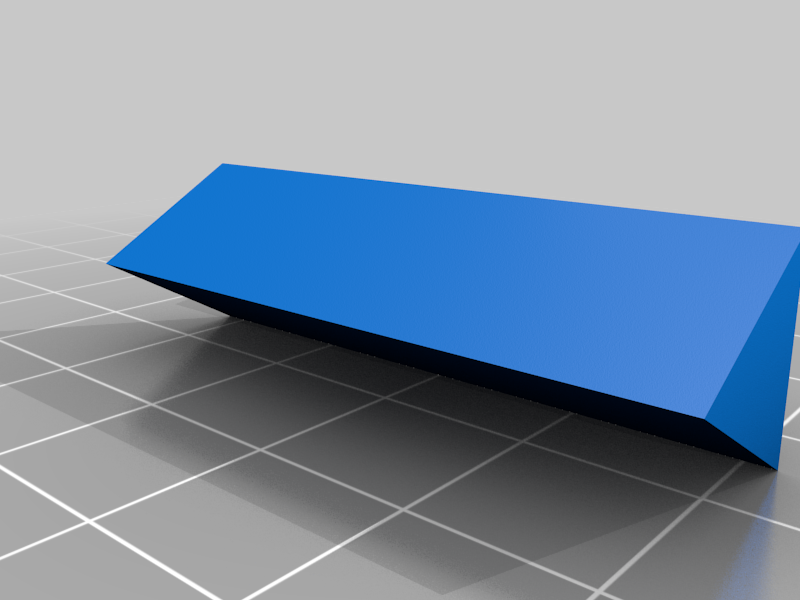
1x arms.stl
1x wrist-top.stl
1x wrist-bottom.stl
1x hand.stl
1x cover-front.stl
1x cover-back.stl
Best of luck to all of you makers and cosplayers, and if you do decide to use these files, all I ask is you take a quick photo and post it so I can see how it turns out. Have fun!