Dual counter thread


Fichiers imprimables (14)
-
 stl
stlnemaholder_nr2.stl
160 Ko · 244 téléchargements
-
 stl
stlspacer.stl
32 Ko · 243 téléchargements
-
 stl
stlscissor.stl
54 Ko · 245 téléchargements
-
 stl
stlswitch_mount.stl
62 Ko · 244 téléchargements
-
 stl
stlbetween_spacer.stl
137 Ko · 246 téléchargements
-
 stl
stltop_side.stl
123 Ko · 244 téléchargements
-
 stl
stlnemaholder_nr1.stl
144 Ko · 243 téléchargements
-
 stl
stlside_bottom.stl
176 Ko · 245 téléchargements
-
 stl
stltop_beam.stl
85 Ko · 244 téléchargements
-
 stl
stlscrew_holder_right.stl
598 Ko · 254 téléchargements
-
 stl
stlscrew_holder_left.stl
719 Ko · 247 téléchargements
-
 stl
stlscrew_left_hand.stl
2.3 Mo · 248 téléchargements
-
 stl
stlscrew_right_hand.stl
2.3 Mo · 244 téléchargements
-
 step
stepjack_dual_counter_thread.step
2.4 Mo · 216 téléchargements
Description
Dual counter thread
I have placed this model for one reason, to show you the drive system of the jack I have made( THIS IS PROFE OF CONCEPT, sub optimal at best). The jack itself is far from perfect the jack was made for a project but, I will not use it because of some other complications white that project.
The dual counter thread was an idea I had a couple of years ago and, I finally made use of it. I search on the internet to find if this kind of mechanism already exists but could not find it. ( I really doubt that it doesn't already exist).
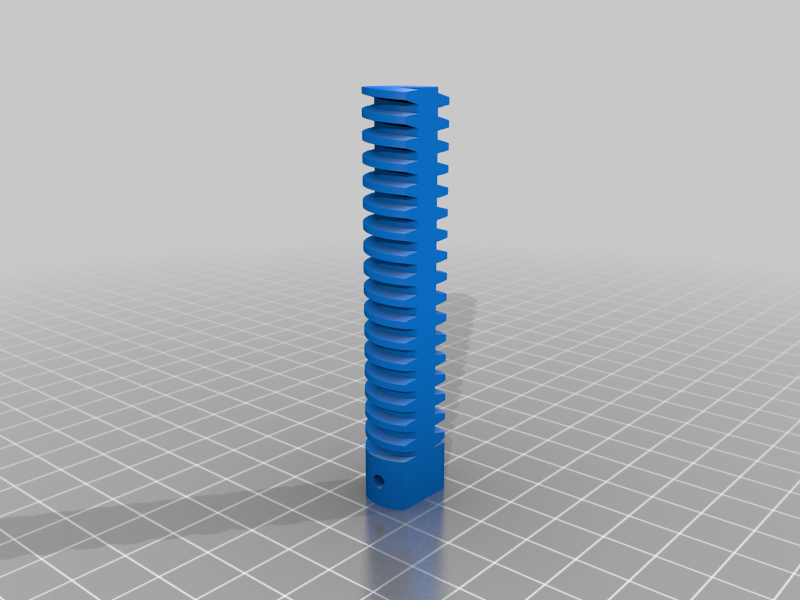
I used a TR 16x4 (ISO Trapezoidal thread) counter-clockwise and clockwise. I didn't use any lubrication. So, that may be one of the reasons it's a bit shaky. I wish it isn't the one reason. However, some other complications like the scissors are too thin, the top can move when not at max height, and the screw holders flex a bit or the flat side of the thread is the problem, as you probably can see in the youtube video.
But as I told you at the start, this was more about the dual counter thread and not the jack. I think other people can use it as well, in some projects. That is the main reason why I place it here.
The printed parts are a bit of a mixture of plastic brans colored is PLA, the reddish and black color are PETG. It shouldn't make a difference what you use.
Assembly should be straightforward but keep in mind that the spacers need to be on both sides of the screw holder (see foto).
Also, I have made a small hole in the screw left hand and screw holder left to make it easier to distinguish one and the other.
I still will add the part list even IF some going to make it.
none printed parts:
- Wasser 8X
- M3x25 bolt 16X
- M5x30 bolt 8X(12X if between spacer used on top part)
- M5x15 bolt 4X
- M5x25 bolt 4X (if between spacer NOT used on top part)
M5 nut 8X (4X if between spacer used on top part)
- switch 1X
- stepper driver 1X
- power supply 1X
- Raspberry pi 3(other boards will also work fine) 1X
- NEMA 17 dual rode heigh 40cm heigh 1X
3D printed parts:
- Nemaholder Nr1 1X
- Nemaholder Nr2 1X
- between spacer 2X(4X used on top part)
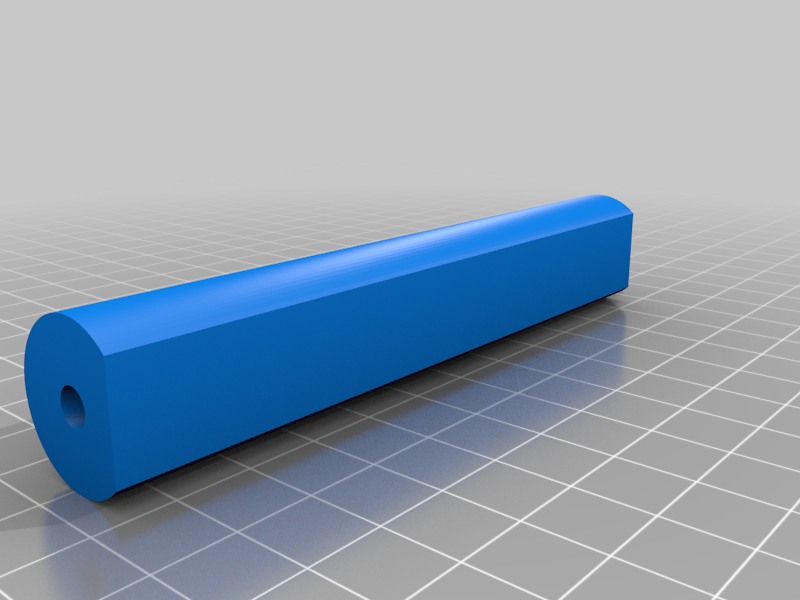
- screw right hand 1X
- screw left hand 1X
- scissor 8X
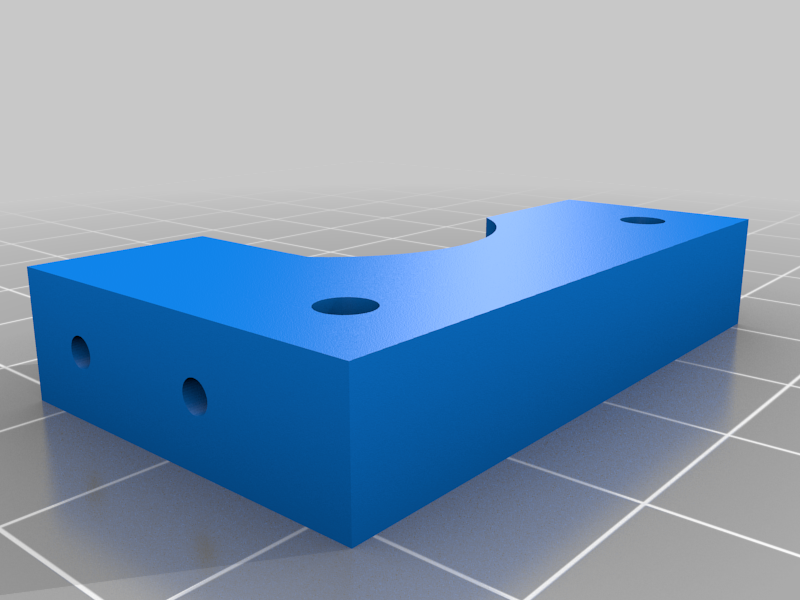
- screw holder right 1X
- screw holder left 1X
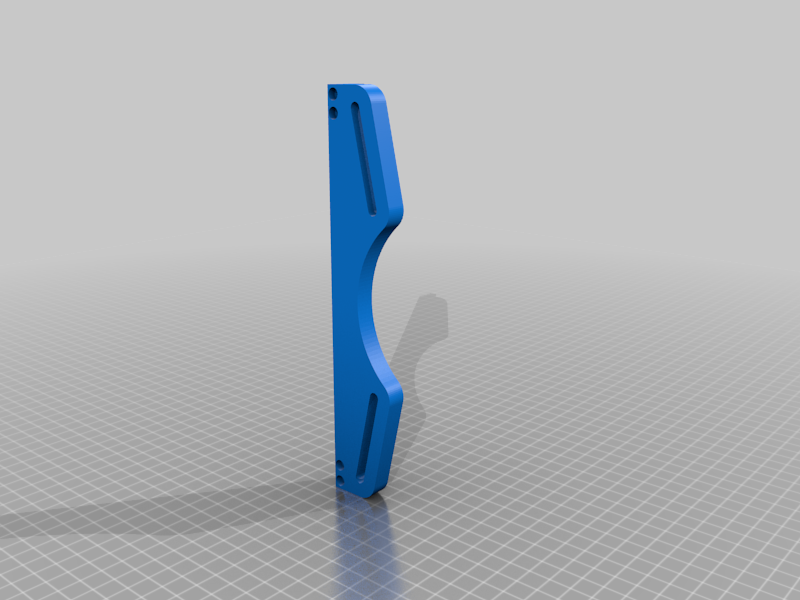
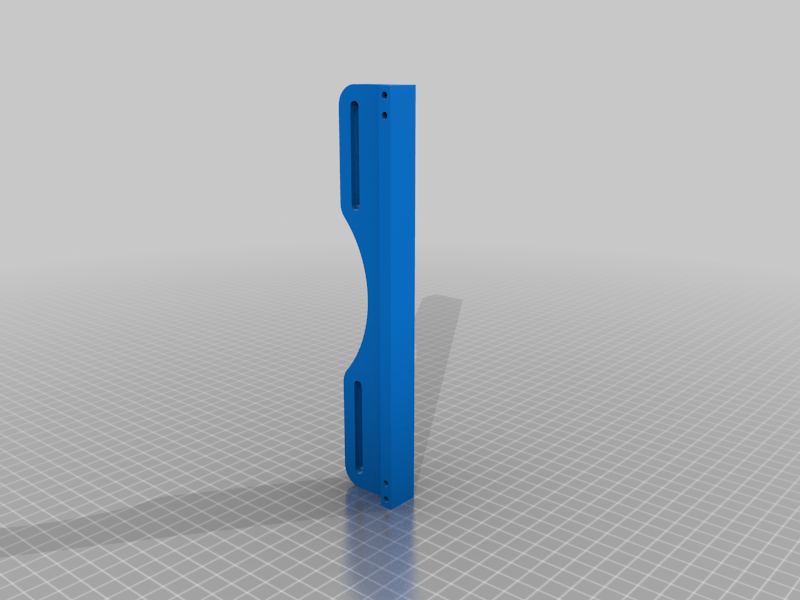
- side bottom 2X
- spacer 6x(8X if between spacer used on top)
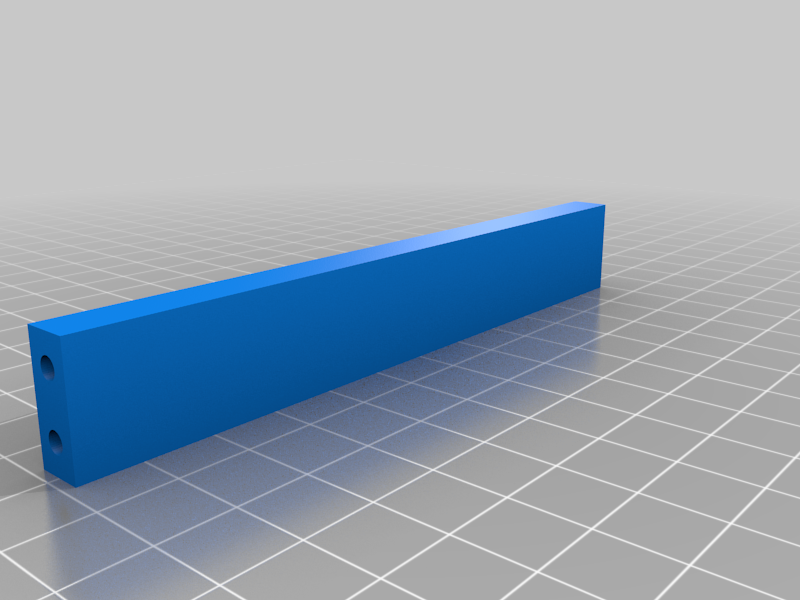
- top beam 2X
- top side 2X