DIY CNC PEN PLOTTER


Fichiers imprimables (17)
-
 stl
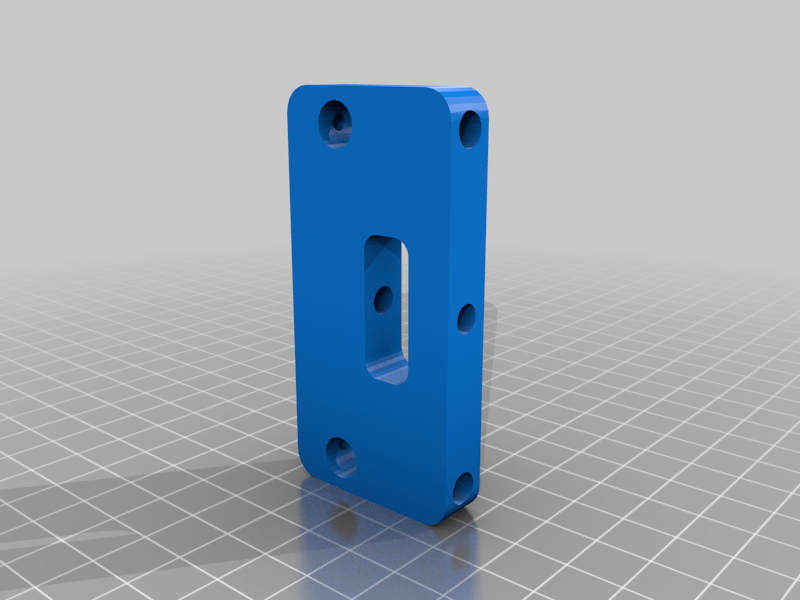
stlleft_support.stl
16 Ko · 305 téléchargements
-
 stl
stlfront_fix.stl
73 Ko · 305 téléchargements
-
 stl
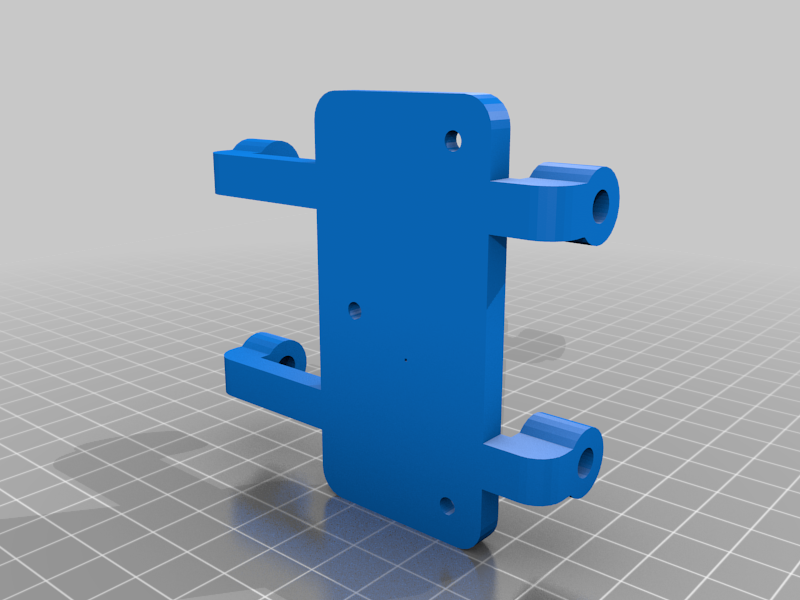
stlslider_holder.stl
97 Ko · 304 téléchargements
-
 stl
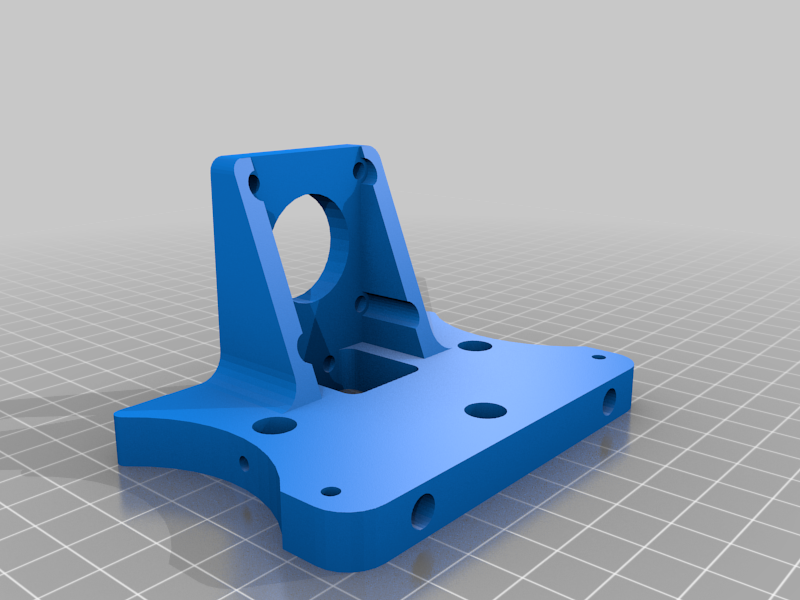
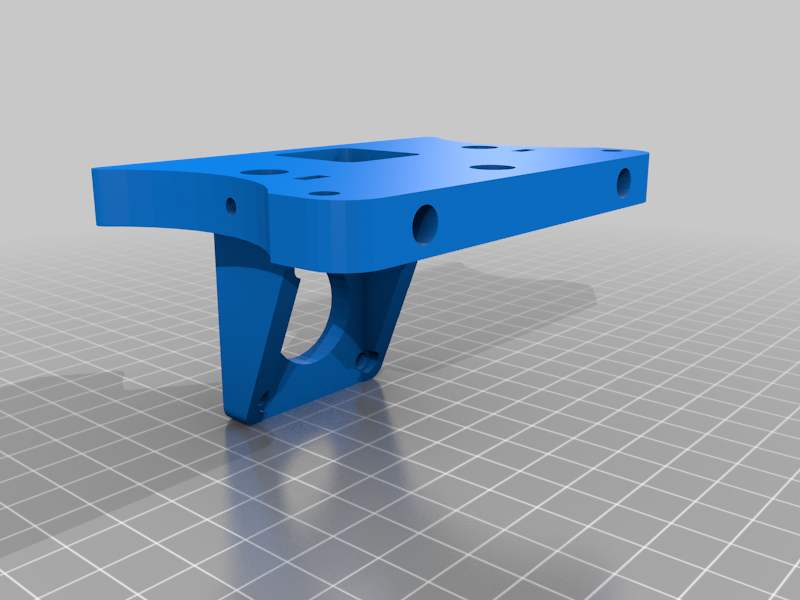
stlleft_motor_mount.stl
161 Ko · 309 téléchargements
-
 stl
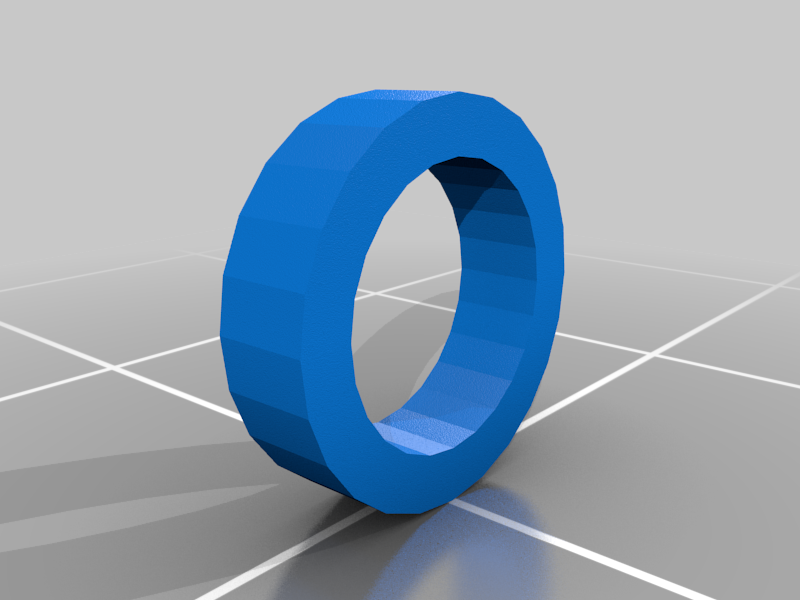
stlspacer.stl
9 Ko · 303 téléchargements
-
 stl
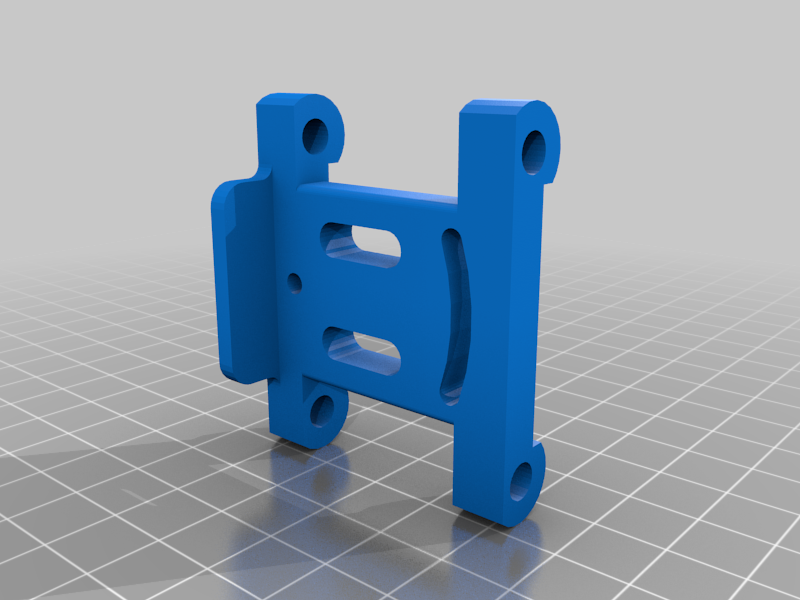
stlpen_slider.stl
73 Ko · 304 téléchargements
-
 stl
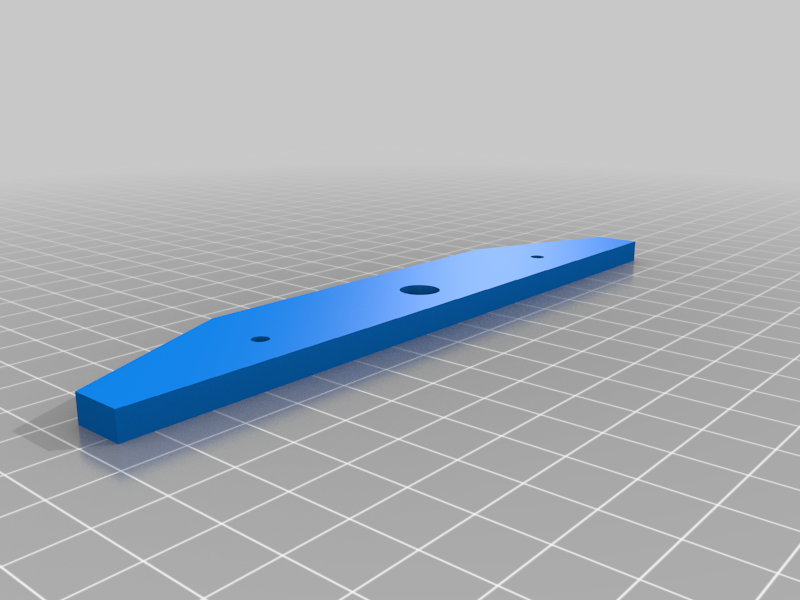
stlY_rear.stl
94 Ko · 302 téléchargements
-
 stl
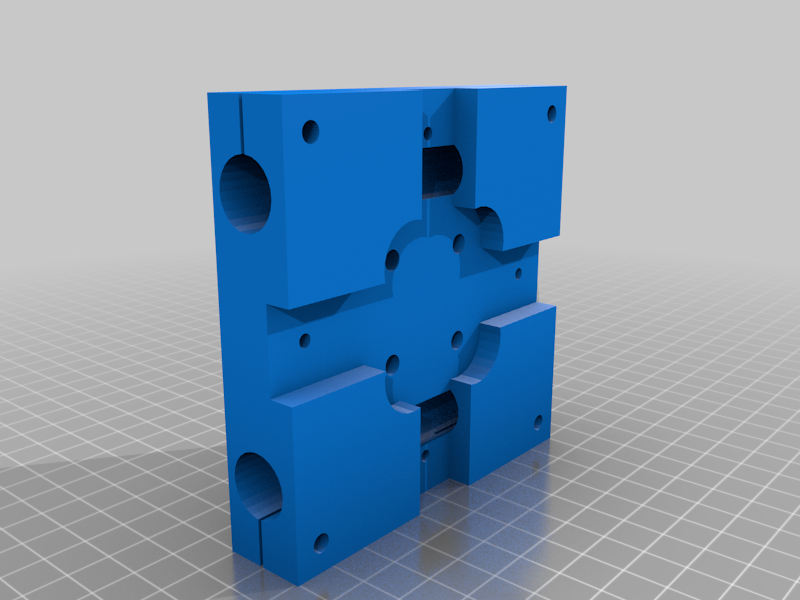
stlcenter_top.stl
197 Ko · 319 téléchargements
-
 stl
stlright_support.stl
16 Ko · 302 téléchargements
-
 stl
stlright_motor_mount.stl
161 Ko · 312 téléchargements
-
 stl
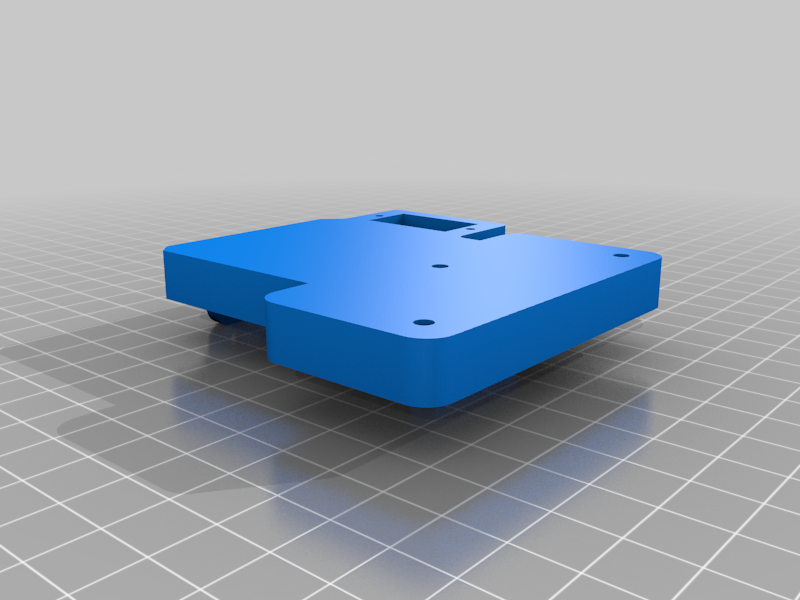
stlcenter_bottom.stl
187 Ko · 313 téléchargements
-
 stl
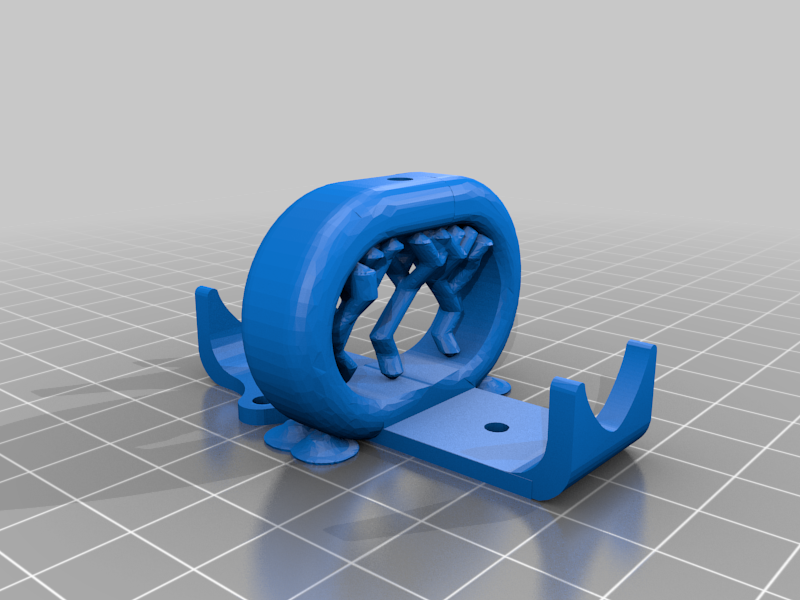
stlPen_Holder.stl
3.5 Mo · 274 téléchargements
-
 stl
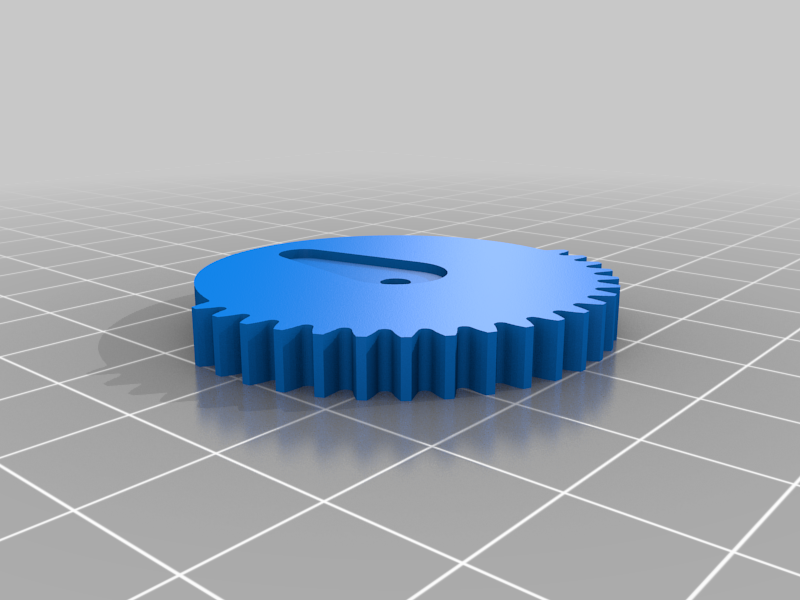
stlN_gear.stl
131 Ko · 304 téléchargements
-
 stl
stlN_slider_holder_1.stl
135 Ko · 301 téléchargements
-
 stl
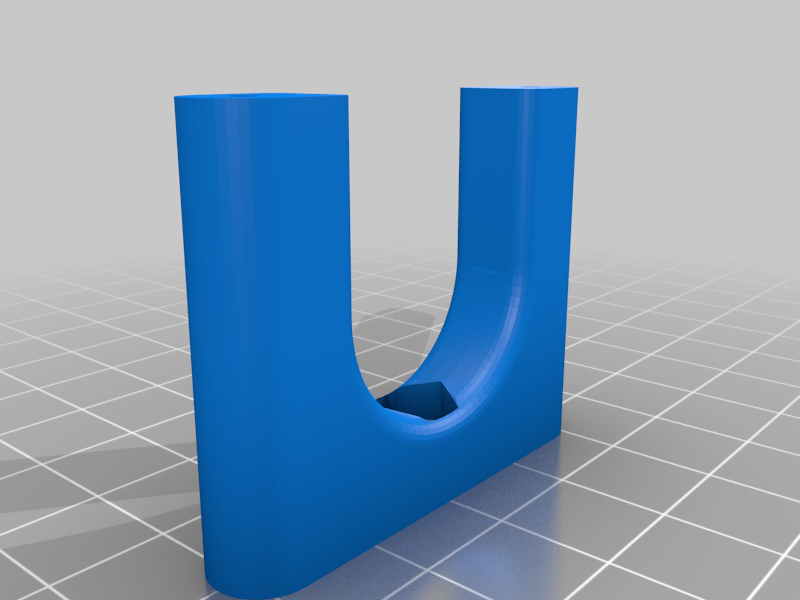
stlN_Slider_support.stl
106 Ko · 300 téléchargements
-
 stl
stlN_slider_pen_holder.stl
166 Ko · 300 téléchargements
-
 stl
stlN_slider.stl
135 Ko · 305 téléchargements
Description
Complete project build
https://www.youtube.com/watch?v=WqgW_JduGxQ&t=689s
DIY CNC Pen Plotter "Clone", XYDraw Machine - The Drawing Machine Build
A homework writing machine also known as a 2D Plotter can be used with any pen, pencil, or other drawing tools to write on paper or any notebook for works such as drawing, sketching, calligraphy, art, etc. It uses an Arduino and a CNC shield along with stepper motors and stepper motor drivers to enable movement in the X and Y axis. Stainless steel smooth rods and 3D-printed parts are used to structure the machine. Belt, idler pulley, and motor pulleys were used for linear motion from the motors. For the power supply, a 12v 2A power adapter is used. After powering the machine, you have to connect it to a computer and the universal g-code sender (UGS) software to send the g-codes to the machine. You have to convert any text or image file into g-code by using software named Inkscape. Once the g-code is ready, open it in the UGS, connect the COM port of the Arduino and click the play button. You can also change the speed and acceleration of the machine in the firmware settings menu under the machine tab of the UGS software. You can do a lot of work with this machine that is up to your expertise and learning. Comment below for any query regarding machine setup software and g-code making. A list of parts and software is given below. You can buy these parts from any online website store or local market near you.
Like, Share and Subscribe to the channel, it motivates me to continue working on projects. Please support me on my Patreon Page
Support my work: https://www.patreon.com/stay_creative
Subscribe: https://www.youtube.com/@StayCreativeOfficial/
Parts
3D Printed Parts
4 X Stainless Steel Smooth rods (Diameter 8mm and 500mm Length) for XY Carriage
2 X Stainless Steel Smooth rods (Diameter 3mm and 100mm Length) for linear slider
2 X Stainless Steel Smooth rods (Diameter 5mm and 100mm Length) for liftup slider
8 x LM8UU Linear bearing (45 mm long)
2 X NEMA 17 Stepper Motor
2 x GT2 Pulley ⌀5mm x 16 teeth
1 x SG90 RC Micro Servo
1 x Arduino UNO R3
1 x CNC Shield for Arduino Uno (GRBL Compatible)
2 x A4988 Stepper Motor Driver
2 x GT2 Synchronous belt x 2m, 6mm wide
1 x Threaded Bar M8, 1m
10-12 x Bolt M3 15mm Allen
15 x Bolt M3 6mm Allen
6 x Nut and Bolt M5 35mm Assorted Flat Head Slotted
2 X Limit switch
4 X 6mm Idler Wheel - 5mm Bore
1 x 12V 2A Power Supply
Software Required:
Arduino IDE: https://www.arduino.cc
GRBL + ServoMotor: https://github.com/misan/grbl-servo
Inkscape: https://inkscape.org
Plug-In: https://github.com/misan/laser-gcode-exporter-inkscape-plugin
Universal G-Code Sender: https://github.com/winder/Universal-G-Code-Sender