Playdate Dock
 par dt1000


Fichiers imprimables (6)
-
 obj
objExploded.obj
138 Ko · 50 téléchargements
-
 obj
objBase.obj
24 Ko · 46 téléchargements
-
 obj
objBack.obj
23 Ko · 45 téléchargements
-
 obj
objPlate.obj
42 Ko · 42 téléchargements
-
 obj
objSocket.obj
43 Ko · 45 téléchargements
-
 obj
objJig.obj
42 Ko · 45 téléchargements
Description
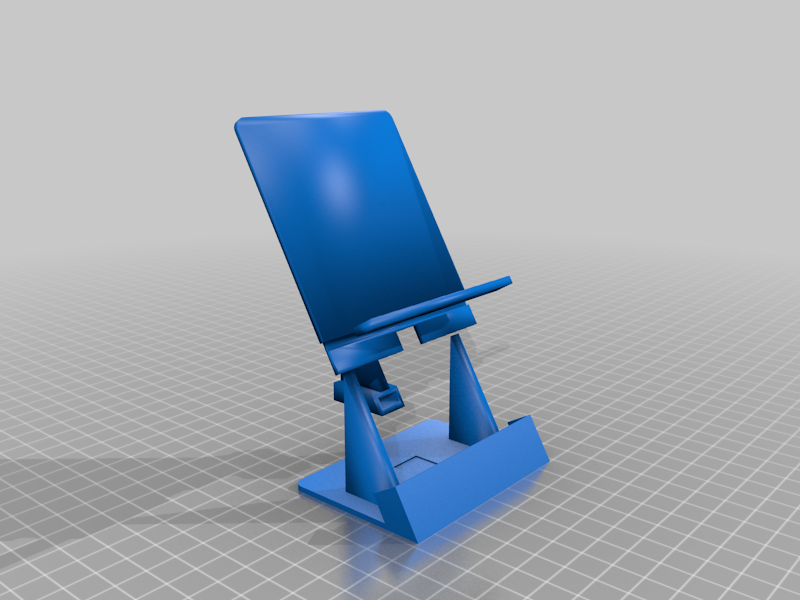
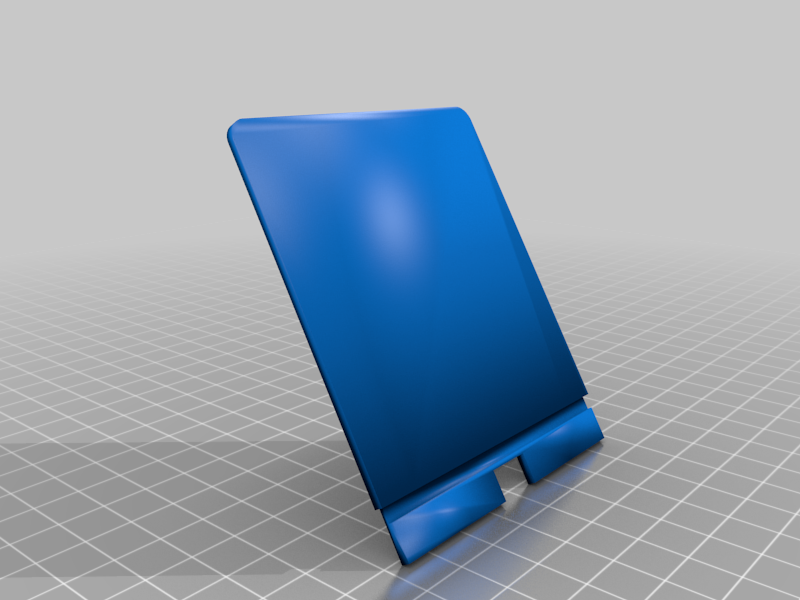
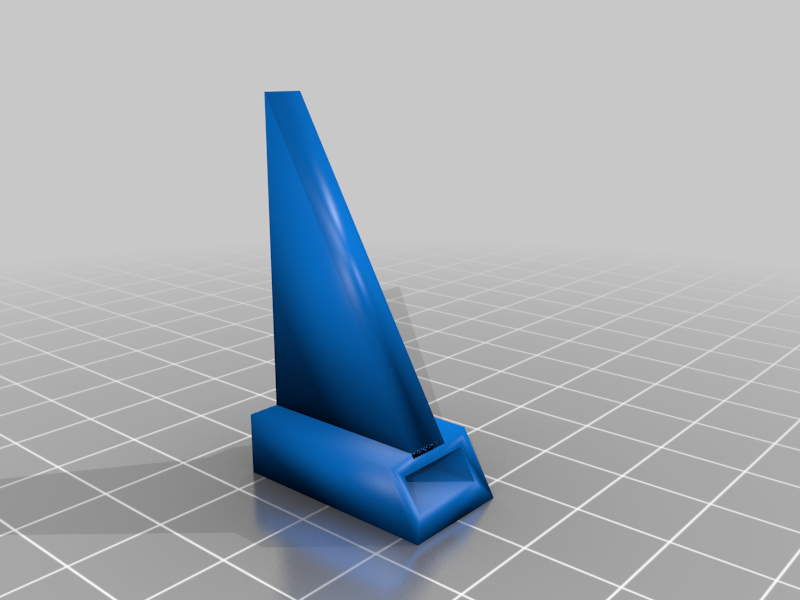
Hi there! My Playdate finally arrived, so I immediately went and made a stand for it. Of course.
This stand features an integrated USB adapter to keep it as minimalist as possible. It's a little fiddly to solder and construct, but hopefully the nice clean lines are worth it. Here we go...
Tools and ComponentsYou'll need the following items...
- Some nice, yellow PLA (I couldn't find an exact color match, but I got close!)
- Revel Contacta glue
- A hot glue gun
- Some clamps
- A soldering iron (with a small tip) & solder
- A small, flat-head screwdriver
- Male & female USB C sockets
- Thin 4-core wire
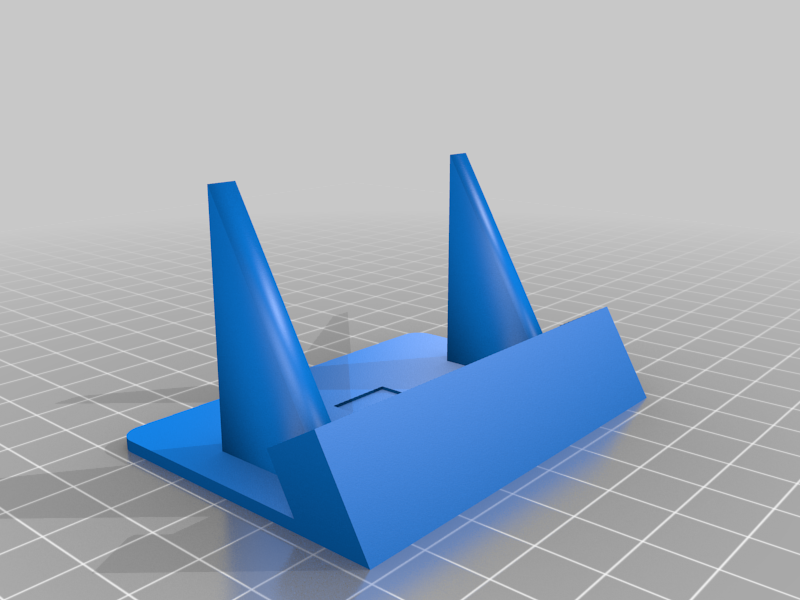
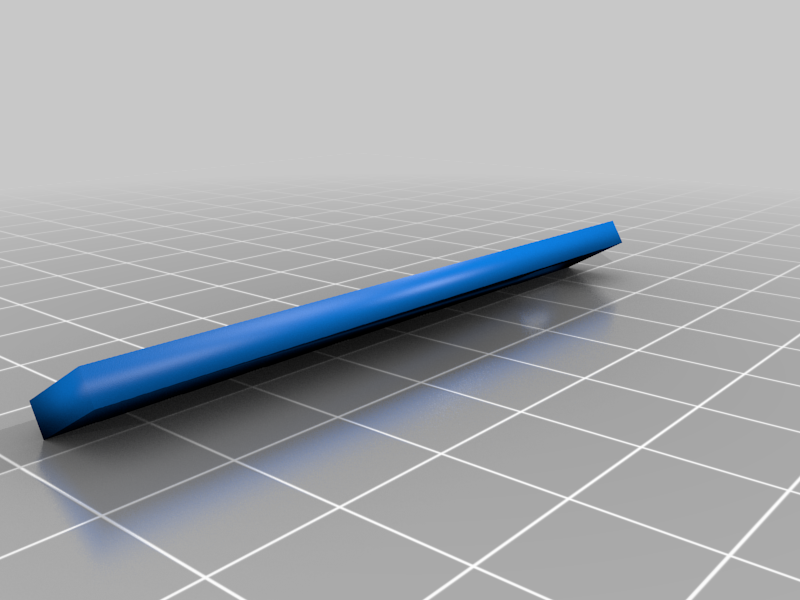
- Print out the parts (including the jig).
- Glue the plate to the back using Contacta and clamp it for 12-24 hours (be sure to get it the right way round).
- Take about 6cm of wire and strip all but 2cm the black outer cladding.
- Solder the USB sockets together with the wire, then test it to make sure it works (for some reason it only seemed to work when plugged into an old-school square USB socket for me).
- Push the male socket into the hole in the plate from underneath, then place the jig on top of it and push it down to line it up.
- Carefully use a hot glue gun to make a clump of glue around the base of the male socket to hold it firmly in place (don't go overboard though, otherwise the parts might not fit together).
- When the hot clue is dry, push the female USB plug into the socket - it's quite tight, so you'll need to carefully push it all the way in with the screwdriver.
- Now is a good time to do a test fit, to see how you'll have to bend the wire to squeeze it all into the compartment in the base - you'll want to pre-bend the bare wires back on them selves so they fit inside all snuggly,
- Put some Contacta in the grove along the bottom of the base and add some more contacta to the recessed slot for the socket.
- Slide the back into place and then press the socket firmly into it's slot. Hold for a few seconds to give the Contacta some time to fuse and then leave it all to set.
- Job done!
Wait for all then Contacta to dry, then plug in your USB cable and get that Playdate charged! You may want to add a few blobs of hot glue to the back (on either side of the socket) just to reinforce things... I couldn't be bothered, so we'll see how well it holds together.
Enjoy!