Holocron Lighted
 par Badkitty


Fichiers imprimables (9)
-
 stl
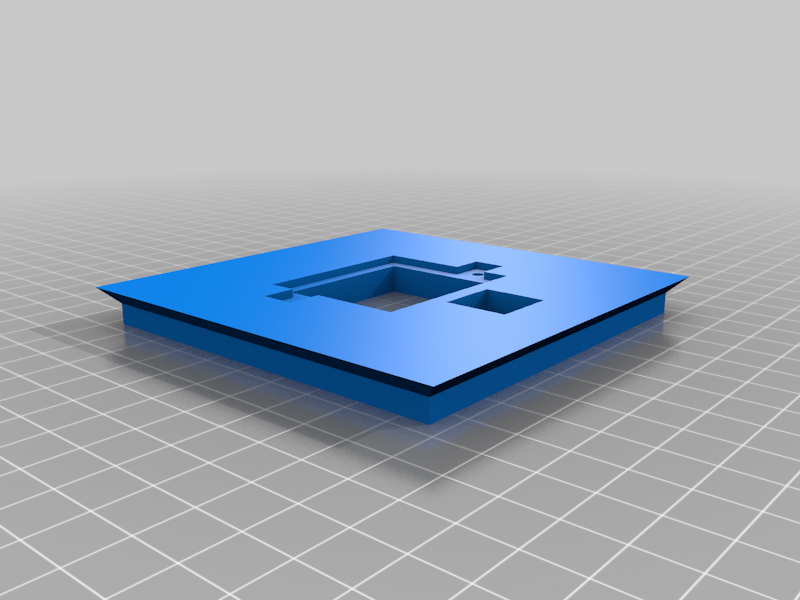
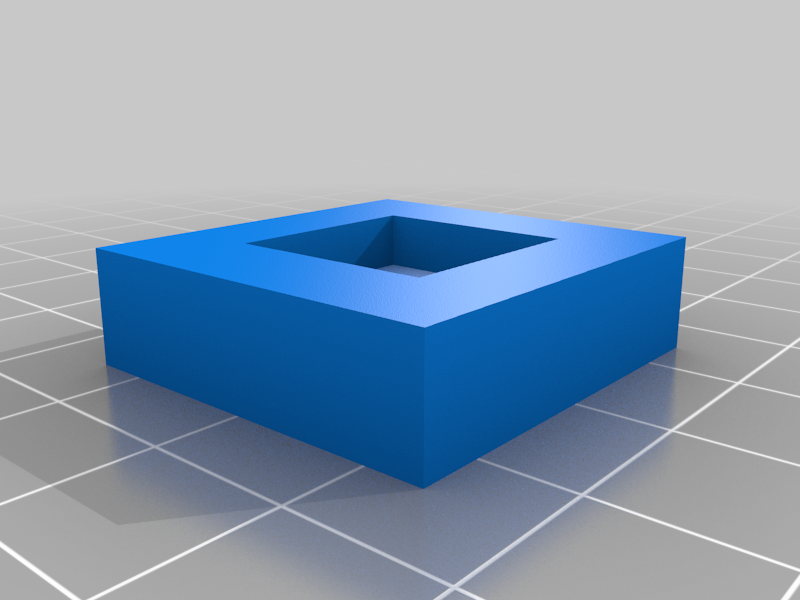
stl1_base.stl
27 Ko · 1 709 téléchargements
-
 stl
stl1_Base_9volt.stl
415 Ko · 1 699 téléchargements
-
 stl
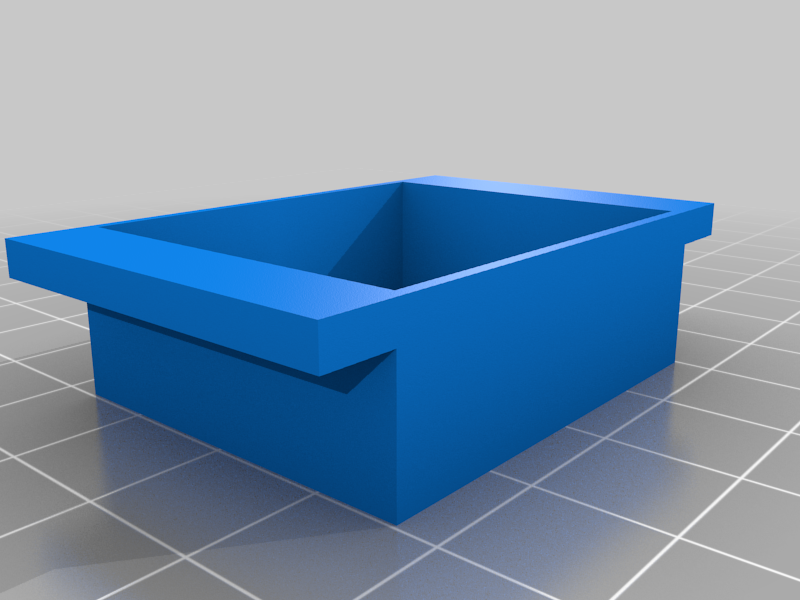
stl2_battery_box.stl
145 Ko · 1 699 téléchargements
-
 stl
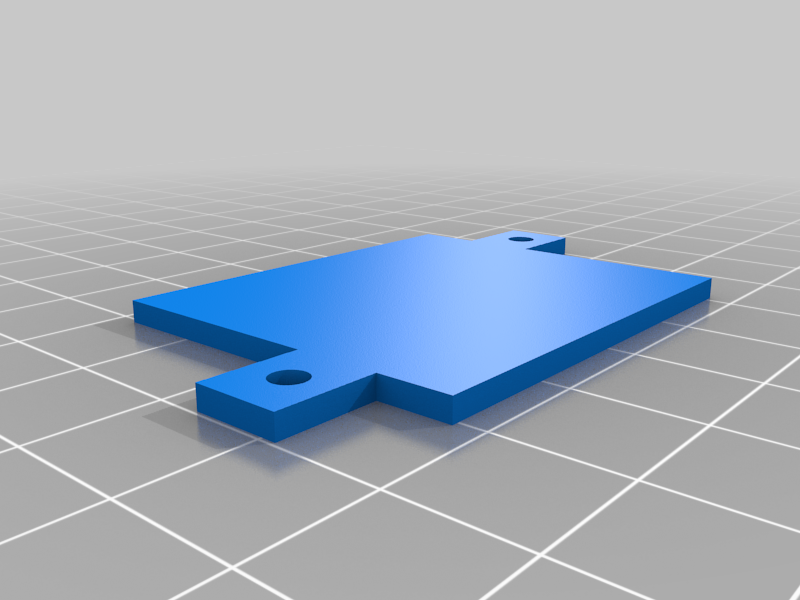
stl3_battery_door.stl
127 Ko · 1 698 téléchargements
-
 stl
stl4_Led_mount.stl
15 Ko · 1 698 téléchargements
-
 stl
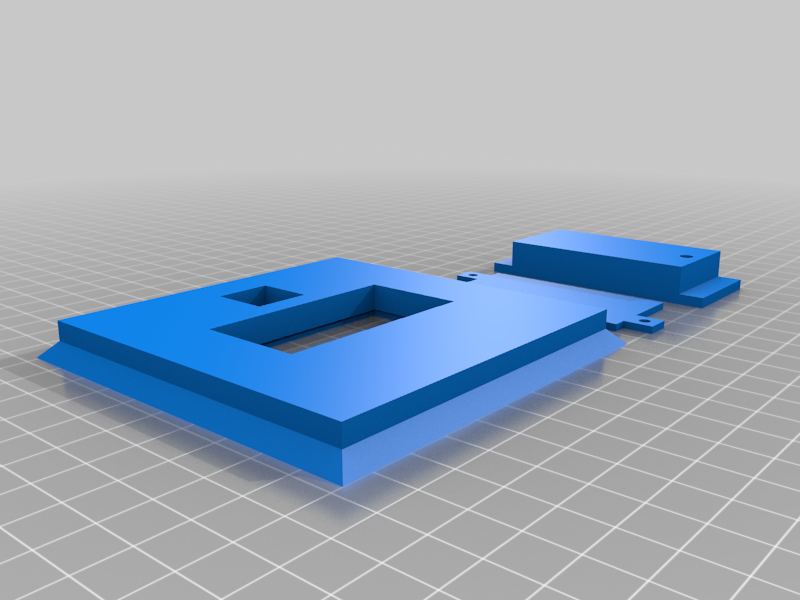
stl5_Switch_Mount.stl
115 Ko · 1 693 téléchargements
-
 stl
stl6_Side_1_print_2.stl
1.4 Mo · 1 716 téléchargements
-
 stl
stl7_Side_2_print_2.stl
286 Ko · 1 730 téléchargements
-
 stl
stl8_Top.stl
1.5 Mo · 1 727 téléchargements
Description
First off....Credit to Hambone211 as i used his face design, but nothing else.
This is my first creation. I've spent a few weeks on it off an on. Getting dimensions right, changing the design and making it fit better. I use Autodesk 123Design to create it.
The key Items that must be purchased are pictured.
Radio shack on/off switch $3-4
LED Bulb is a kit from AutoZone for 12volt applications. $15
Alternatively; If you want to just buy the LED bulbs they can be bought on ebay. I ordered 2 for $3 with shipping. I was just impatient and saw this kit in the store.
I used the supplied battery pack in the packaging that allows you to test the light while sealed. Inside the pack it uses 10 AG13LR44 battery. Very cheap in bulk on ebay.
I also included a base design for a 9volt battery. The 9v battery works and will likely last longer, but is not as bright as it is lower voltage.
Also included is an LED mount if you buy just the bulbs on ebay. The "kit" comes with a housing the bulb goes into, so this one will just take the bulb itself. You can solder the wires directly to the bulb.
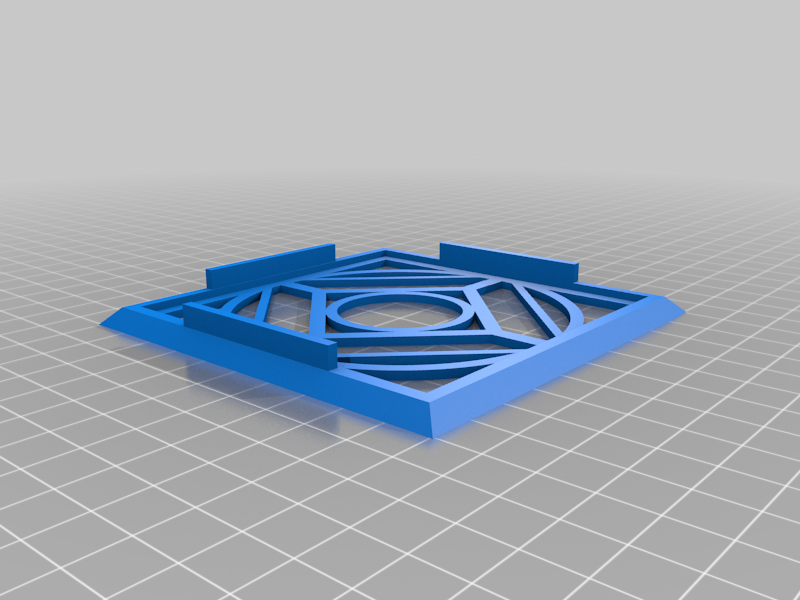
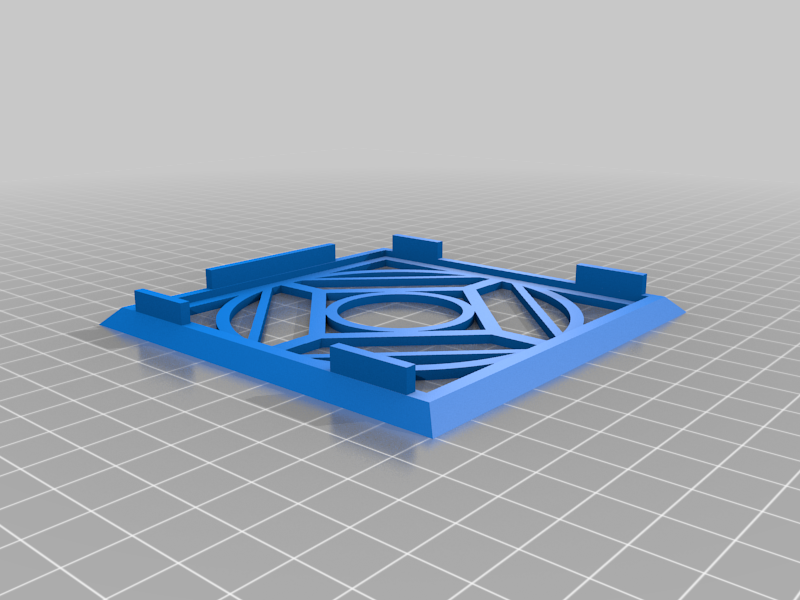
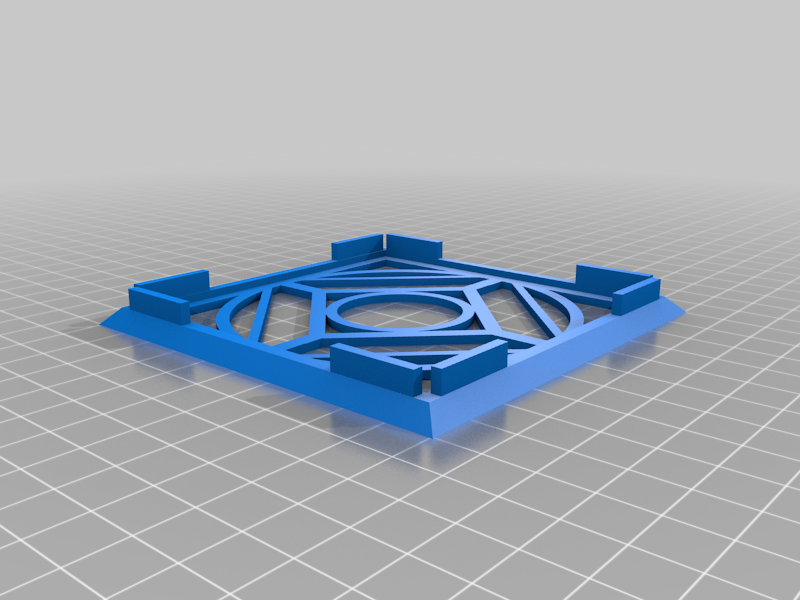
The faces have guides on them to assure proper fit (upgraded design from Hambone's flat edges) Print 1x "Top" , 2x "Side 1" , 2x "Side 2"
The faces are beveled to accommodate 2mm plexiglassacrylic. I found some scraps at local plastics shop (Tap Plastics) Choose your color or style to put in them.
All that is required is a little soldering of the wires.
The entire project has been printed completely and works great as seen in the pic.
The battery box should be printed upside with support. The Base should also be printed upside down (for battery door recess to print correctly) but no support needed as edges are 45degrees.
12hour total print time
44300mm filament used (calculated by "3d Printer Calculator")
Total filament est cost $3.60 @ $27 per kg roll.
UPDATE: My build plate is 200x200. The original size would only allow one face to print at a time. So i made it smaller ( 90mm wide) so more can fit. The Smaller Holocron file is also only set up for 9volt battery and just the bulb (no kit needed). To make it easy, faster and cheaper to make.