Work lamp
 di fsa


File stampabili (22)
-
 stl
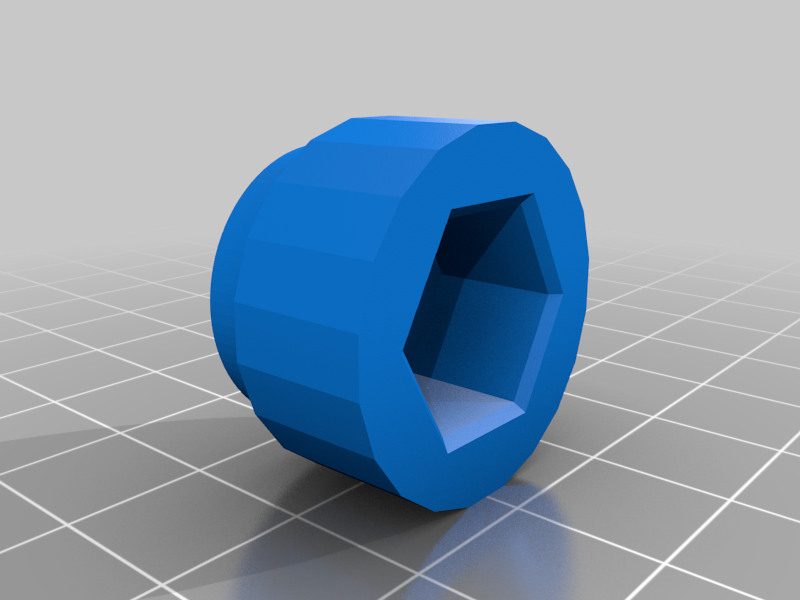
stl7_ecrou_droit.stl
41 Ko · 541 download
-
 stl
stl15_slider_right.stl
86 Ko · 550 download
-
 stl
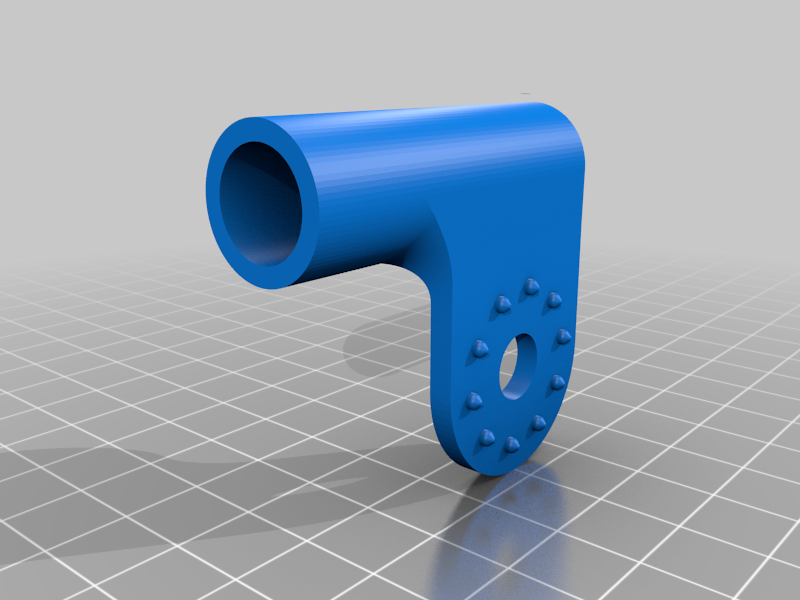
stl13_bride_basse_D.stl
67 Ko · 543 download
-
 stl
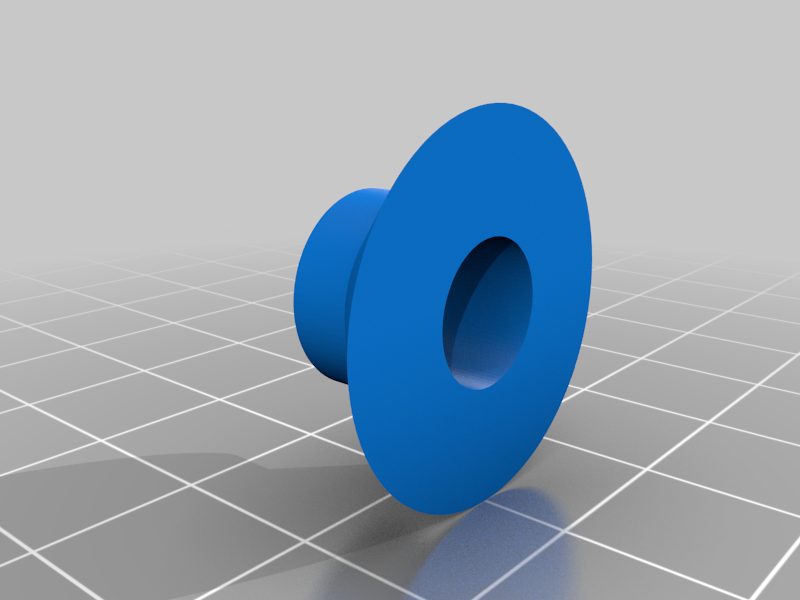
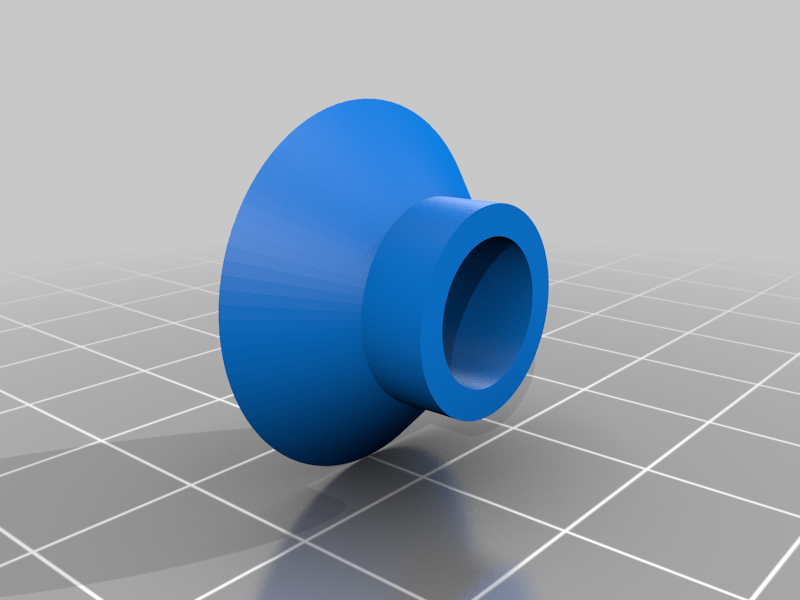
stl18_rondelle_entonnoir_G.stl
44 Ko · 543 download
-
 stl
stl21_gros_ecrou_D.stl
134 Ko · 554 download
-
 stl
stl3_support_interne.stl
266 Ko · 549 download
-
 stl
stl14_slider_left.stl
84 Ko · 546 download
-
 stl
stl6_ecrou_gauche.stl
41 Ko · 547 download
-
 stl
stl19_rondelle_entonnoir_D.stl
44 Ko · 541 download
-
 stl
stl5_bride_droite.stl
2.5 Mo · 547 download
-
 stl
stl17_rondelle_D.stl
35 Ko · 544 download
-
 stl
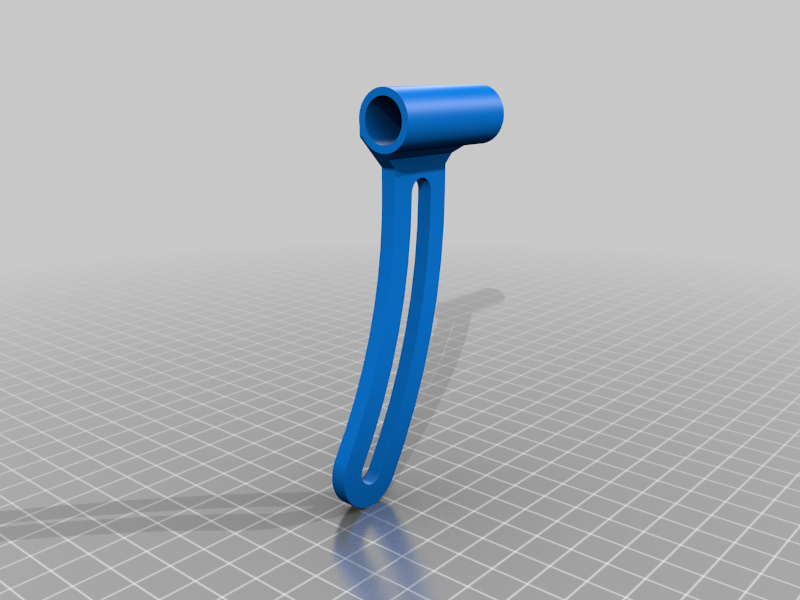
stl11_pied.stl
370 Ko · 545 download
-
 stl
stl20_gros_ecrou_G.stl
134 Ko · 550 download
-
 stl
stl9_ecrou_verrou_basD.stl
62 Ko · 535 download
-
 stl
stl12_bride_basse_G.stl
62 Ko · 540 download
-
 stl
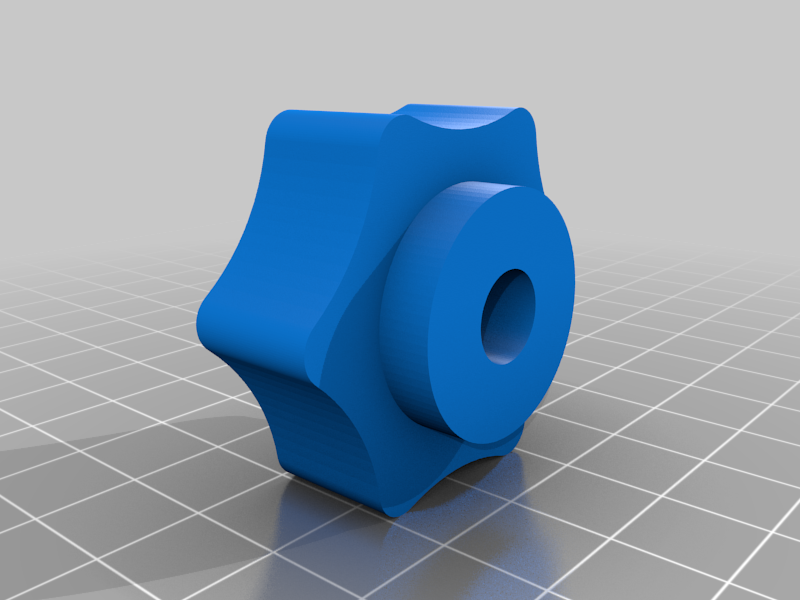
stl10_poignee.stl
128 Ko · 541 download
-
 stl
stl16_rondelle_G.stl
35 Ko · 546 download
-
 stl
stl8_ecrou_verrou_basG.stl
67 Ko · 542 download
-
 stl
stl4_bride_gauche.stl
2.6 Mo · 538 download
-
 stl
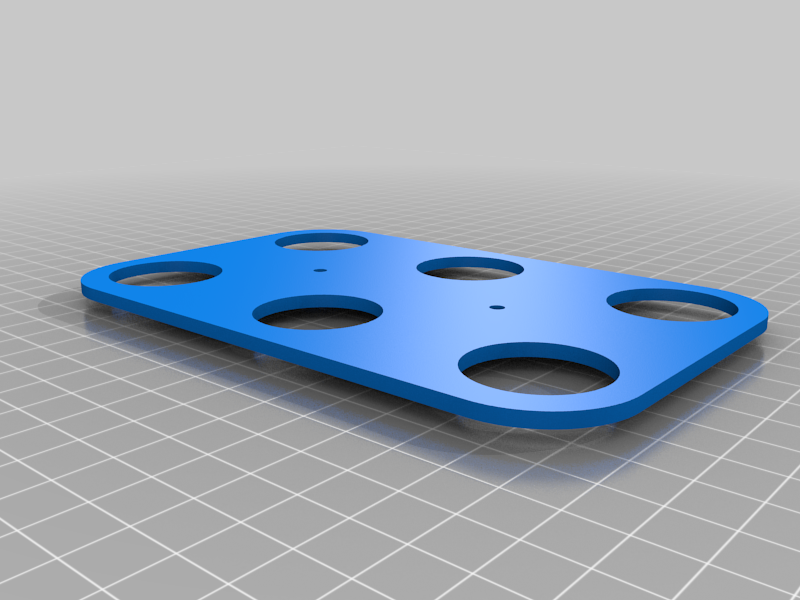
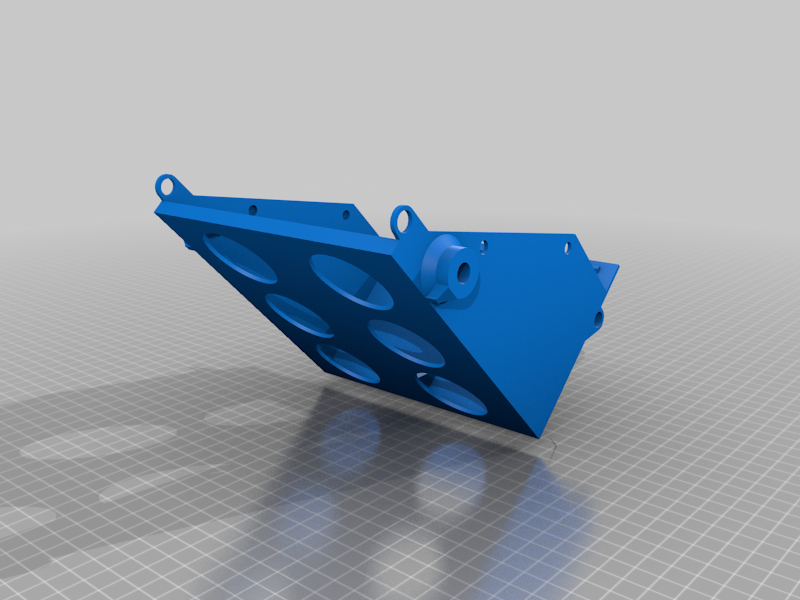
stl2_face_arriere.stl
5.2 Mo · 547 download
-
 stl
stl22_capot.stl
3.3 Mo · 546 download
-
 stl
stl1_face_avant.stl
2.5 Mo · 555 download
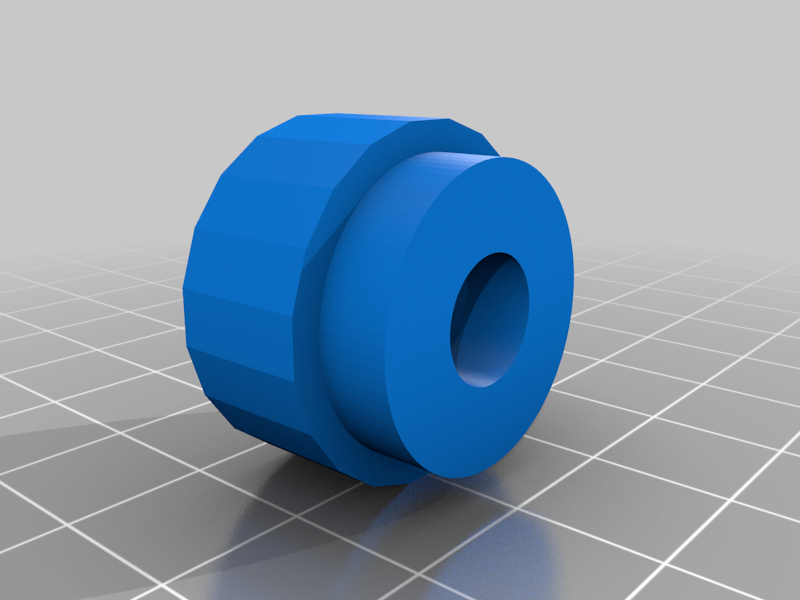
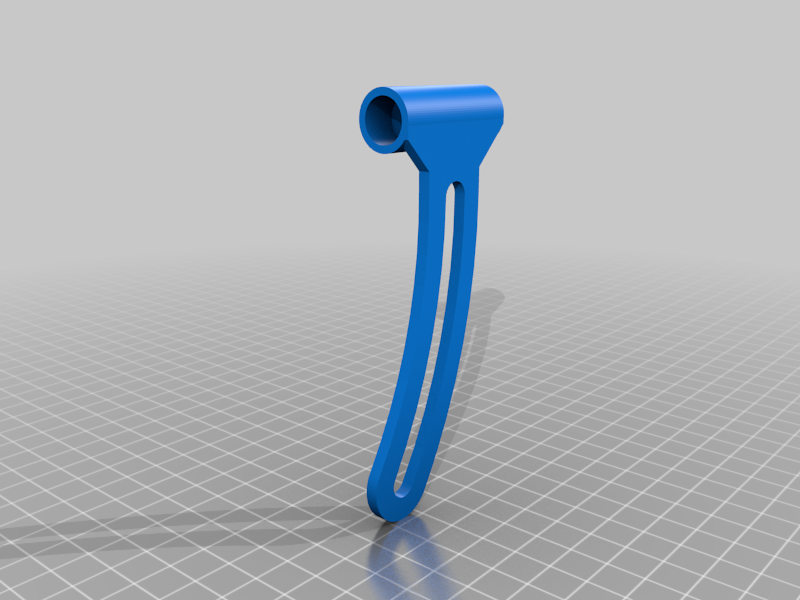
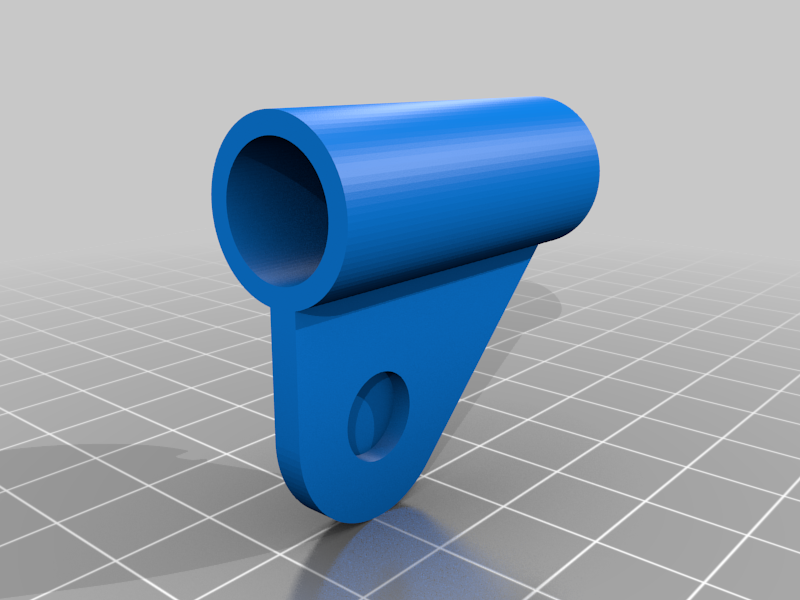
Descrizione
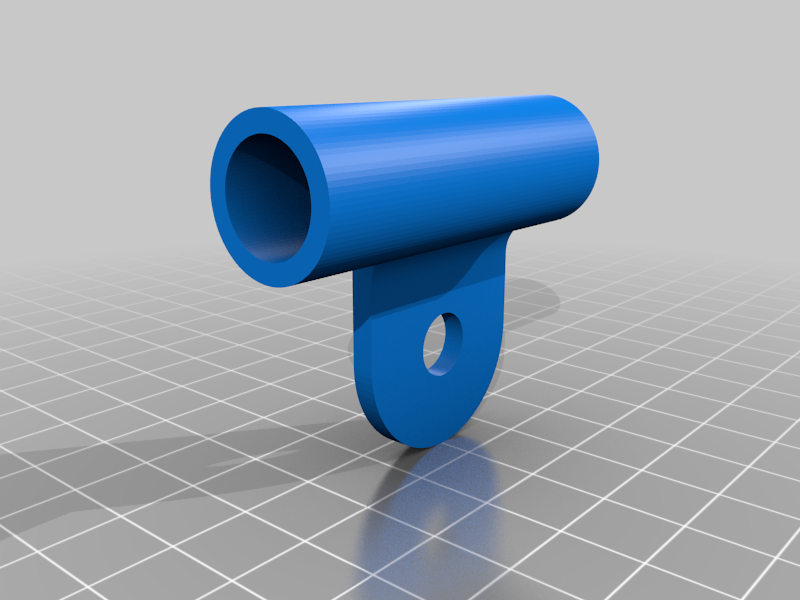
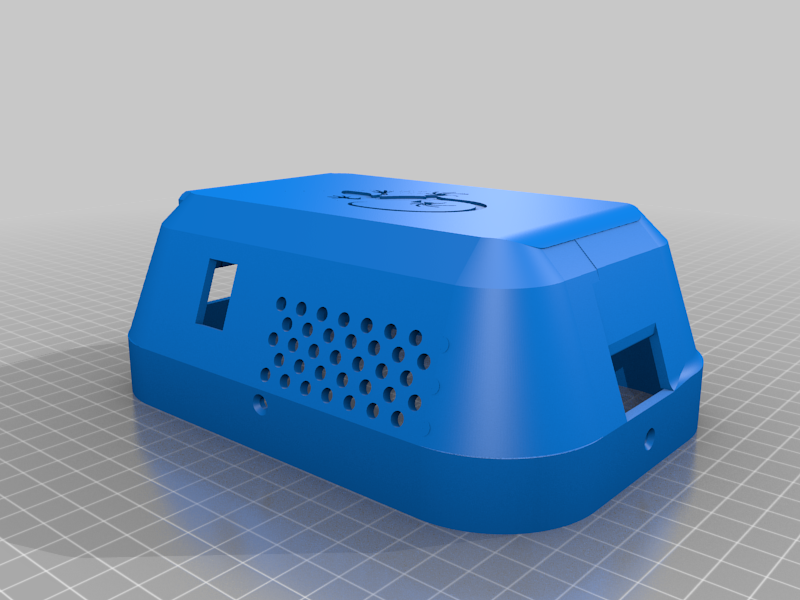
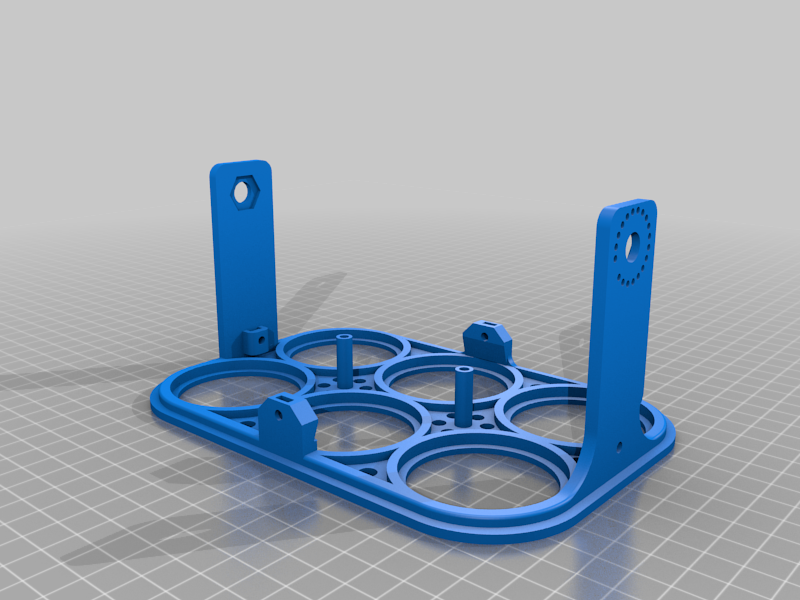
This is a lamp for my working area. Designed to be powerful, stable and standing on long arms.
In addition to the printed parts, It needs
- 6 LEDs lamps. AC powered Model GU10
- 6 GU 10 AC connectors, They have to be wired in parallel,
- A power switch, rectangular model, but this is not mandatory. I have used two levels by wiring a capacitor in serie with the lamps for reduced brightness.
- Two Aluminium tubes 12 millimeters, length is 100 cm. make a mark at 170mm to adjust the edge.
- some wires and AC plug
- two M8 x 20 mm bolts
- two M8 x 30 mm bolts
- one M8 210 mm threaded shaft
- six M8 screws, enclosed into plastic parts and enable easy adjustment,
- four m3 bolts& screws to hold the head cover
It has to be fitted EXCLUSIVELY with Leds, Using classic bulbs would quickly overheat and melt the parts,
The support stability is ensured by enclosing a dead weight inside the stand,
It is designed for 2 Used lead batteries Yuasa NP7-12Fr. old motorbike batteries should work as well.
Already printed and operational but this is a second revision and I will publish pictures when finished,
I have put holes for some ventilation. Temp is OK after a few hours, and of course using Leds,
For insertion of PLA into alu tube, It is a good idea to use a soldering iron. Pre heat the tubes by putting the iron in the tube a few moments,(around 60 deg C) then the PLA slightly melts and can be adjusted and then fit tight to the tube. Use the mark at 170mm to adjust the middle bracket.
Beware AC power, but hey, you are adults,,,
Note: The photos are from a previous version; V1
The actual STLs have been modified to improve ventilation and support brackets, which is now a stronger system.
But if you use it in a lab, you can put anything heavy inside the stand, like a power supply or a transformer.
All parts designed to print easily without hangouts. Position them correctly on the stand before printing.